Felt Crafts: Free Patterns, Ornaments and Handmade Decorations to Make
By Jan Bay
I love felt crafts because you can make something beautiful with just a few pieces of felt, a needle and some embroidery thread. You don't need a sewing machine or a cabinet full of supplies to get started. I'm gathering my original felt patterns here, beginning with Christmas ornaments and expanding into felt animals, appliqués, nursery decorations and handmade keepsakes. You'll find practical sewing instructions, helpful cutting tips and printable templates when they're available, so you can choose a project and enjoy making it.
Explore More Handmade Patterns and Crafts
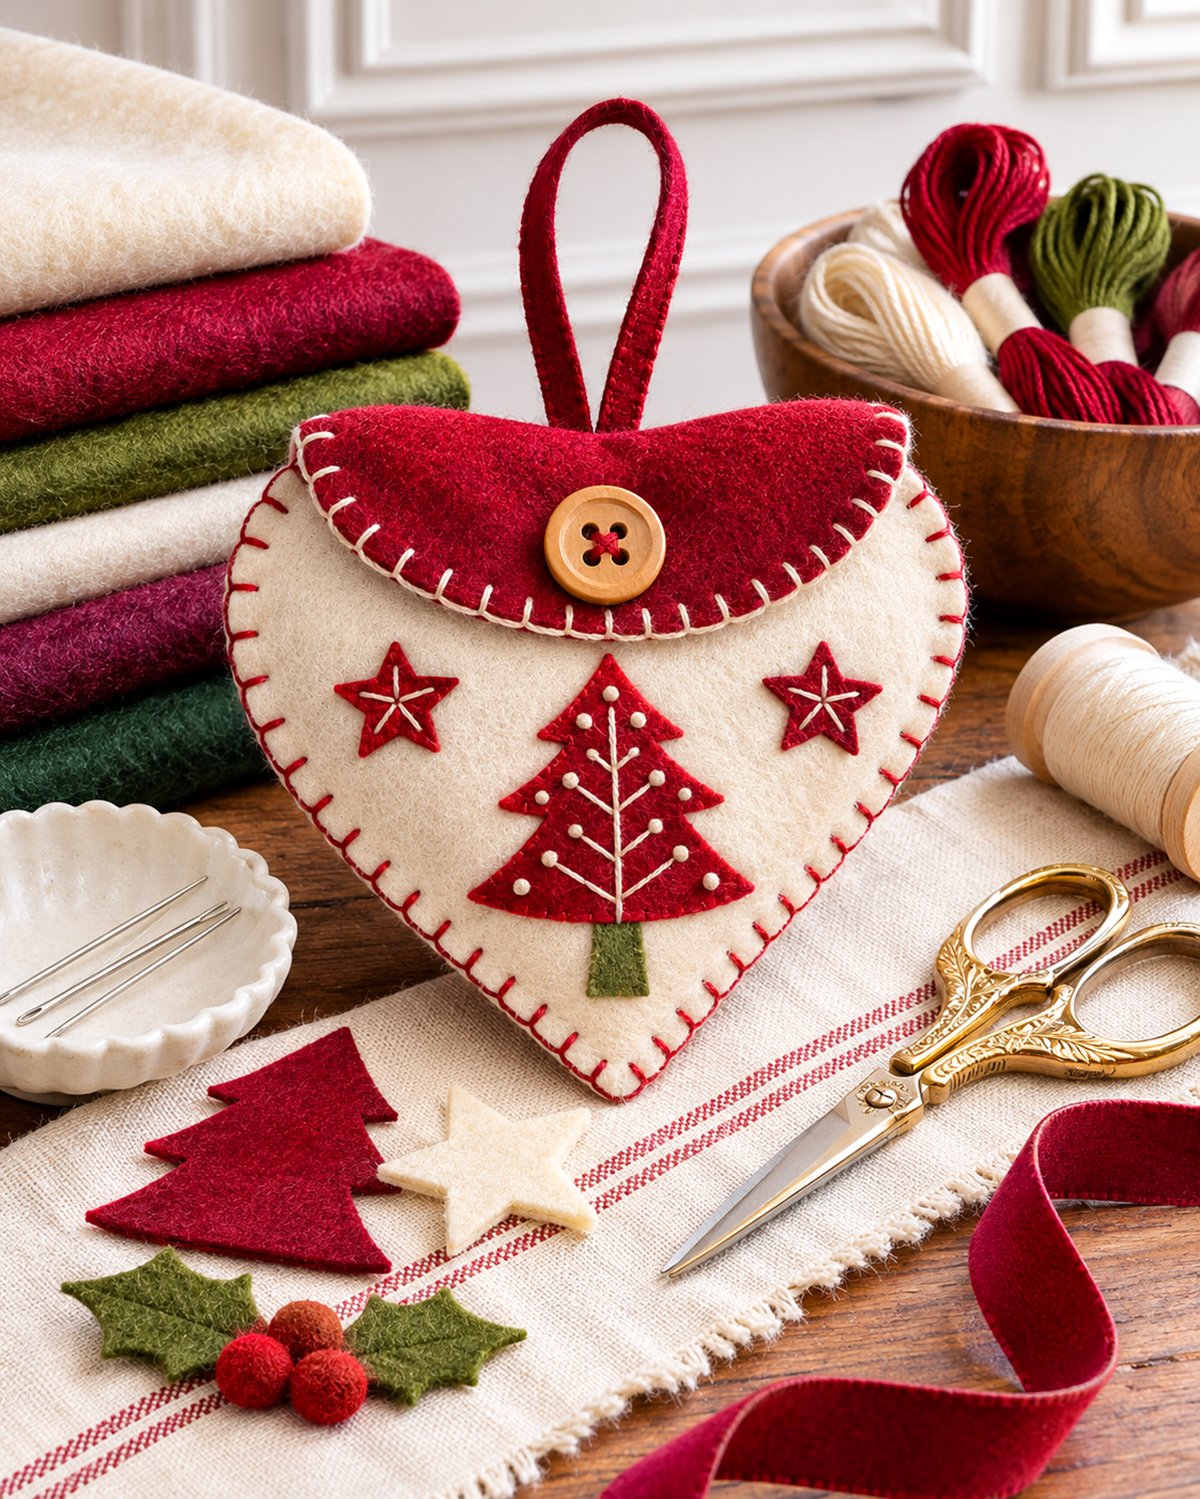
Shop Felt Craft Supplies and Hand-Sewing Essentials.
Free Felt Patterns and Projects
If you're looking for felt projects to make, start by deciding what you'd like to do with the finished piece. A little hanging ornament needs a different construction than a flat appliqué, and a decorative felt flower doesn't necessarily need any sewing at all.
I'm organizing this collection around the type of project and how it's made, so you can find something that fits your skill level without sorting through dozens of unrelated ideas.
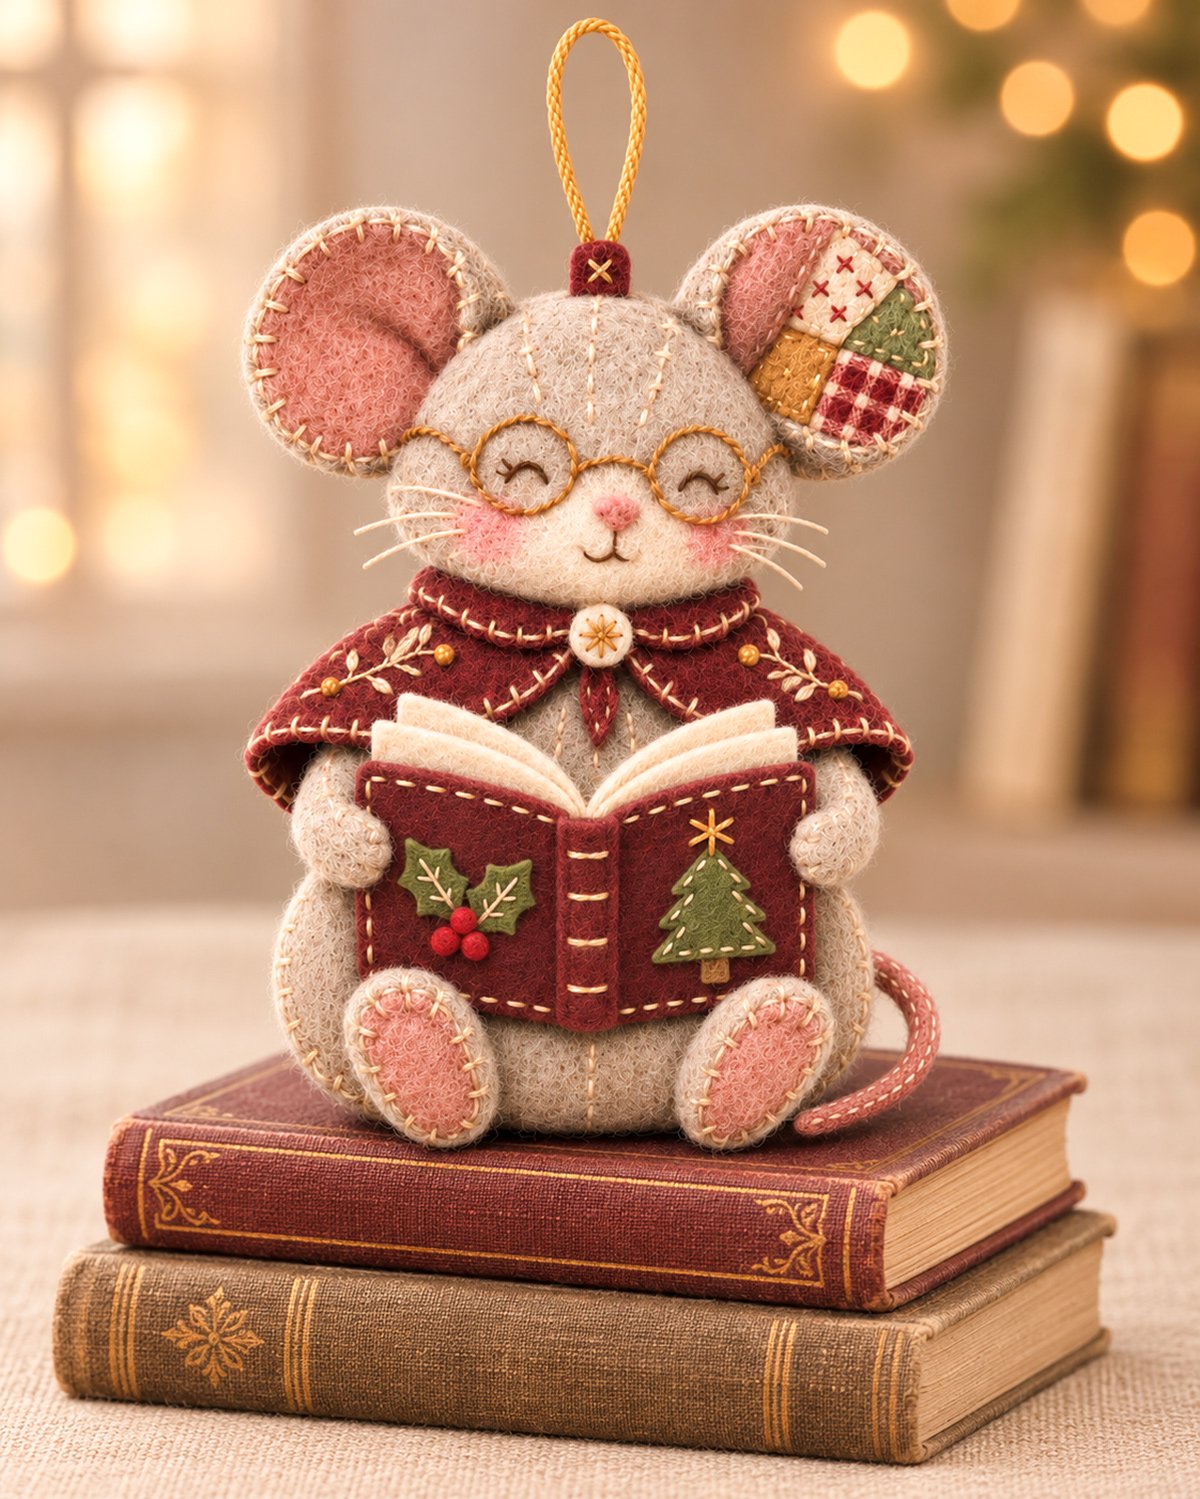
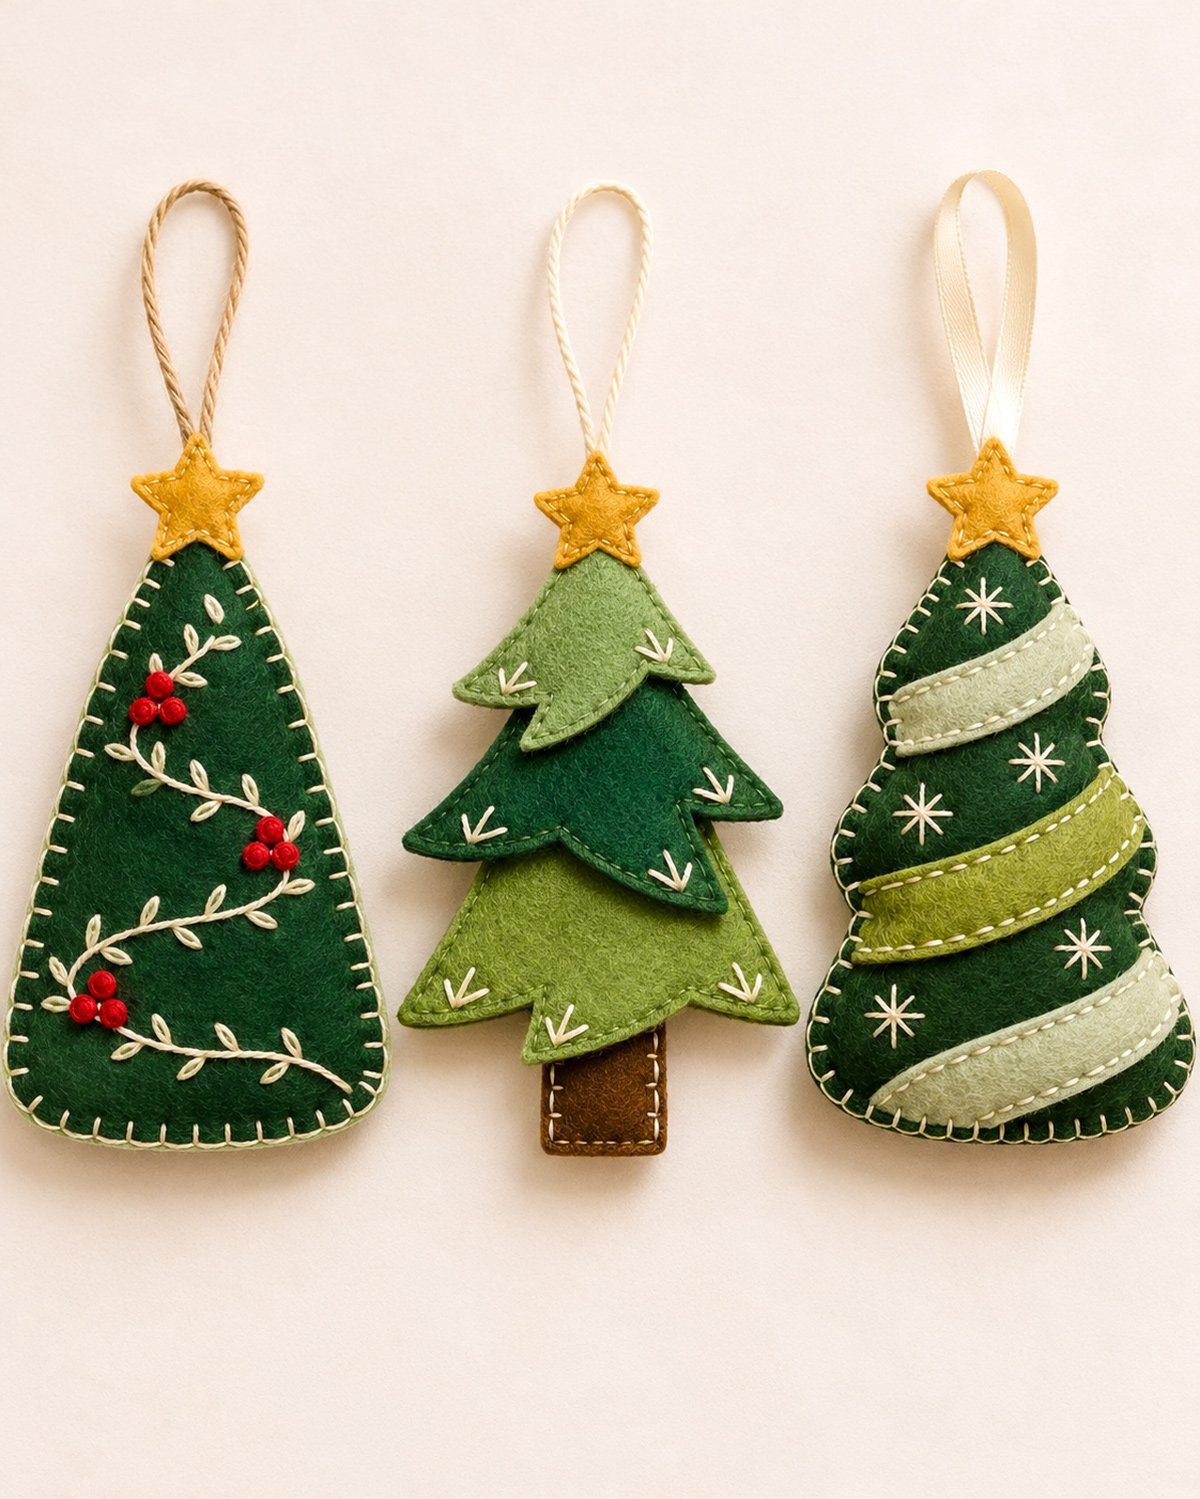
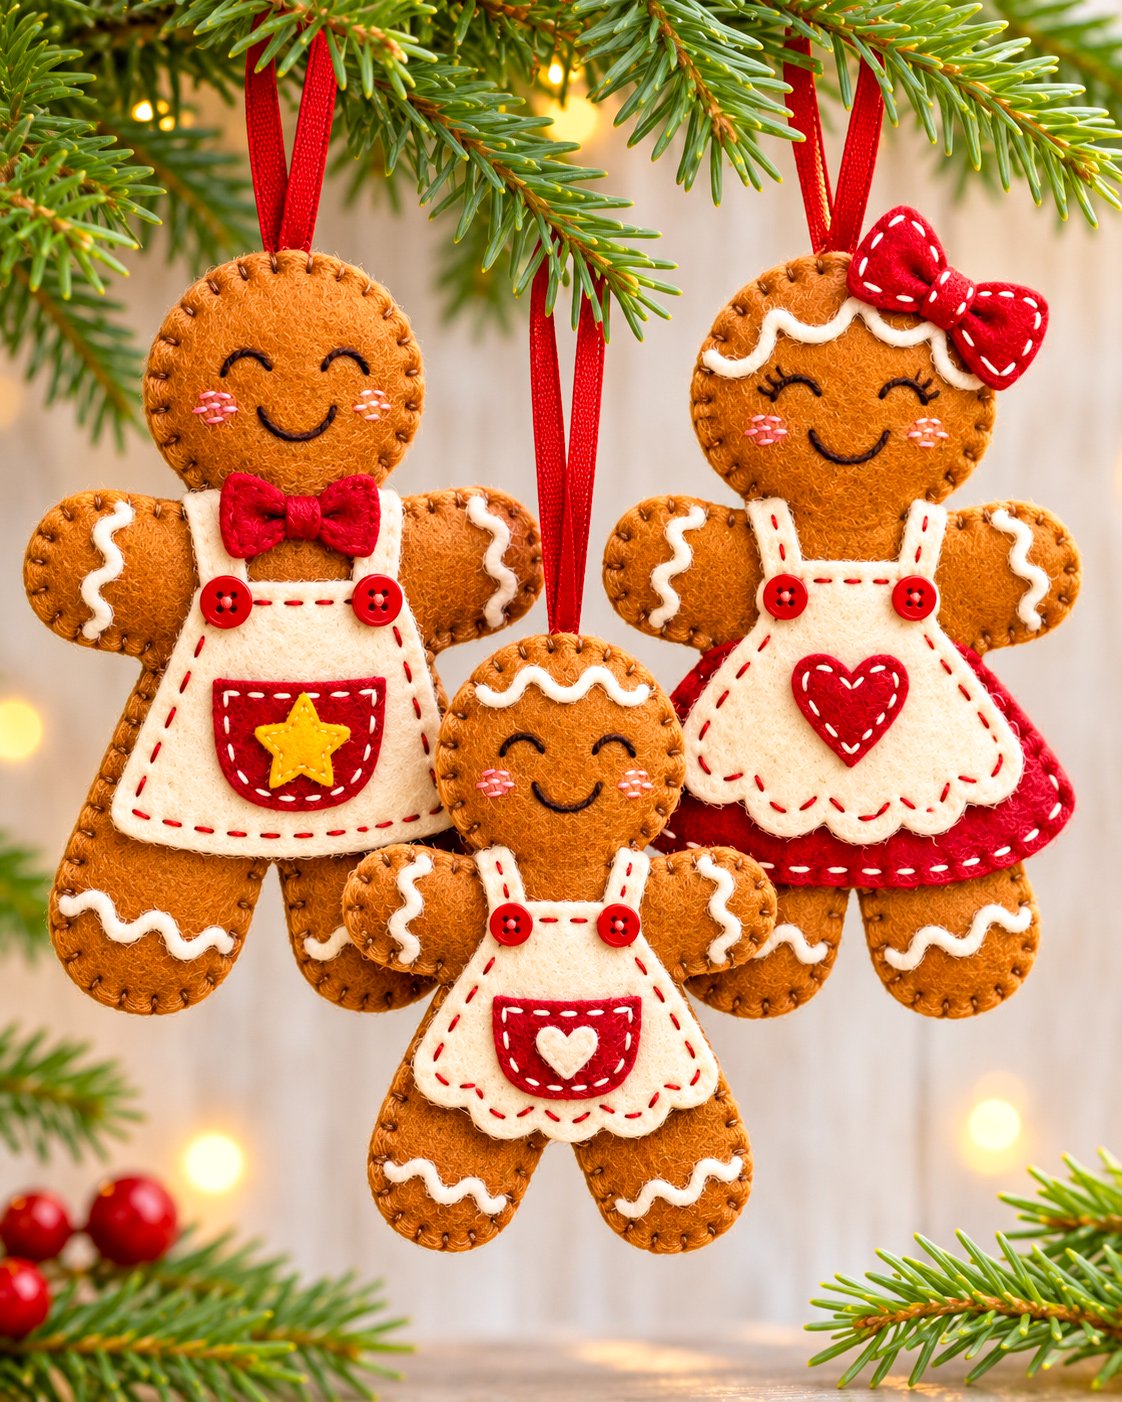
Free Felt Christmas Ornament Patterns
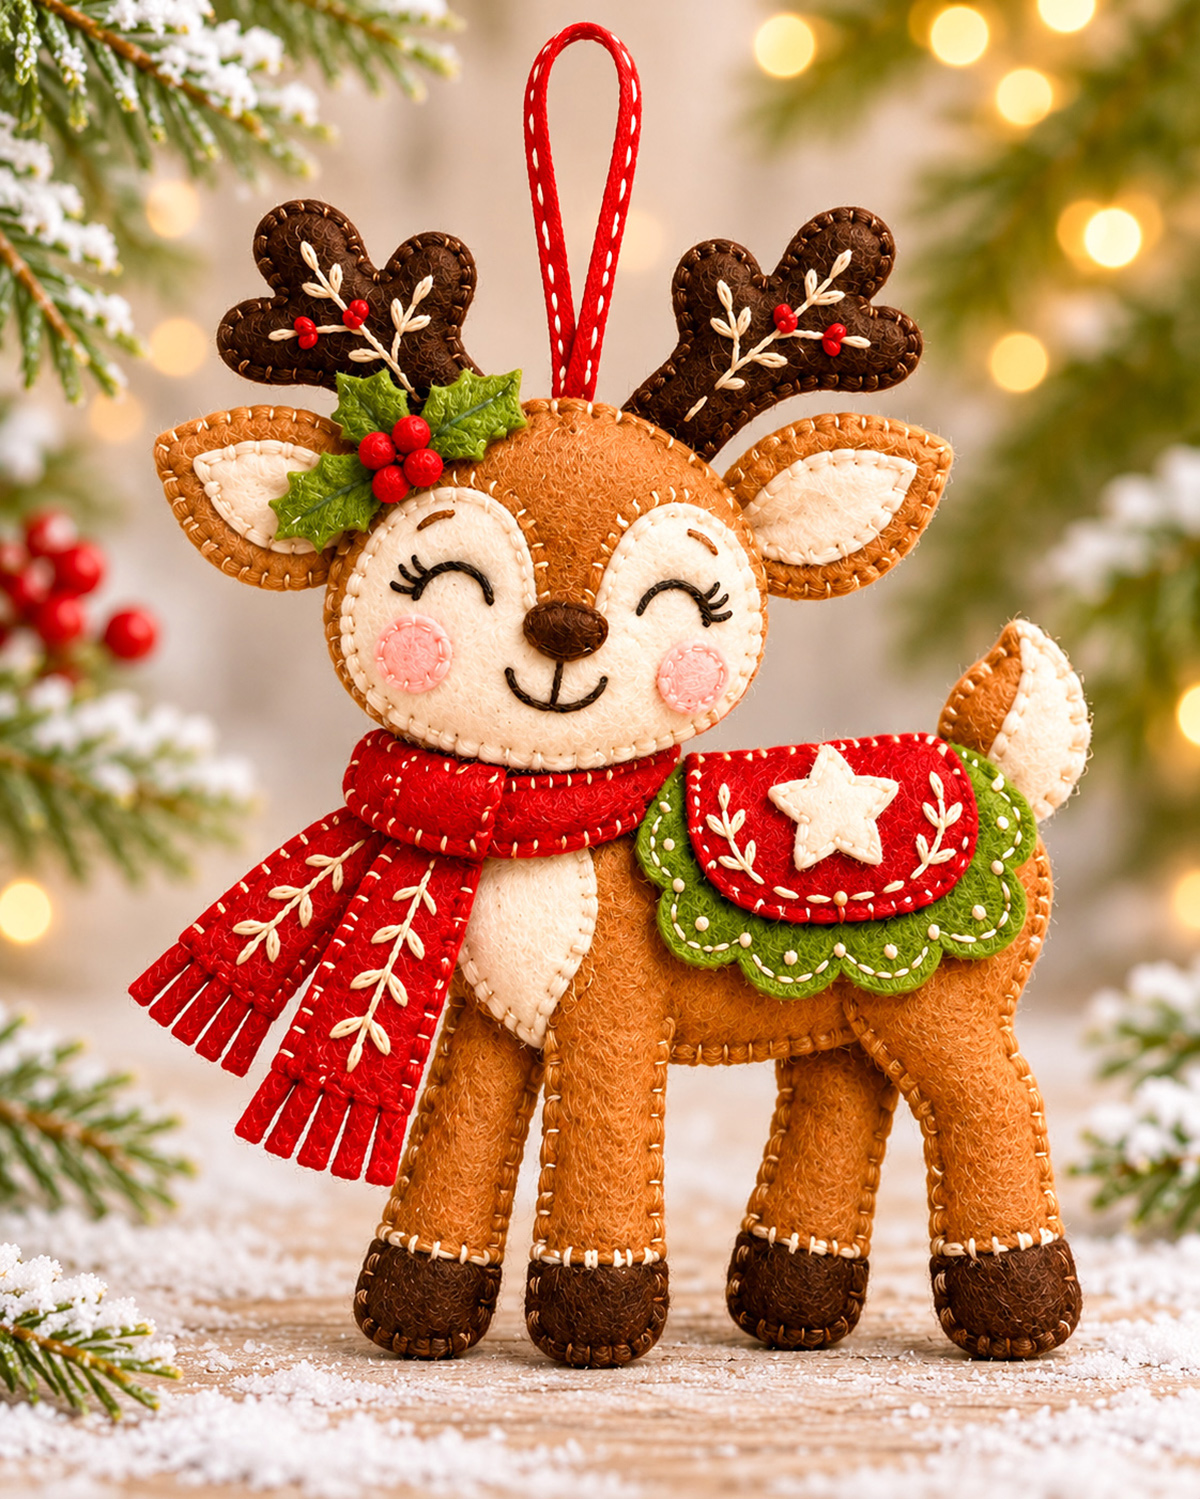
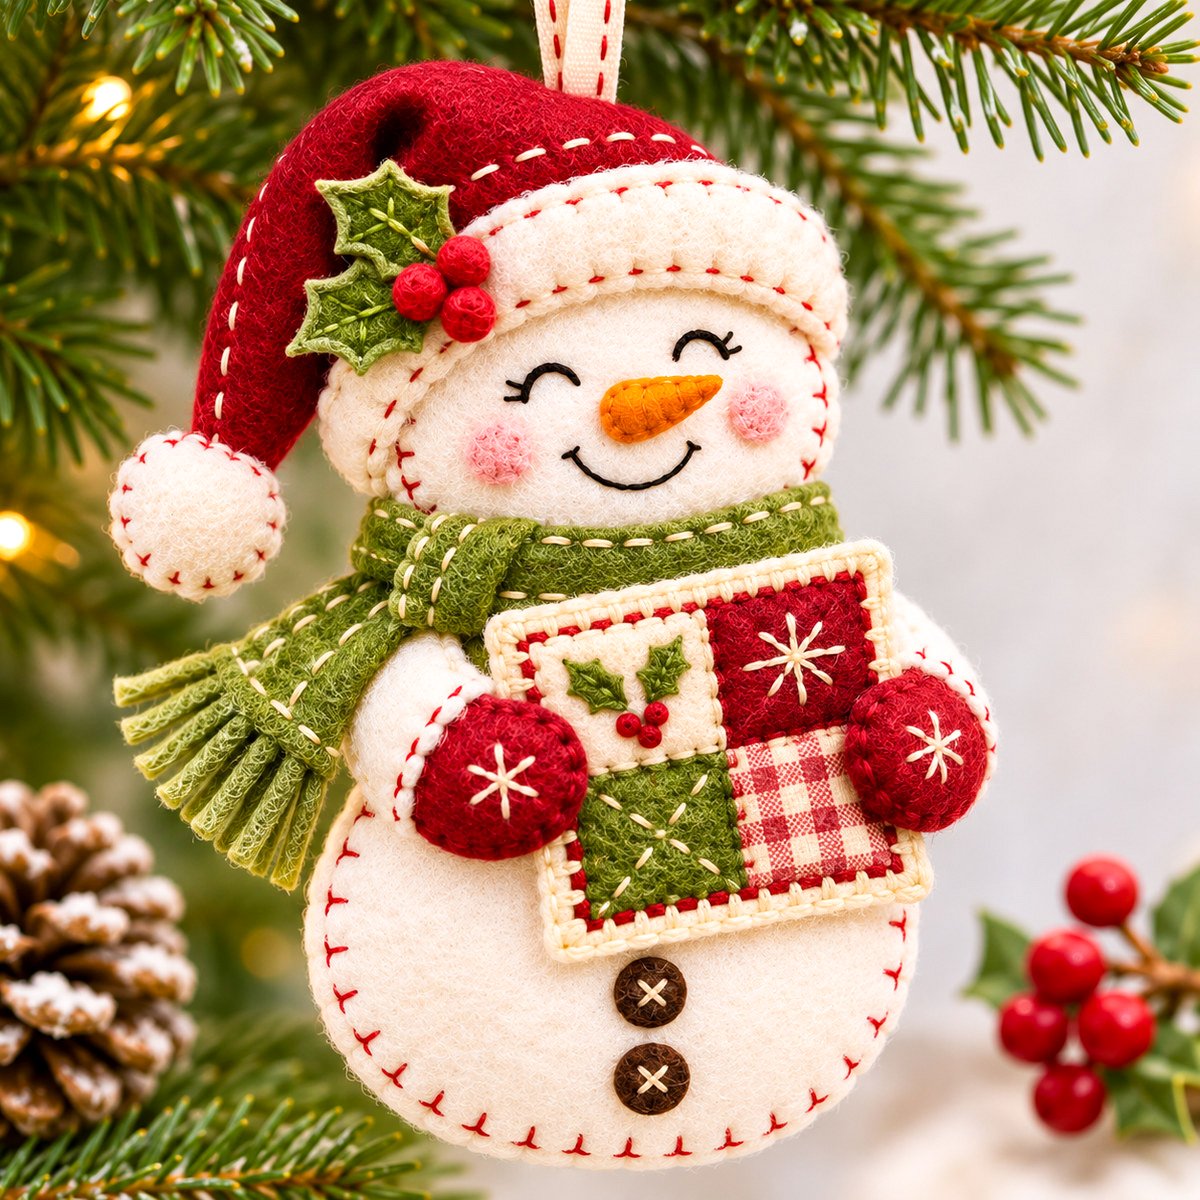
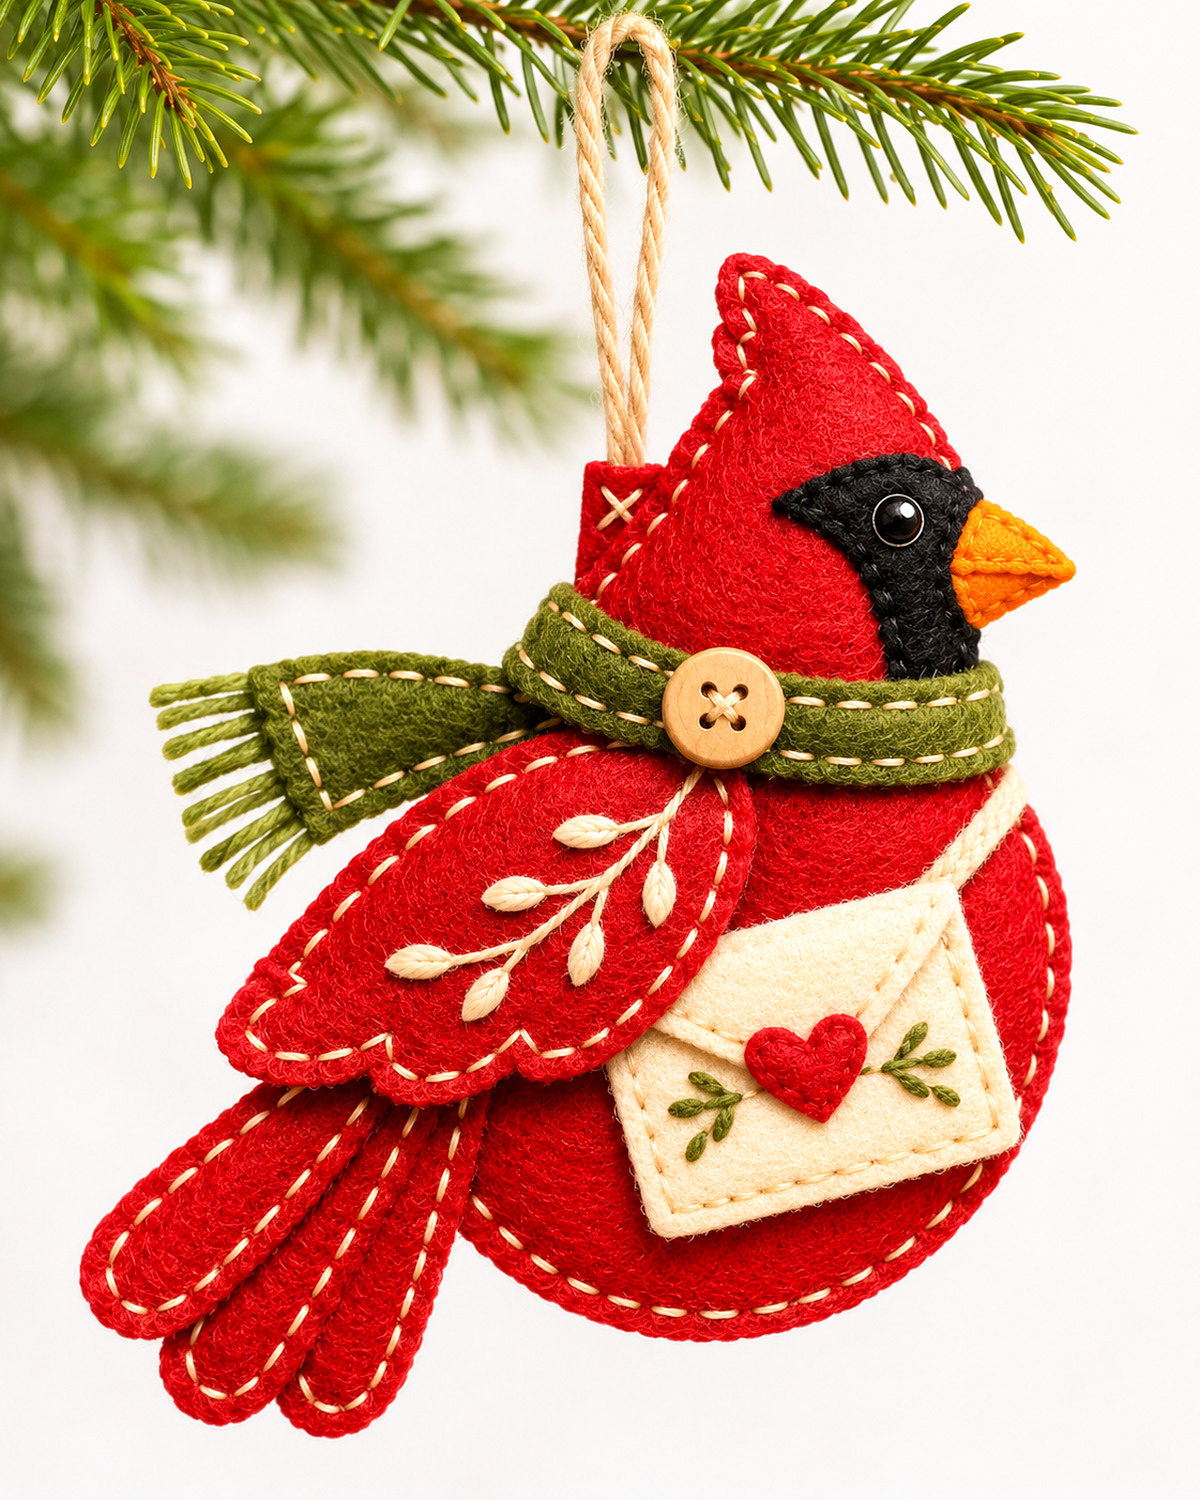
Choose a felt ornament to make from the original patterns below. Each project has its own cutting templates and hand-sewing instructions.
Different Ways to Craft With Felt
As more original patterns are added, you'll be able to explore several kinds of projects:
- Hand-sewn felt ornaments: Small decorations made from two or more felt pieces, usually finished with blanket stitching and a hanging loop.
- Felt animal patterns: Flat animal shapes, embroidered details and layered appliqués that can be adapted for decorations and nursery art.
- Felt appliqués: Cut shapes sewn onto another piece of felt or fabric to decorate a larger project.
- No-sew felt crafts: Simple projects assembled with suitable craft adhesive rather than needle and thread.
- Felt nursery decorations and keepsakes: Wall decorations, hanging accents and handmade gifts intended for display.
- Seasonal felt crafts: Christmas decorations, spring flowers, autumn accents and projects for other occasions.
Each original pattern will have its own instructions and materials list. That way, you can find the project you want without scrolling through several unrelated patterns on one page.
Felt Nursery Mobiles and Handmade Animal Decorations
Felt is useful for nursery mobiles, too. Browse these woodland, animal and high-contrast designs for ideas on cutting felt shapes and arranging handmade hanging decorations.

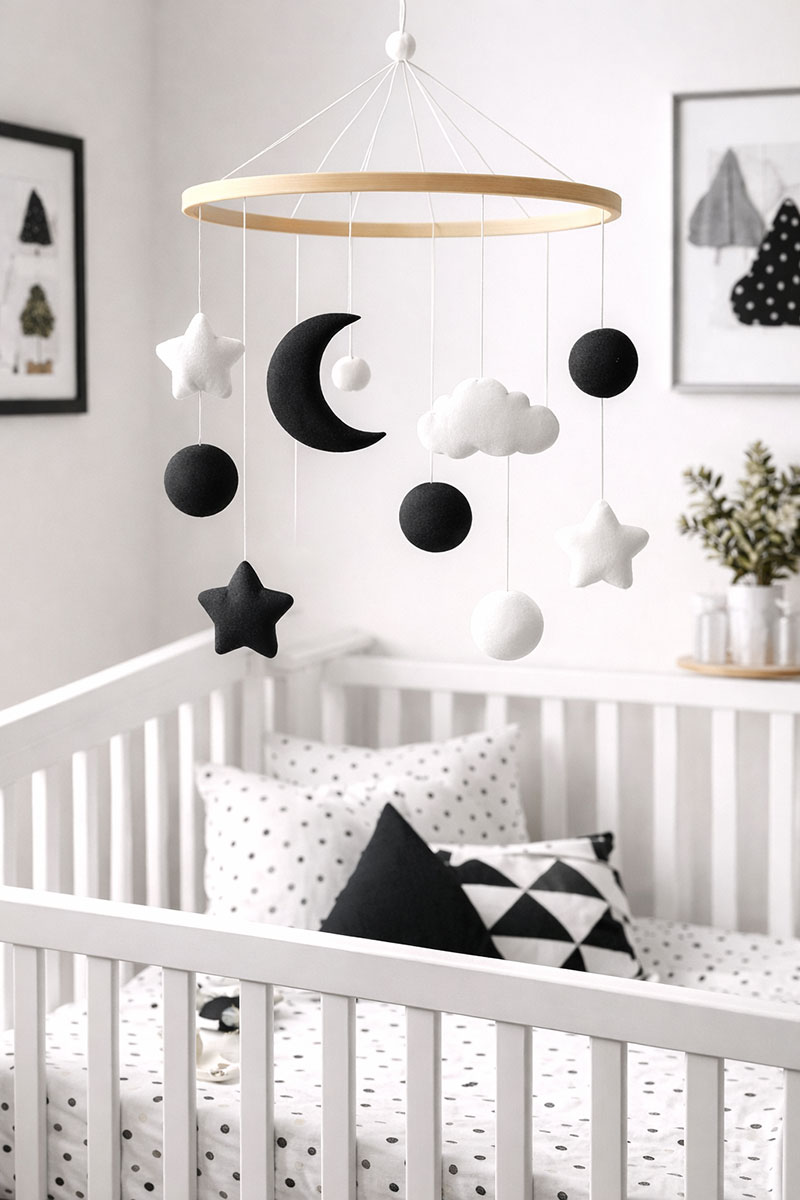
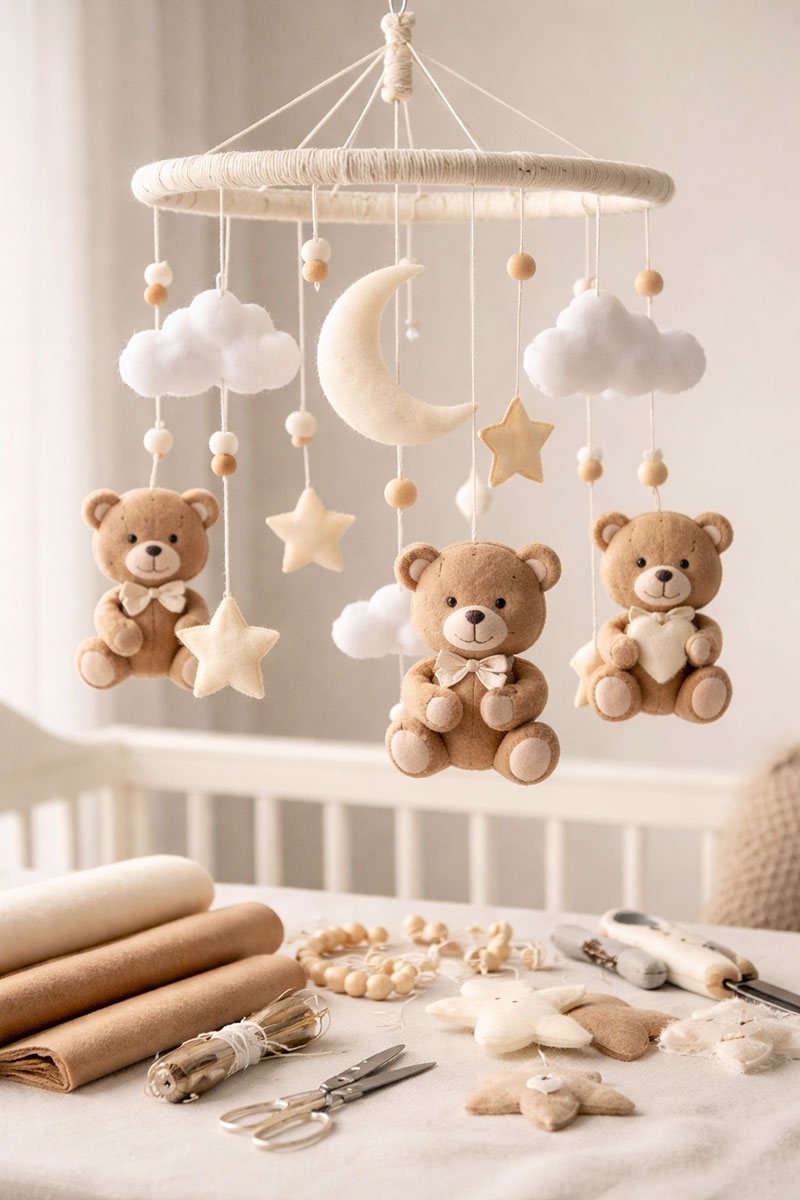

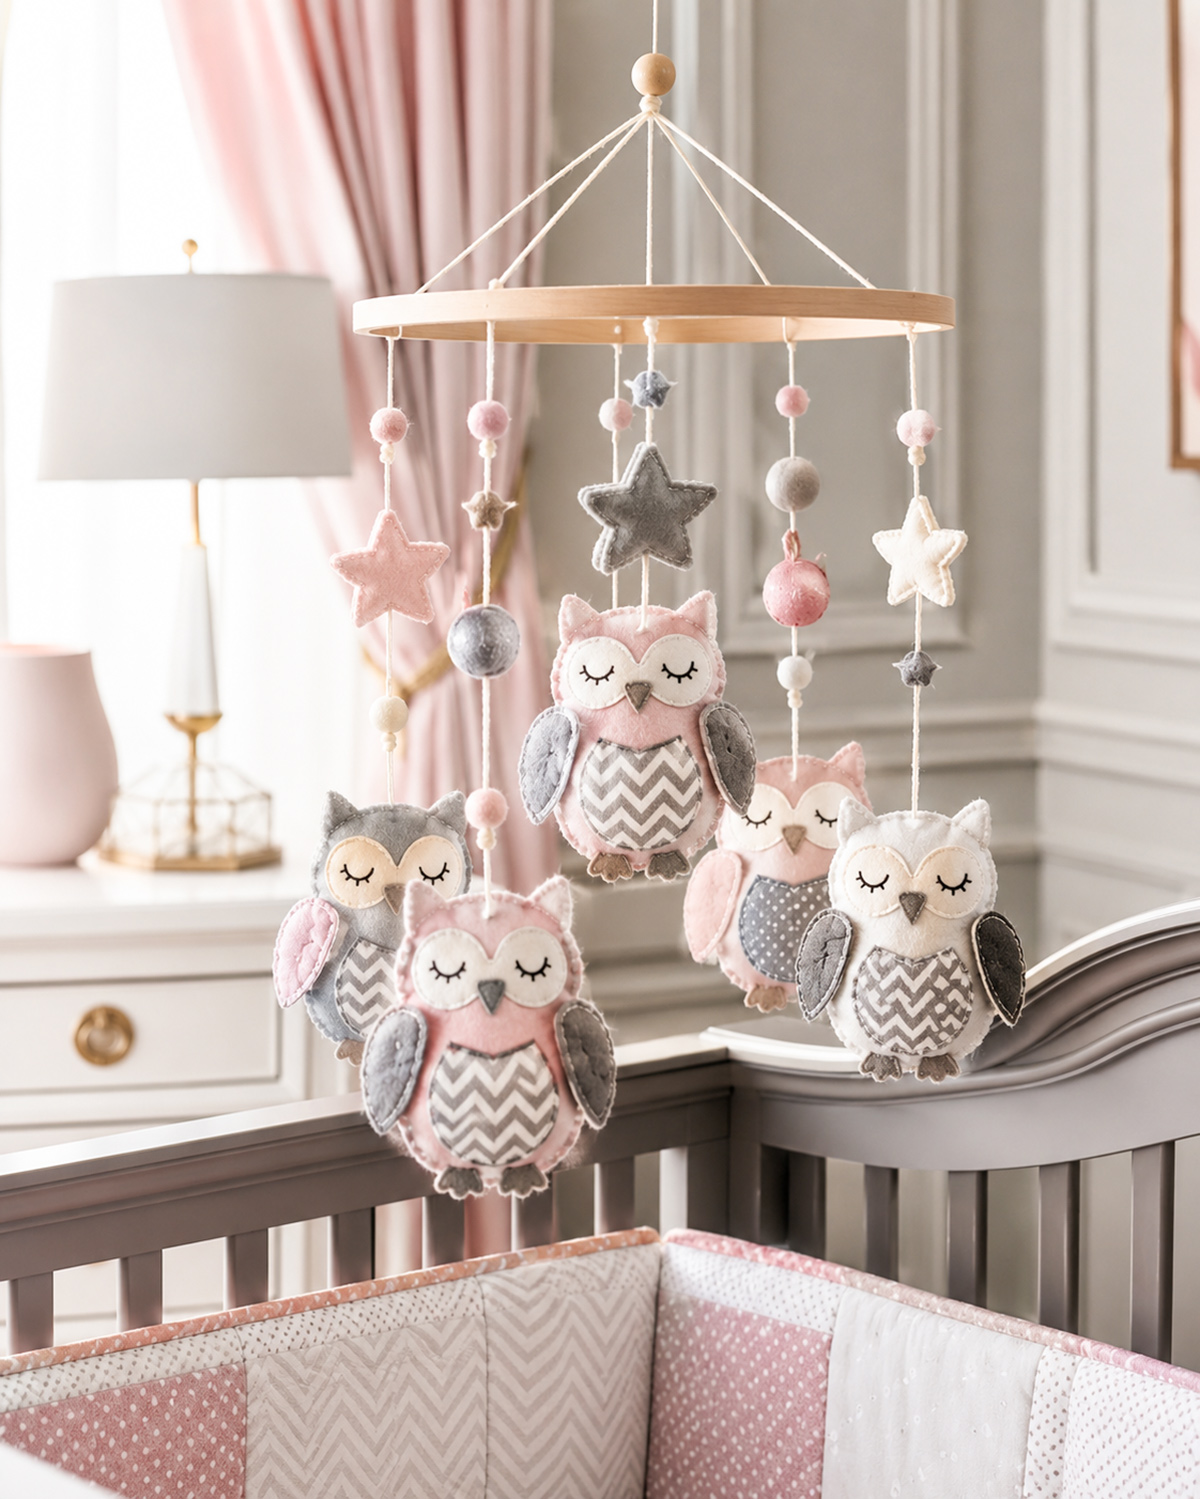
Keep all handmade hanging nursery decorations securely mounted and completely out of a baby's reach.
Felt Crafts for Beginners: Where to Start
If you haven't worked with felt before, there's no need to begin with a complicated pattern. Felt is particularly nice for learning because the cut edges don't unravel the way woven fabric edges can.
I'd start with a flat shape before trying anything that needs stuffing, curved seams or several layers of decoration. You can learn the basic stitches on a scrap piece of felt and move on to a finished ornament when you're comfortable handling the needle.
Start With the Type of Project That Suits You
If you don't want to sew: Try arranging simple felt shapes into a decorative design. A heart, star or flower made from a few carefully cut pieces will help you practice cutting and layering. Use a craft adhesive suitable for felt, follow its drying instructions and save the little details until the larger pieces are secure.
If you're learning to hand-sew: Start with two matching felt shapes and practice joining their edges with a blanket stitch. You don't need a sewing machine. A needle, embroidery floss and a few minutes of practice are enough to get started.
If you enjoy decorating with fabric: Try felt appliqué. Cut a simple shape, position it on a fabric background and stitch around the edge. It's a useful technique for decorative banners, framed nursery art and other handmade accents.
How to Choose Your First Pattern
Look for a design with a small number of pieces, clearly marked cutting templates and a simple assembly order. A beginner project is easier to manage when you can identify the front, back and decorative pieces before picking up the needle.
Here's what I'd check before starting:
- Does the pattern include a printable template or clear cutting measurements?
- Are the felt type and thickness specified?
- Does the project require sewing, glue or both?
- Are the stitches explained?
- Will you need stuffing, buttons, hanging cord or other finishing materials?
- Does the project have several tiny pieces that might be difficult to cut accurately?
Don't worry about mastering fancy embroidery right away. Neatly cut felt and a few even stitches can make a lovely little decoration. You can add more detail once you're comfortable with the basics.
Choosing the Right Felt for Your Craft Projects
Before buying felt, take a look at what it's made from. The inexpensive sheets sold with children's craft supplies aren't necessarily the same as the wool-blend felt you might choose for a hand-sewn ornament.
The right choice depends on whether you're making something flat, something that needs to hold its shape or a decoration you want to keep for a long time.
Craft Felt
Craft felt is usually made from synthetic fibers such as polyester or acrylic. It's inexpensive, comes in plenty of colors and is handy for practicing stitches, trying out templates and making simple decorations.
The quality varies quite a bit. Some sheets are thin and flexible, while others are stiff. Check whether the material stretches or develops holes easily when you stitch it. If it does, I'd save it for simple cutting projects instead of a detailed ornament with several sewn layers.
Wool-Blend Felt
Wool-blend felt combines wool with other fibers, often rayon. For decorative ornaments and appliqués, it's a practical middle choice between inexpensive craft felt and pure wool felt.
A good wool blend has a pleasing texture, cuts neatly and can hold decorative stitches well. I'd consider it first for a felt ornament with shaped pieces, embroidered details and visible blanket stitching.
100% Wool Felt
Pure wool felt is generally more expensive, but it's worth considering for special ornaments, decorative keepsakes and projects where the fabric itself is an important part of the finished appearance.
It's available in different weights and thicknesses, so check the product description rather than assuming every wool felt sheet will handle the same way.
What Thickness Should You Buy?
For small hand-sewn decorations, felt around 1 to 2 mm thick is a useful starting range. The best thickness still depends on the design. A tiny layered appliqué needs material that isn't too bulky, while a hanging ornament may benefit from felt that holds its shape.
If the pattern requires a particular thickness, follow that recommendation. Two layers of thick felt can be much harder to stitch neatly than two thinner layers.
And don't overlook color. Deep red, ivory, forest green, dusty rose and other rich shades can look especially attractive with contrasting embroidery stitches. You don't have to use every color in the package. Two or three well-chosen colors are often plenty.
Basic Felt Craft Supplies You'll Actually Use
You don't need to buy a large sewing kit to begin making felt crafts. I'd put the money toward decent felt, sharp scissors and embroidery floss in colors that work with the projects you want to make.
For a basic hand-sewing setup, gather these supplies:
- Felt sheets: Start with two or three coordinating colors in the thickness recommended for your project.
- Sharp scissors: Small embroidery scissors are useful for tiny shapes. A separate pair of fabric scissors works well for cutting larger pieces.
- Hand-sewing needles: Embroidery or crewel needles with an eye large enough for your floss are a useful choice.
- Embroidery floss: Six-strand cotton floss can be separated into fewer strands when you want finer stitches.
- Straight pins or sewing clips: These help hold the felt pieces together while you stitch. Use clips if pins leave noticeable holes.
- Printed templates: Ordinary printer paper works for a first attempt. Cardstock is handy for templates you'll use more than once.
- Fabric marking tools: Use a removable marker or tailor's chalk that you've tested on a scrap first.
- Craft adhesive: Optional for projects specifically designed to be glued rather than sewn.
A small container for cut pieces is useful, too. Keep the tiny stars, leaves, circles and other appliqué details together so they don't disappear while you're working.
When Do You Need Stuffing?
Only buy stuffing when the pattern calls for it. A flat appliqué doesn't need any, and a felt pocket ornament should have enough open space to hold its intended contents.
For stuffed decorations, use the amount recommended in the individual pattern. Too much stuffing can push the edges apart or distort the shape, especially around tight curves.
A Note About Baby and Nursery Decorations
Felt decorations intended for a nursery should be treated as display items unless they've been specifically designed and tested as toys. Keep hanging cords, buttons, beads and small detachable decorations out of a baby's reach, and don't place handmade ornaments or hanging decorations inside a crib.
If you're making a nursery decoration, embroidered details are often a better choice than loose embellishments.
Easy Hand-Sewing Stitches for Felt Crafts
You can make quite a few felt decorations with just three basic stitches. You don't have to learn every embroidery technique before starting your first project.
Blanket Stitch
Blanket stitch is one of the most useful stitches for felt ornaments. It joins two layers along their edges while creating a decorative line of thread.
To practice, place two small felt squares together and thread an embroidery needle. Secure the thread between the layers, then bring the needle out near the edge.
Make the next stitch a short distance along the edge, passing the needle through both layers a few millimeters in from the cut edge. Keep the working thread underneath the needle point as you pull through. This catches the thread along the edge and forms the characteristic blanket-stitch loop.
Repeat with roughly even spacing. Keep the thread snug without pulling so tightly that the felt puckers.
The little loops should sit neatly along the outside edge. If the felt starts curling or gathering, loosen the tension rather than pulling the next stitch tighter.
Running Stitch
Running stitch is the familiar line of short stitches with small gaps between them. Bring the needle up through the felt, take it down a short distance away and continue along your marked line.
It's useful for decorative outlines, simple embroidered details and temporary holding stitches. For a finished pocket or stuffed ornament, use a seam stitch suited to joining the edges securely.
Whip Stitch
Whip stitch is another way to join felt pieces. Line up the edges and pass the needle through both layers, bringing the thread around the outside edge before making the next stitch.
Work along the seam at even intervals. Matching thread gives a less noticeable finish, while contrasting thread makes the stitches part of the decoration.
Practice Before Sewing Your Ornament
Cut two scrap felt squares about 3 inches across. Stack them with the edges aligned and practice sewing along one side. Try blanket stitch first, then use another side for whip stitch.
For running stitch, practice a straight line across the face of one square. The point isn't to make a finished project. It's to see how the felt responds to the needle, how much tension you need and whether you like the appearance of your stitches.
If you'd like diagrams showing where the needle and thread go, the DMC step-by-step embroidery stitch guide includes blanket stitch, running stitch, whip stitch and other helpful techniques.
Once your stitches look fairly even and the felt lies flat, you're ready to try them on a pattern.
Felt Cutting and Sewing Tips for Neater Results
A few little habits can make felt projects much easier to put together. Most of them don't require special tools, either.
Print Templates at the Correct Size
If you're using a printable pattern, check the printing instructions before cutting anything. Choose "Actual Size" or 100% scale when the pattern specifies it, and measure the included test square if there is one.
Don't use "Fit to Page" unless the instructions specifically allow resizing. Even a small change in size can affect how the front, back and decorative pieces fit together.
Cut Carefully Around Curves
For small curves and tight corners, turn the felt as you cut instead of twisting the scissors into the material.
Keep your cuts smooth and avoid making little corrective snips along the edge. Those can leave a jagged outline that's especially noticeable when you add contrasting blanket stitches.
If you're cutting two matching pieces, use the same template for both. Check that their edges line up before you start sewing.
Arrange Decorations Before Attaching Them
Lay out all your appliqué pieces and check the spacing. For a design with a central tree, flower or animal, position the largest shape first. Then arrange the smaller details around it.
Take a moment to look at the design from a normal viewing distance. Tiny adjustments that seem unimportant while you're working close to the felt can make a noticeable difference in the finished decoration.
Sew Small Details Before Closing the Main Seams
If the project has embroidered details on the front, it's often easier to stitch them before joining the front and back pieces.
That keeps knots and thread ends behind the front panel where they won't show. It also makes it easier to reach the middle of the design without accidentally stitching through the back.
Follow the individual pattern's assembly order, especially when it includes a pocket, flap, lining or other functional part.
Check Your Stitch Tension
Felt can stretch or pucker when the thread is pulled too tightly. Aim for stitches that hold the layers together without changing their shape.
If a curved edge begins to gather, stop and check your tension. It may be easier to remove a few stitches and redo them than to keep sewing around a distorted edge.
Attach Hanging Loops Securely
For hanging ornaments, check where the loop should be attached before closing the final seam. Some patterns place the ends between the front and back pieces, while others attach the loop to the back.
Make sure both ends are properly secured and the ornament hangs in the intended direction. A centered loop won't necessarily make an unevenly weighted decoration hang straight, so check the balance before finishing.
Take Care With Buttons and Tiny Embellishments
Buttons can be useful closures on decorative felt pockets, but they need secure stitching. Check that a button actually passes through its intended opening before attaching it permanently.
For nursery display pieces, consider embroidered alternatives to small detachable details. Handmade decorations with buttons or other small parts should stay out of children's reach.
Finish With a Quick Check
Before putting a finished felt project away, look over the stitching, remove any visible marking lines according to the marker instructions and trim loose thread ends without cutting into the seam.
Check that everything sits flat or hangs as intended. If the project is going into storage, keep it clean and dry, and avoid crushing delicate raised details.
And don't feel that you have to decorate every inch. A simple felt shape, neatly cut and finished with attractive stitching, can be just as pleasing as something covered in extra embellishments.
When you click on links to various merchants on this site and make a purchase, this may result in this site earning a commission. This does not affect the price you pay.

UBGI Gold Standard 2026
Reviewed under the site's
editorial checklist.
Photos, decorating ideas, party setups and reader submissions are shared for inspiration unless a page is specifically presented as a pattern, tutorial, reference guide or step-by-step project. Follow the instructions, measurements, safety guidance and manufacturer directions provided for the particular project or product.
About Jan | Contact | Baby Nursery Ideas (Blog) | Site Map | Privacy Policy | Disclosure Policy | Disclaimer | Affiliate Disclosure | Earnings Disclosure | Facebook | Pinterest
I am a participant in the Amazon Services LLC Associates Program, an affiliate advertising program designed to provide a means for us to earn fees by linking to Amazon. As an Amazon Associate I earn from qualifying purchases.
Copyright © 2006-2026. All Rights Reserved.