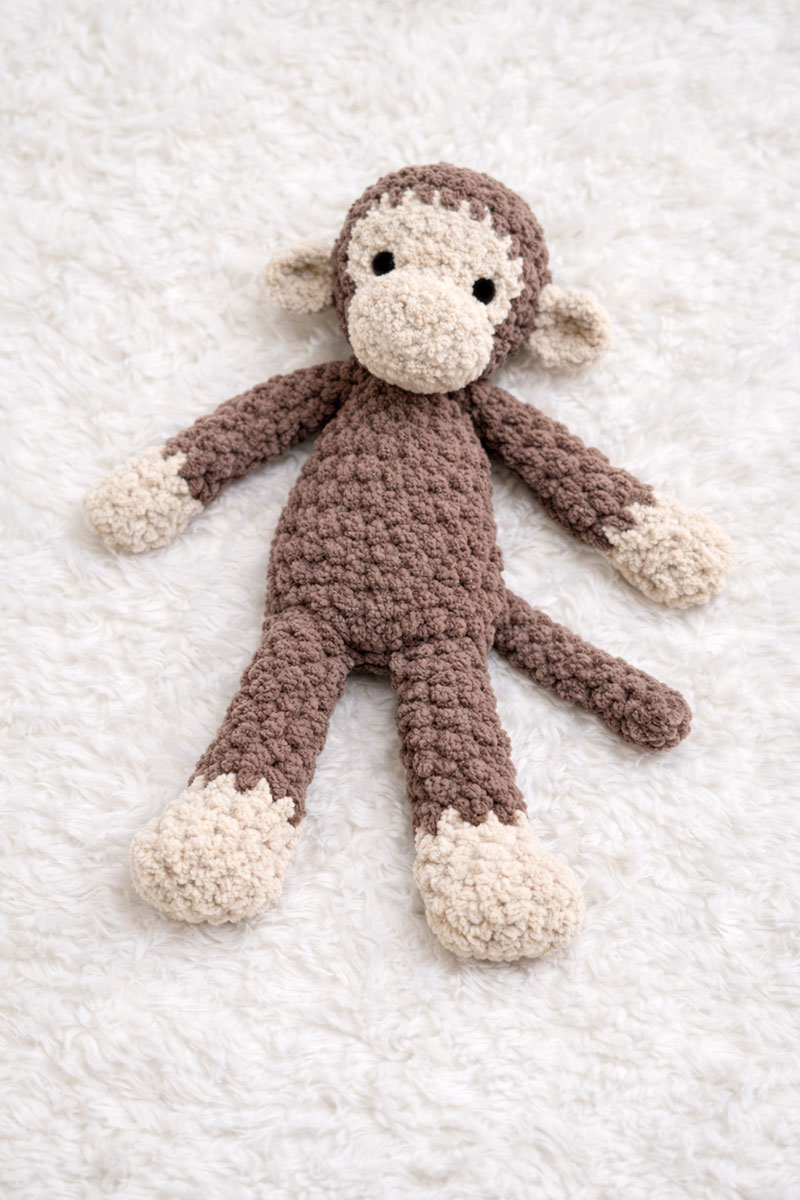
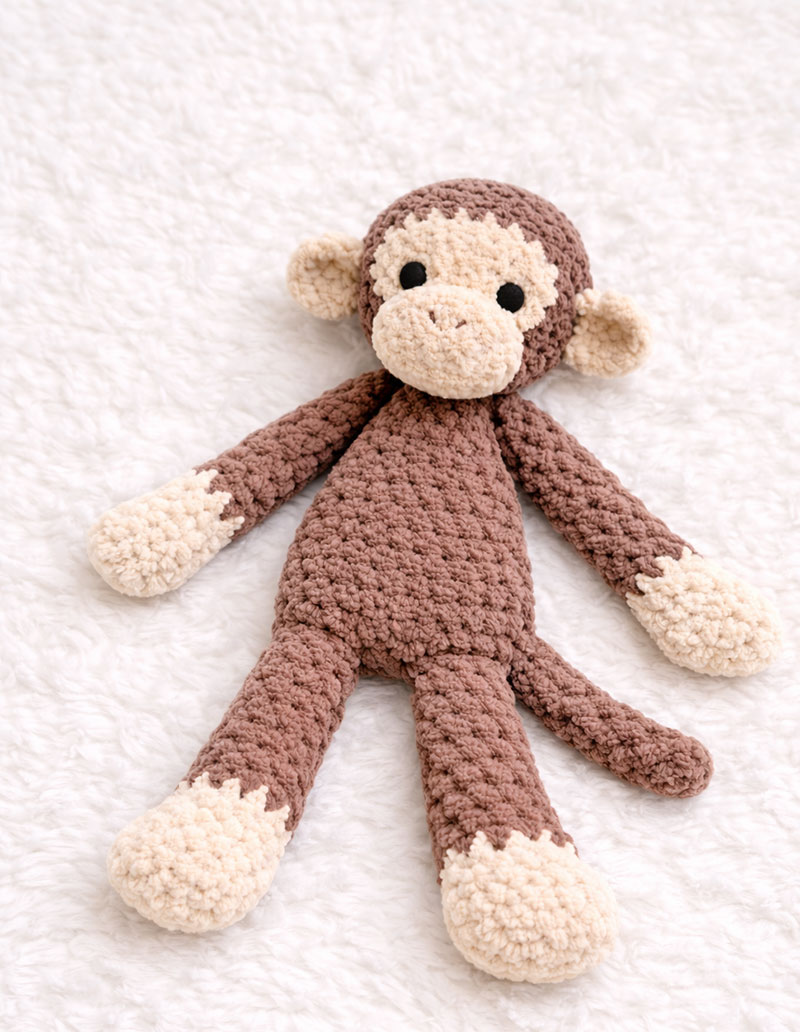
Crochet Monkey Lovey Pattern
Crochet monkey lovey pattern designs like this are the ones babies tend to love and hold onto. Some snugglers sit on a shelf, while others get dragged everywhere, twisted, chewed, and used for comfort. That’s when you start noticing what really matters, how the yarn feels after a wash, how easy it is to grab, and whether the shape settles naturally instead of bunching up. This one is built for that kind of real use.
See where some monkey lovey patterns start to fall apart →
More Lovey Patterns and Safari-Style Favorites:
Crochet Elephant Lovey Pattern
see the yarn you need for this project
Jump to what you want to know:
Why monkey loveys work so well →
Best yarn for a monkey lovey →
The shape babies seem to like best →
Why This Crochet Monkey Lovey Will Be a Favorite
Most parents don’t notice this at first, but the lovey that stays in the crib may not be the most attractive. It is the one that feels easy to grab and hold onto. Those are the ones that get picked up again and again while another, possibly prettier one, may just sit there on its shelf.
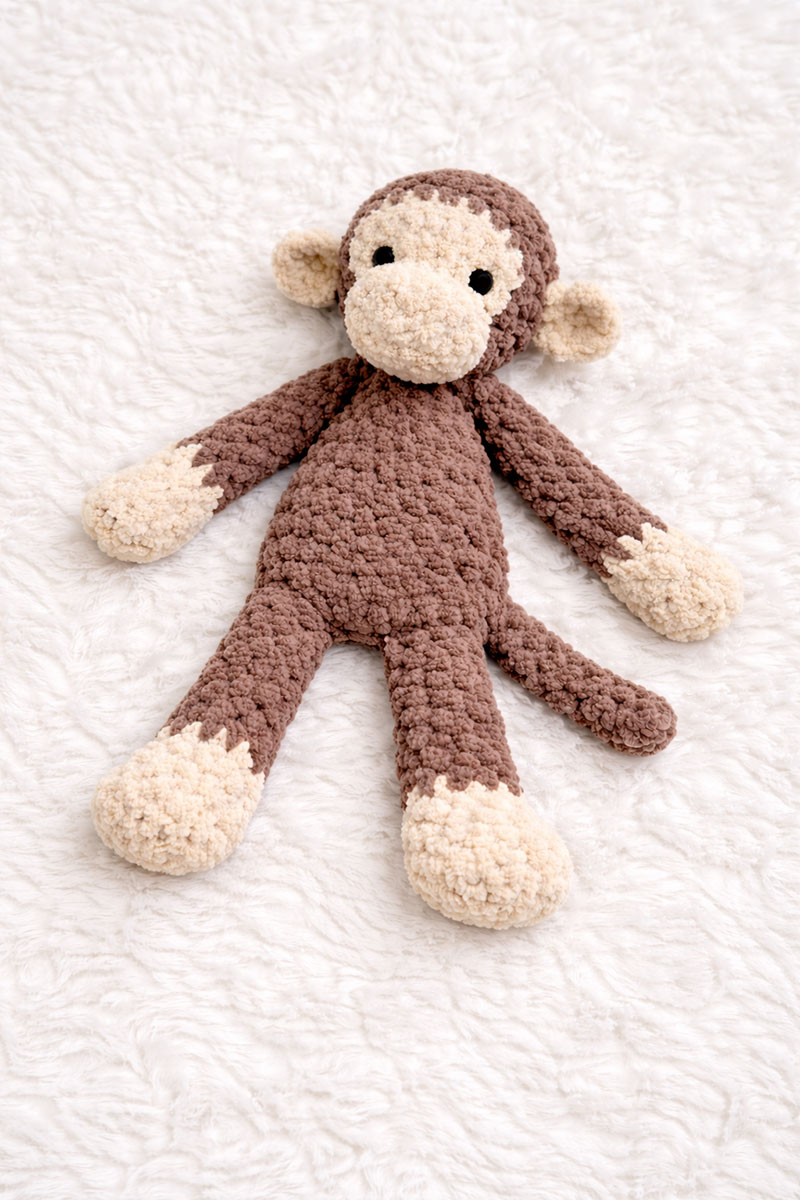
This crochet monkey lovey pattern is going to be one that's loved. It's built to move. The head holds its shape, but the body and limbs stay flexible, so it settles naturally instead of holding a fixed pose.
For a unique look in the same lovable style, this crochet fox lovey pattern works beautifully for woodland nurseries, while the crochet sea turtle pattern, crochet jellyfish pattern, and crochet fish pattern bring in a softer ocean theme that pairs naturally with this style of handmade lovey, and this highland cow crochet snuggler lovey pattern adds a little more farm-style personality to the mix.
My crochet cow pattern keeps the same natural feel but uses a flatter blanket body and simpler farm-style shaping that works especially well for beginner crochet baby gifts.
For more barnyard-inspired handmade gift ideas, these crochet farm animal lovey patterns gather cows, chickens, ducks, lambs, and other beginner-friendly farmhouse loveys into one easy baby gift collection.
Materials That Control The Final Shape
You should know before you start that the yarn you use controls how this turns out.
Safety Note: For baby items and nursery use, embroidered eyes are a better choice because they avoid the choking risk that can come with safety eyes.
Super bulky chenille yarn in brown and cream
6.5 mm crochet hook
Polyfill stuffing
14 mm safety eyes
Tapestry needle
Stitch marker
Black embroidery yarn for nose
I’ve learned that yarn that feels slightly dense holds its structure better after repeated use.
see the yarn style that gives this result
See why some lovey shapes get ignored →
Crochet Monkey Lovey Pattern That Produces This Exact Snuggler
Short answer: A crochet monkey lovey works when the head is firm, the body is lightly filled, and the limbs stay loose so they fall naturally when set down.
Abbreviations
sc = single crochet
inc = increase
dec = invisible decrease
mc = magic circle
Gauge
6 sc x 6 rounds = about 2 inches
Head Pattern With Exact Stitch Counts
Round 1: mc, 6 sc (6)
Round 2: inc in each stitch (12)
Round 3: sc 1, inc repeat (18)
Round 4: sc 2, inc repeat (24)
Round 5: sc 3, inc repeat (30)
Round 6: sc 4, inc repeat (36)
Round 7: sc 5, inc repeat (42)
Rounds 8 to 11: sc around (42 each round)
Switch to cream
Rounds 12 to 14: sc around (42 each round)
Insert safety eyes between rounds 11 and 12 with exactly 8 stitches between them
Switch to brown
Round 15: sc 5, dec repeat (36)
Round 16: sc 4, dec repeat (30)
Round 17: sc 3, dec repeat (24)
Stuff firmly
Round 18: sc 2, dec repeat (18)
Round 19: sc 1, dec repeat (12)
Round 20: dec around (6)
Close and weave in ends
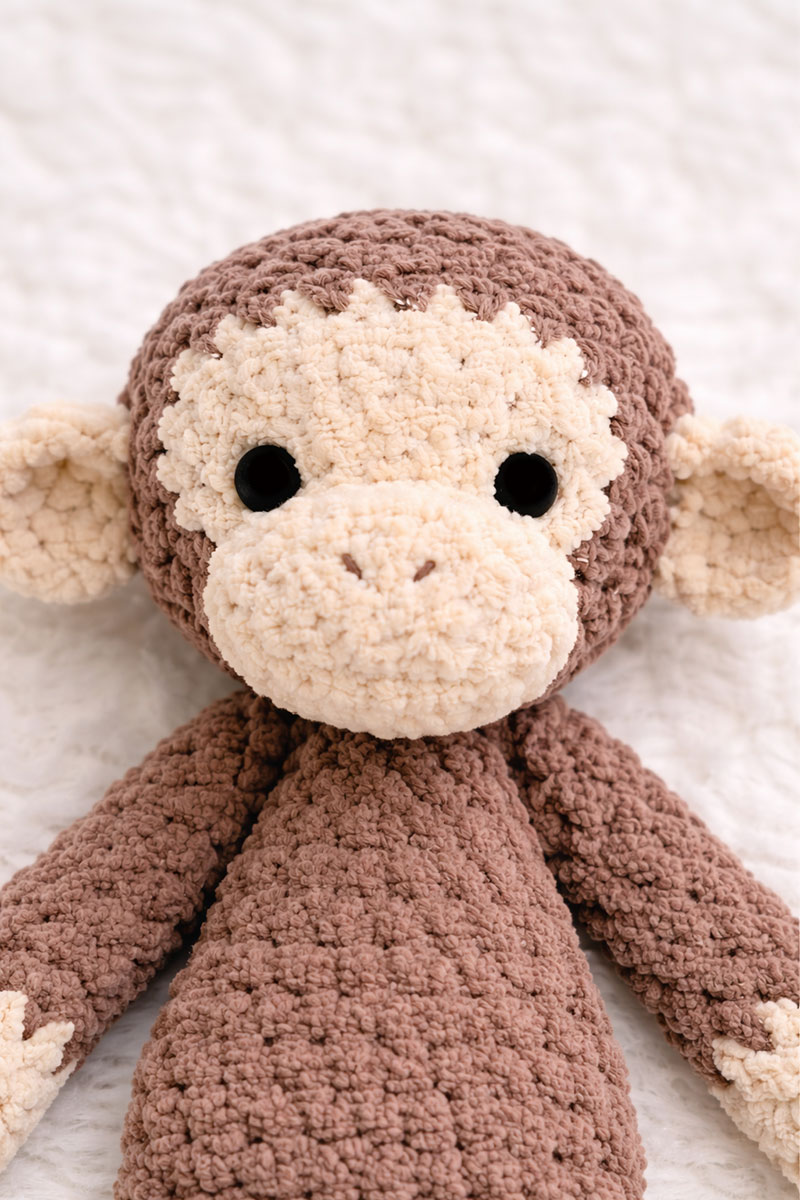
Finished head measures about 4.5 inches tall and should feel firm when pressed.
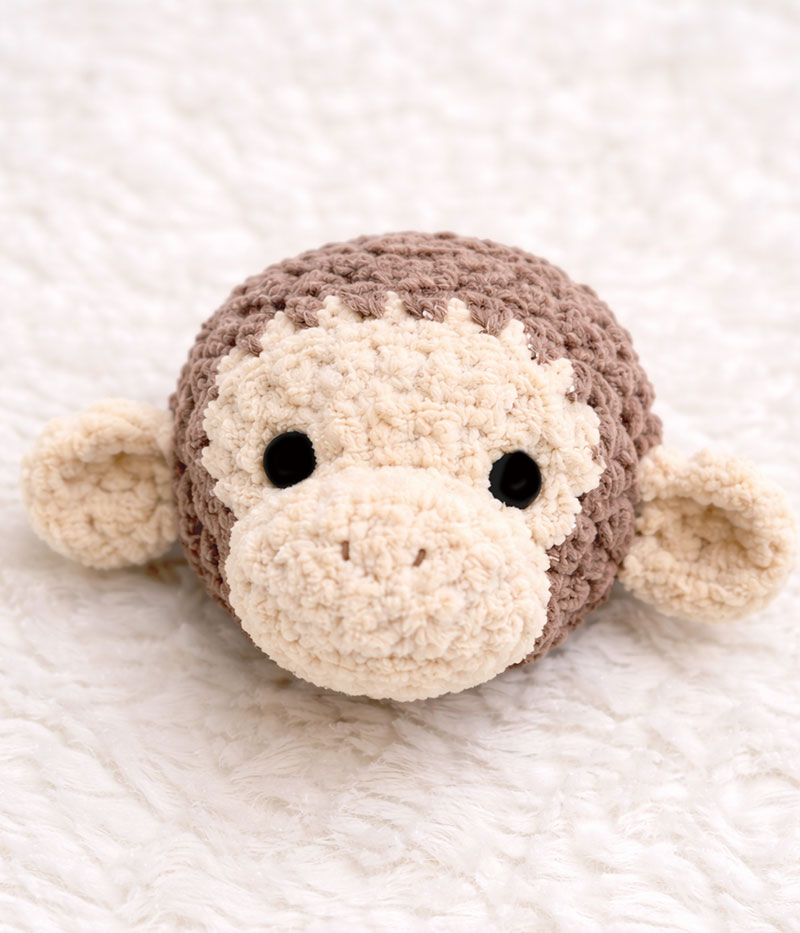
Muzzle And Ears With Exact Placement
Muzzle:
Round 1: mc, 6 sc (6)
Round 2: inc around (12)
Round 3: sc 1, inc repeat (18)
Round 4: sc around (18)
Lightly stuff
Attach so the top edge sits one row below the eyes and spans 10 stitches across the face
Ears make 2:
Round 1: mc, 6 sc (6)
Round 2: inc around (12)
Round 3: sc around (12)
Attach between rounds 8 and 10, with inner edge 2 stitches behind each eye
Body Pattern With Exact Drape
Round 1: mc, 6 sc (6)
Round 2: inc around (12)
Round 3: sc 1, inc repeat (18)
Round 4: sc 2, inc repeat (24)
Rounds 5 to 9: sc around (24 each round)
Stuff only bottom two thirds lightly
Round 10: sc 2, dec repeat (18)
Round 11: sc around (18)
Round 12: sc around (18)
Fasten off
Finished body measures about 3.25 inches tall and bends easily.
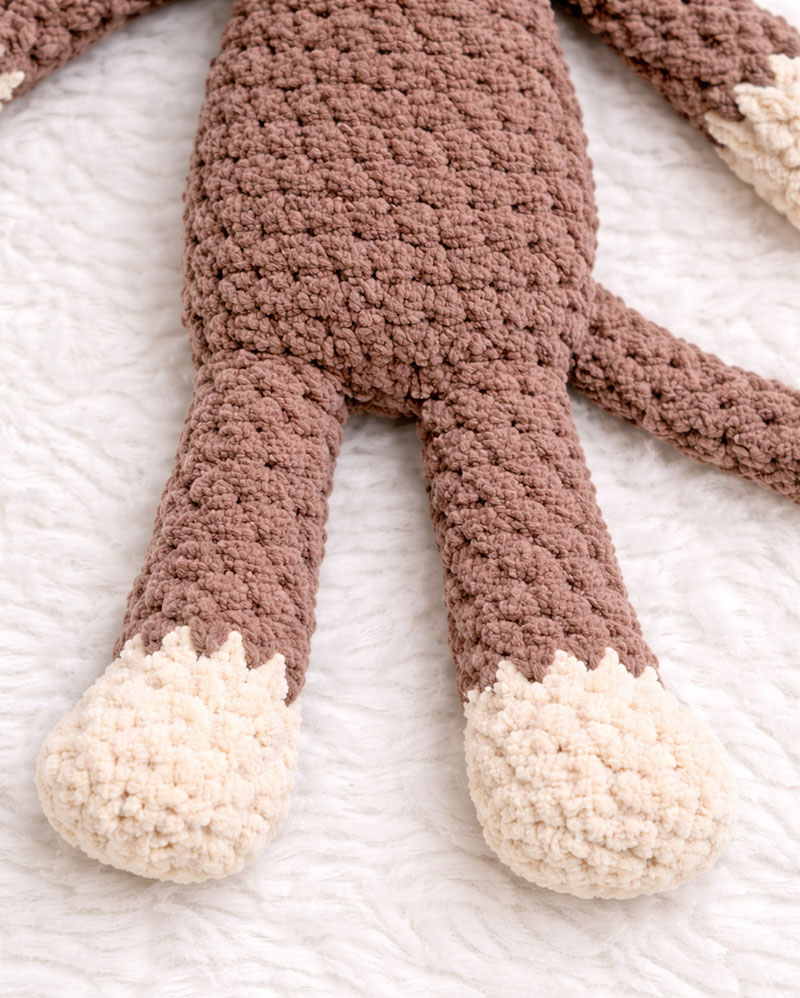
Arms And Legs With Exact Length And Placement
Arms make 2:
Round 1: mc, 6 sc (6)
Rounds 2 to 3: sc around (6)
Switch to brown
Rounds 4 to 15: sc around (6)
Stuff only first 3 rounds
Each arm measures about 5.5 inches
Legs make 2:
Round 1: mc, 6 sc (6)
Round 2: inc around (12)
Rounds 3 to 4: sc around (12)
Switch to brown
Rounds 5 to 10: sc around (12)
Stuff feet firmly, upper section lightly
Each leg measures about 4 inches
Tail Pattern
Round 1: mc, 4 sc (4)
Rounds 2 to 18: sc around (4)
Do not stuff. Fasten off.
The tail should measure about 4 inches and curve naturally.
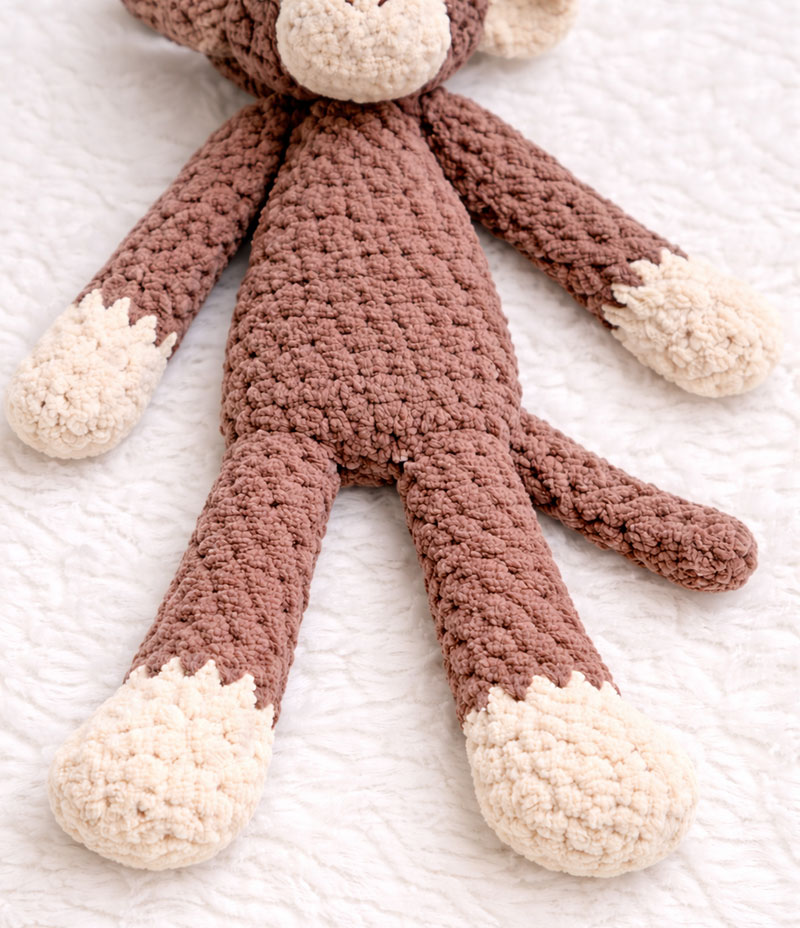
Assembly Map That Locks The Final Shape
Attach head centered on body opening
Attach arms at round 11 of body, with inner edge 3 stitches from center front, angled downward
Attach legs at base, with inner edges 2 stitches from center bottom, angled outward
Attach tail at lower back center
Attach muzzle and ears as described
Set it down once finished. It should settle into a relaxed shape instead of holding upright.
See how this pairs with simple baby quilt ideas →
What Makes This Crochet Monkey Lovey Pattern Work
Blunt truth. If every section is filled the same way, it will not behave the same way.
Firm head
Light body
Loose arms
Weighted feet
Many nurseries run into this without realizing it. The lovey that stays nearby is the one that adapts without needing adjustment.
Common Questions About Crochet Monkey Lovey Patterns
Is this safe for babies?
Yes when stitched securely and checked regularly.
Why does this style work better?
It moves naturally and creates easy grab points.
Does stuffing level matter?
Yes. It directly affects how the lovey behaves.
Will it hold up after washing?
With the right yarn, it keeps its shape well.
For product safety guidance, see U.S. Consumer Product Safety Commission.
When you click on links to various merchants on this site and make a purchase, this may result in this site earning a commission. This does not affect the price you pay.
UBGI Gold Standard 2026
Verified for performance, SEO,
and accessibility compliance.
Photos, decorating ideas, party setups, and reader submissions are shared for inspiration only and are not intended as step-by-step decorating, construction, or DIY instructions.
About Jan | Contact | Baby Room Ideas (Blog) | Site Map | Privacy Policy | Disclosure Policy | Disclaimer | Affiliate Disclosure | Earnings Disclosure | Facebook | Pinterest
I am a participant in the Amazon Services LLC Associates Program, an affiliate advertising program designed to provide a means for us to earn fees by linking to Amazon.
Copyright © 2006-2026. All Rights Reserved.