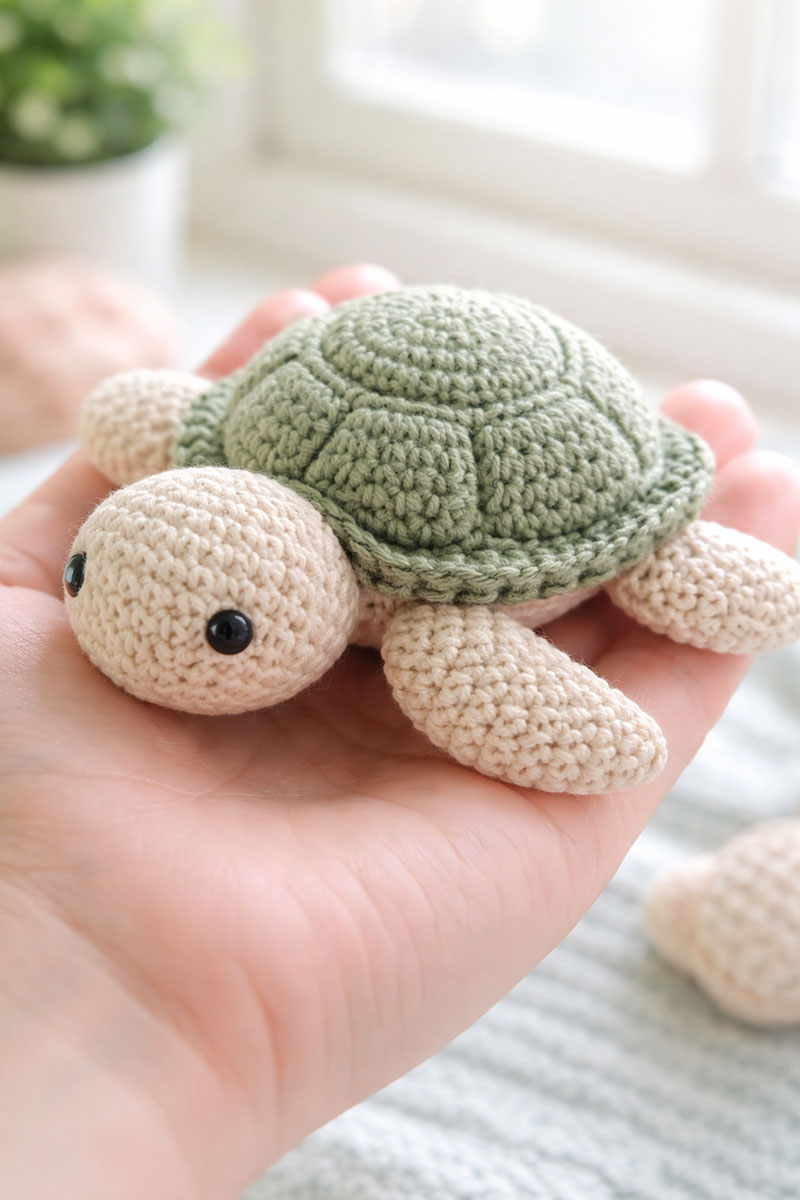
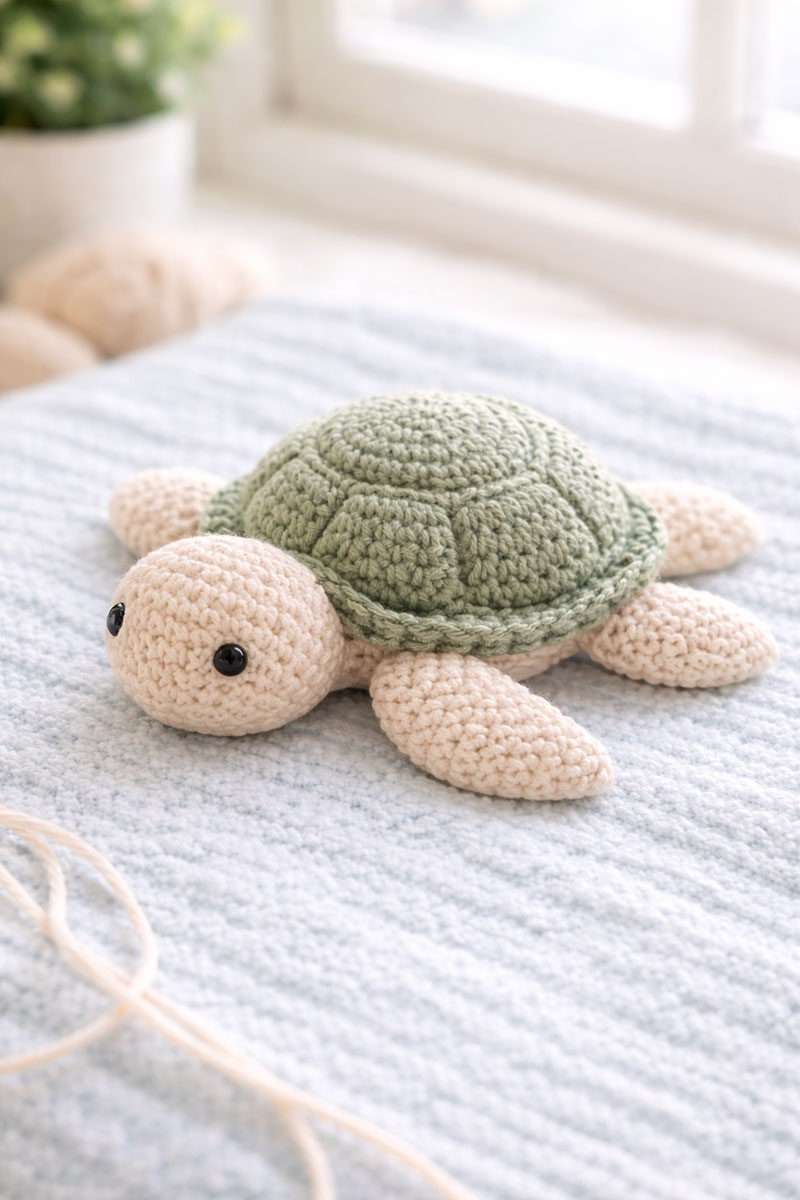
Crochet Sea Turtle Pattern
This crochet sea turtle pattern works up cute and fast. So many patterns I've tried look adorable in the photo and then the shell got bulky, the flippers looked stuck on, and somehow the whole thing ended up more blob than turtle. I like a sea turtle pattern that still looks sweet and has a natural shape to it. That was the goal for this pattern.
Make a full ocean crochet set

soft cotton yarn set for baby-safe crochet
Jump to what you need
Crochet sea turtle pattern that lays flat every time
A crochet sea turtle pattern stays flat when the shell height is controlled, the base remains wider, and all pieces are attached at fixed positions. The finished turtle should rest evenly with no lift at the center and no flipper curl.
Blunt truth: If the shell rises above the edge line, the turtle will never sit flat.
Materials and exact setup for consistent results
- Worsted weight cotton yarn (category 4), 60–80 yards
- 3.5 mm crochet hook
- Polyfill stuffing, used lightly
- Yarn needle
- Stitch marker
- Embroidery thread for eyes
Finished size: 6 inches wide
Gauge: 6 single crochet stitches per inch. Fabric should feel firm with no visible gaps.
Abbreviations and beginner setup
- sc = single crochet
- inc = 2 sc in same stitch
- dec = invisible decrease (front loops only)
- sl st = slip stitch
- ch = chain
Work in continuous rounds. Place a stitch marker in the first stitch of each round. The stitch directly after the marker is stitch 1. Always count back to confirm before placing pieces.
If you do not use a magic ring, chain 2 and place all starting stitches into the first chain.
Shell top piece with locked stitch counts
- Round 1: Magic ring, 6 sc (6)
- Round 2: inc in each stitch (12)
- Round 3: (1 sc, inc) repeat (18)
- Round 4: (2 sc, inc) repeat (24)
- Round 5: (3 sc, inc) repeat (30)
- Round 6: (4 sc, inc) repeat (36)
- Round 7: sc in each stitch (36)
- Round 8: sc in each stitch (36)
Final stitch count must be 36. The shell should measure about 5 inches across and sit slightly shallow, not raised. If it domes, tension is too loose.
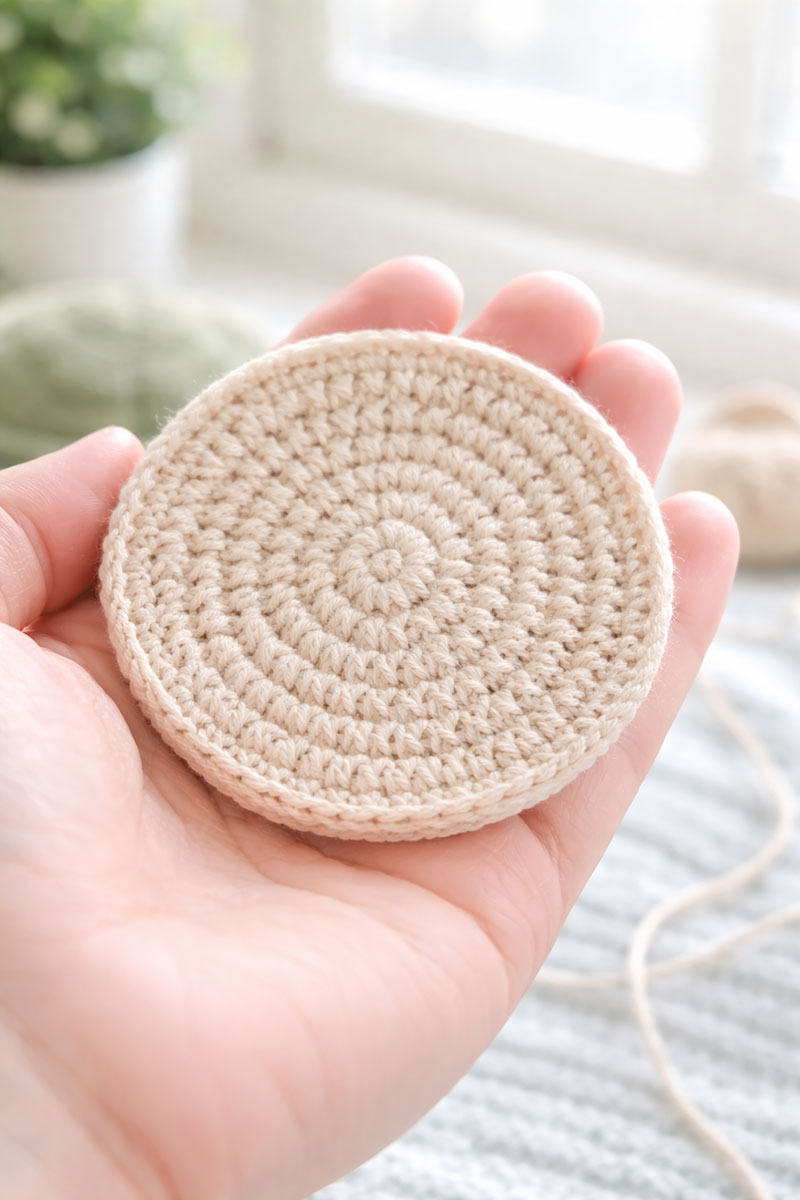
Flat base that prevents any rocking
- Round 1: Magic ring, 6 sc (6)
- Round 2: inc in each stitch (12)
- Round 3: (1 sc, inc) repeat (18)
- Round 4: (2 sc, inc) repeat (24)
- Round 5: (3 sc, inc) repeat (30)
- Round 6: (4 sc, inc) repeat (36)
Final stitch count must be 36. The base must lay completely flat. If edges curl upward, stitches are too tight.
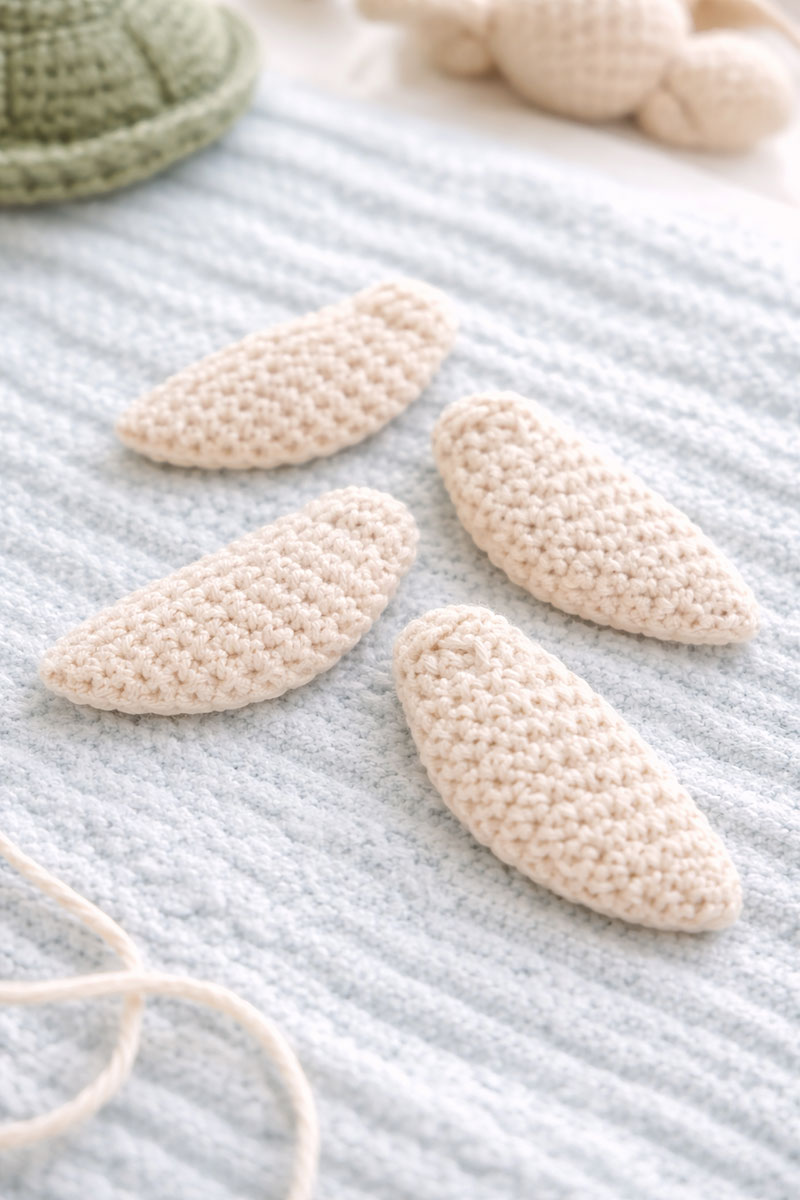
Flippers shaped and sized to match the body
- Ch 6
- Row 1: sc in 2nd chain from hook and across (5)
- Row 2: turn, skip last stitch, sc across (4)
- Row 3: turn, sc across (4)
Make 4 identical flippers. Each should measure about 1.5 inches and lay flat with no curl.
Head with controlled shaping
- Round 1: Magic ring, 6 sc (6)
- Round 2: inc in each stitch (12)
- Round 3: sc around (12)
- Round 4: (2 sc, dec) repeat (9)
Lightly stuff. The head should feel firm but not rounded outward.
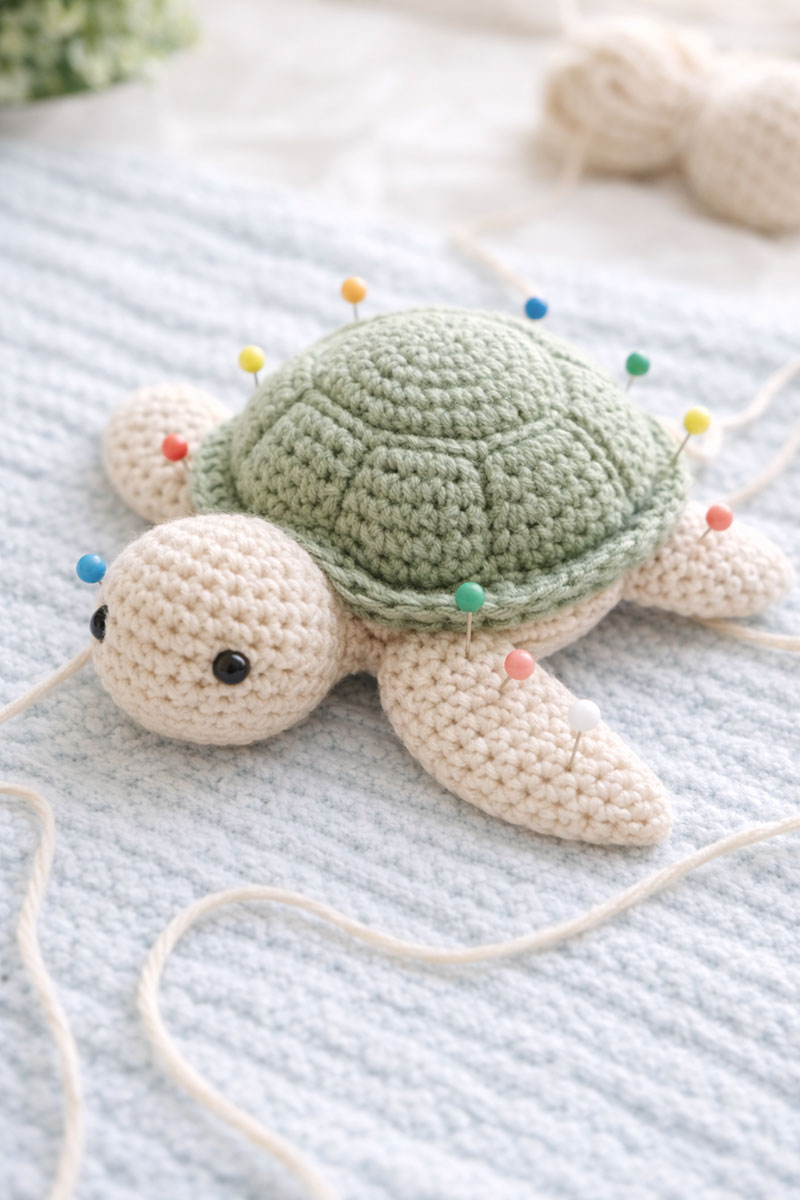
Assembly with exact placement, height, and angle
Lay the base flat with stitch 1 at the front center. This defines all placement. Do not rotate after marking.
Join shell to base using single crochet through both loops of each stitch. Match stitch to stitch with no stretching or compressing. Stop with a 2-inch opening. Add a small amount of stuffing, then close. The center must remain slightly lower than the edges.
Flipper placement (exact position and height):
- All flippers attach along the seam line between shell and base
- Front left flipper: center at stitch 9
- Front right flipper: center at stitch 27
- Back left flipper: center at stitch 17
- Back right flipper: center at stitch 35
Attach each flipper across 3 stitches total, centered on the stitch listed above. Align flippers flat and angled slightly downward toward the base. Do not angle forward or upward.
Head placement (locked center and angle):
- Center head at stitch 3
- Attach across stitches 2, 3, and 4 only
- Position head so it angles slightly downward, not straight out
This usually becomes clear once everything is pinned in place. When positioned correctly, the turtle will sit evenly with balanced spacing.
Final shaping that guarantees a flat turtle
Press the shell gently downward. Do not add more stuffing. The turtle should rest flat immediately. If it lifts, remove stuffing before closing fully.
I’ve learned that the turtle settles into its final shape within a few hours when the stuffing is minimal.
Baby-safe finishing that holds up in real use
Embroider eyes using tight stitches. Weave in ends through at least three stitch paths. In the United States, avoiding small detachable parts reduces risk in nursery items.
For safety guidance, see U.S. Consumer Product Safety Commission.
How this crochet sea turtle fits in a nursery setup
Parents often notice this when placing handmade items around a room. Some pieces shift when touched. This one stays in place.
If you’re looking for a softer, flatter version for babies, try my crochet turtle lovey pattern.
For more similar projects visit my collection of free baby crochet patterns.
The finished turtle sits flat in a basket, on a shelf, or grouped with other ocean pieces. It is ideal for use as a crib mobile decoration if made in a smaller size.
See ocean themed nursery and ocean crib mobile ideas for placement ideas.
What makes this turtle lay flat
A crochet sea turtle pattern stays flat when shell and base stitch counts match, stuffing is minimal, and all pieces are attached at fixed stitch positions along the seam with controlled angles.
FAQ
Why does my turtle lift in the center?
Too much stuffing or a shell that is too tall causes lifting.
How do I keep the shape consistent?
Follow exact stitch counts and placement with no variation.
Is this beginner friendly?
Yes. The pattern uses simple stitches, exact counts, and fixed placement points, so a beginner can follow it more easily and get a consistent result.
Can this be used in a nursery?
Yes, when using embroidered details and secure finishing.
When you click on links to various merchants on this site and make a purchase, this may result in this site earning a commission. This does not affect the price you pay.
UBGI Gold Standard 2026
Verified for performance, SEO,
and accessibility compliance.
Photos, decorating ideas, party setups, and reader submissions are shared for inspiration only and are not intended as step-by-step decorating, construction, or DIY instructions.
About Jan | Contact | Baby Room Ideas (Blog) | Site Map | Privacy Policy | Disclaimer | Affiliate Disclosure | Earnings Disclosure
I am a participant in the Amazon Services LLC Associates Program, an affiliate advertising program designed to provide a means for us to earn fees by linking to Amazon.
Copyright © 2006-2026. All Rights Reserved.