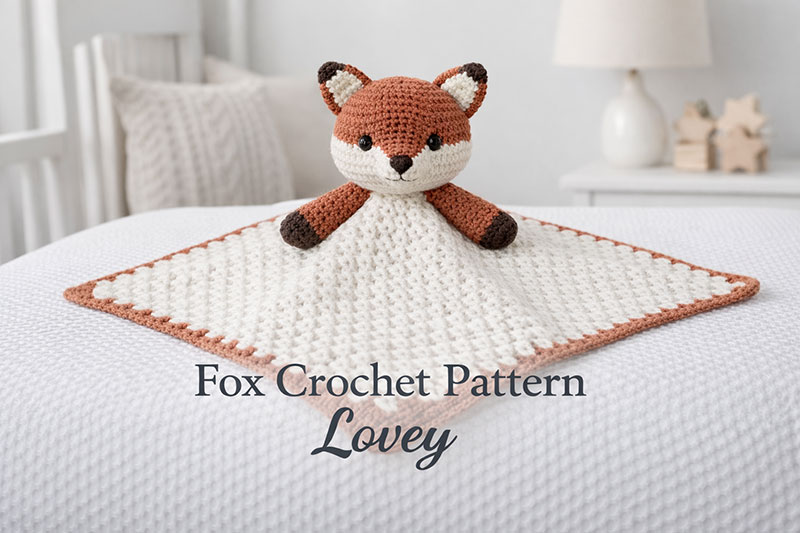
Fox Crochet Pattern (Cute Easy Baby Lovey Gift)
This fox crochet pattern is a cute handmade baby gift for a woodland nursery, baby shower basket, or keepsake lovey project. The finished fox has enough personality to feel special, but the pattern still uses simple stitches, basic shaping, and a small blanket base that is easy to manage.
More Baby Lovey Patterns to Make
On This Page
See preferred worsted weight yarn set for crochet projects here
Fox Crochet Pattern for a Baby Lovey Gift
This fox crochet pattern creates a woodland-style baby lovey with a soft fox head attached to a flat square blanket. The pattern uses beginner stitches, slow shaping, and simple assembly without difficult color changes or advanced techniques.
For more handmade nursery gift ideas, my crochet animal lovey patterns collection includes several easy woodland animals, while these easy baby lovey crochet patterns focus on smaller blanket-style projects for newer crocheters.
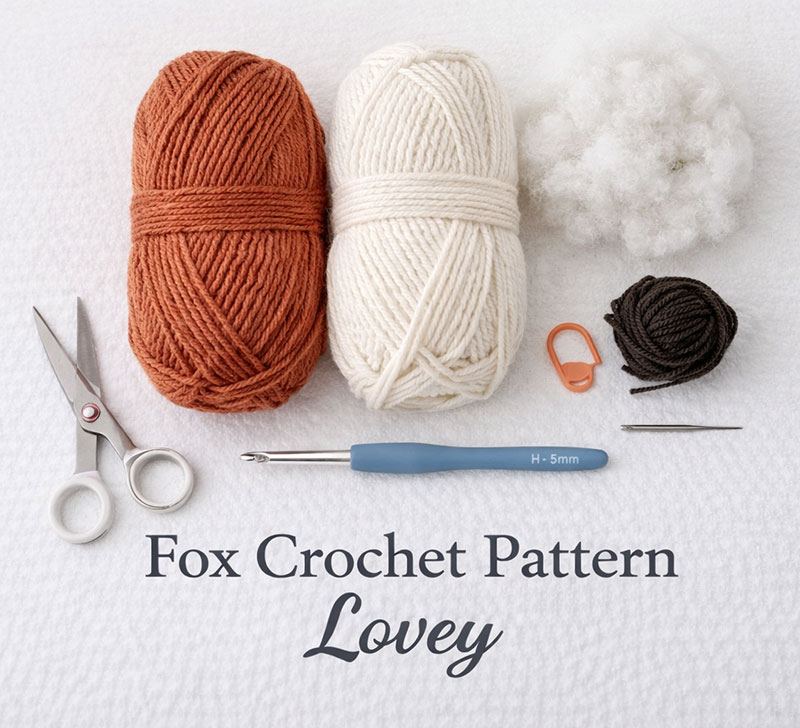
Materials You Will Need
Worsted weight yarn in rust, cream, and black
H 5.0 mm crochet hook
Yarn needle
Scissors
Polyfill stuffing
Stitch marker
Straight pins for assembly
Your stitches should stay fairly tight so stuffing does not show through the fox head. If your stitches feel loose, move down one hook size.
Abbreviations
ch = chain
sc = single crochet
inc = 2 single crochet in same stitch
dec = single crochet 2 stitches together
sl st = slip stitch
st = stitch
sp = space
The beginning chain at the start of rounds does not count as a stitch unless stated otherwise.
Fox Head Pattern
Using rust yarn:
Round 1: Make a magic ring and work 6 sc into ring. Pull ring closed. (6)
Round 2: Inc in each stitch around. (12)
Round 3: *1 sc, inc* repeat around. (18)
Round 4: *2 sc, inc* repeat around. (24)
Round 5: *3 sc, inc* repeat around. (30)
Rounds 6 through 10: Sc in each stitch around. (30)
Your piece should now look like a small rounded cup.
Round 11: *3 sc, dec* repeat around. (24)
Round 12: *2 sc, dec* repeat around. (18)
Stuff firmly before continuing.
Round 13: *1 sc, dec* repeat around. (12)
Round 14: Dec around. (6)
Fasten off leaving a tail. Thread tail through front loops of remaining stitches and pull closed.
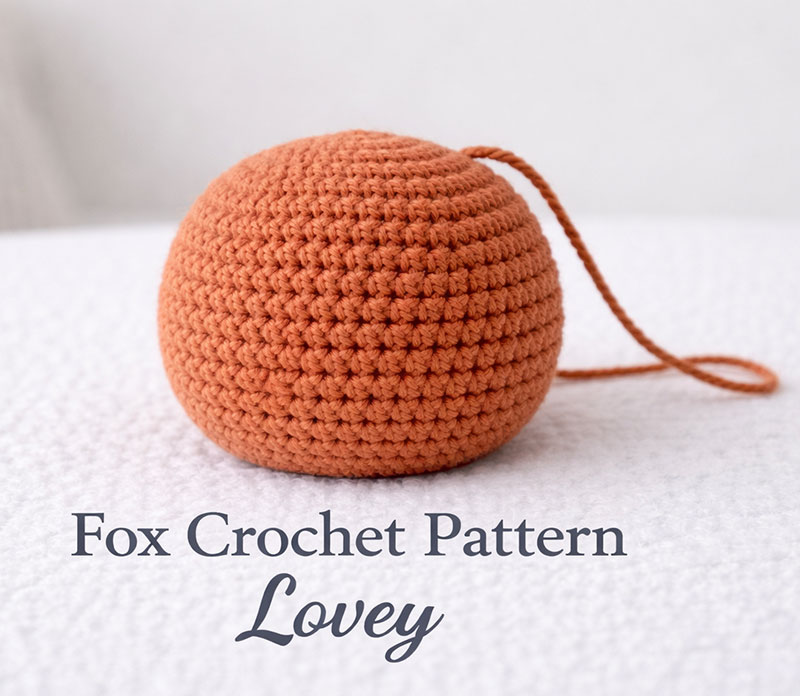
The head should feel firm and rounded without gaps between stitches.
Fox Ear Pattern Make Two
Using rust yarn:
Row 1: Ch 2. Work 3 sc into second chain from hook. Turn. (3)
Row 2: Ch 1. Inc in first stitch, sc in next stitch, inc in last stitch. Turn. (5)
Row 3: Ch 1. Sc across. Turn. (5)
Row 4: Ch 1. Inc in first stitch, sc across to last stitch, inc in last stitch. (7)
Fasten off leaving tail for sewing.
Lightly flatten the ears with your fingers before attaching them.
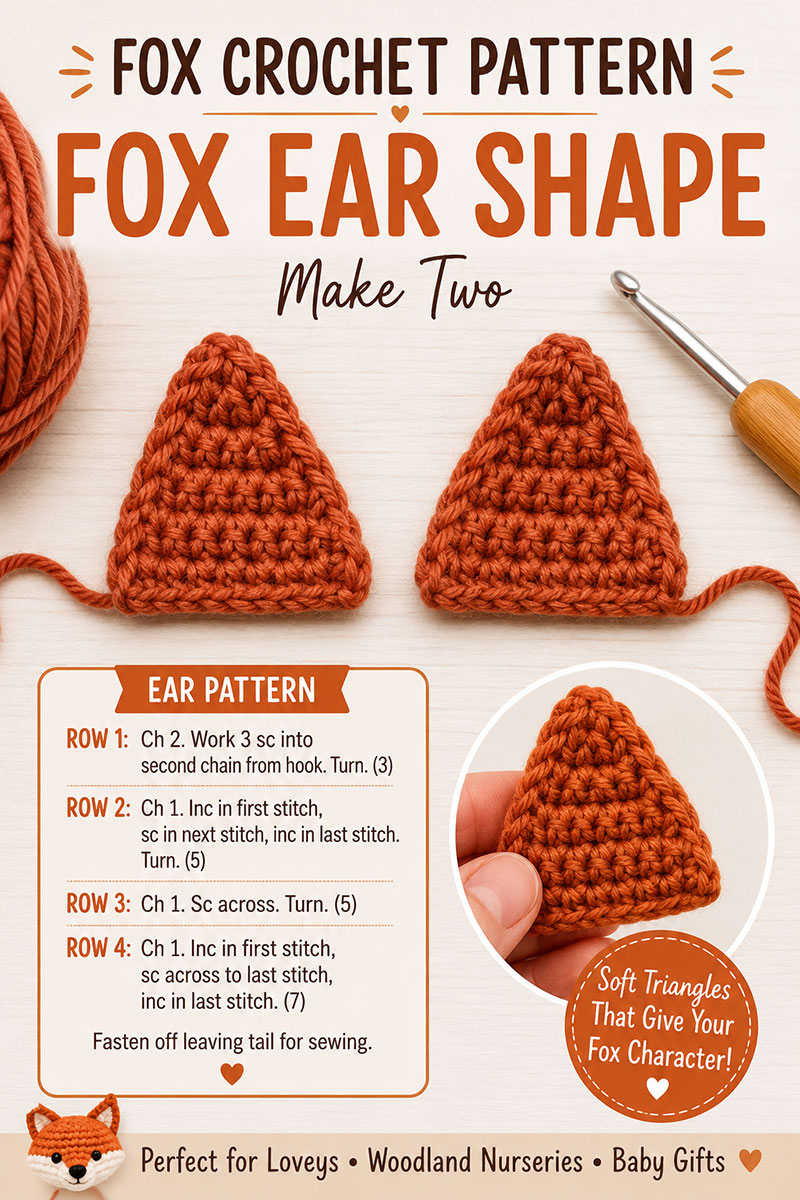
The ears should form small soft triangles that sit naturally against the head.
Fox Muzzle Pattern
Using cream yarn:
Round 1: Make a magic ring and work 6 sc into ring. (6)
Round 2: Inc around. (12)
Round 3: Sc around. (12)
Fasten off leaving tail for sewing.
Flatten the circle slightly into an oval shape before attaching.
Face Placement and Assembly
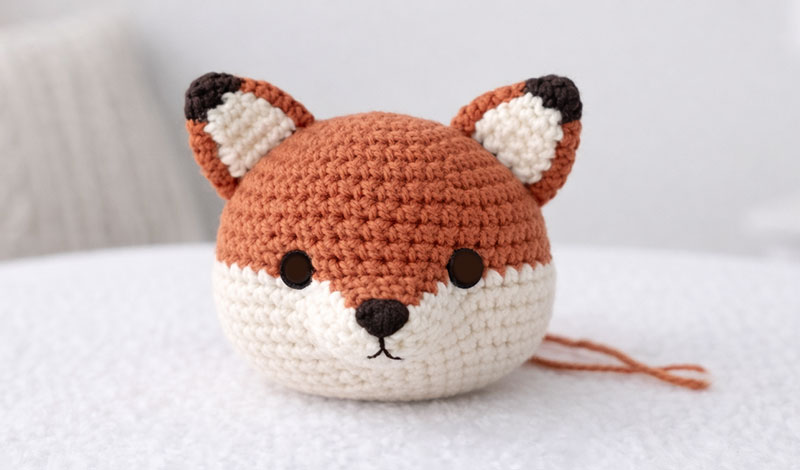
Pin the muzzle onto the lower center front of the head before sewing.
Using whip stitches, sew through both loops around the outer edge of the muzzle.
Embroider eyes about 5 stitches apart slightly above the muzzle.
Use black yarn to stitch a small triangle nose onto the center of the muzzle.
Pin the ears onto the upper sides of the head before sewing so both sides match evenly.
Your fox should clearly resemble a fox face before attaching it to the blanket.
Lovey Blanket Pattern
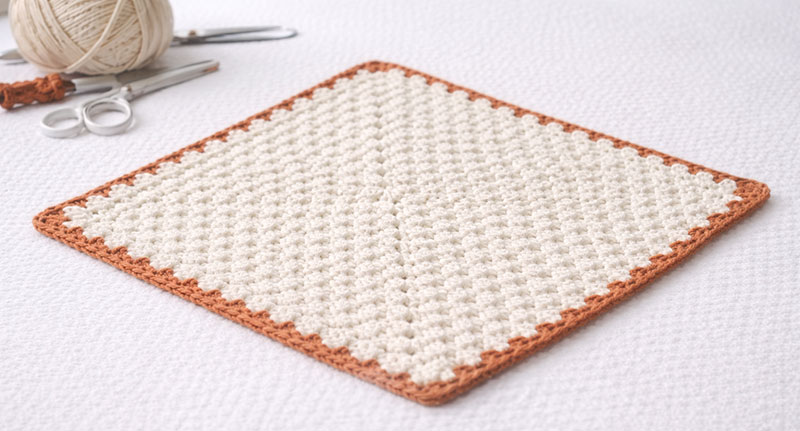
This blanket uses a traditional granny-square style layout because it stays flat and is easier for beginners to recognize and troubleshoot.
Using cream yarn:
Round 1: Make a magic ring. Ch 2. Work 2 sc into ring. Ch 2. *Work 3 sc into ring, ch 2.* Repeat from * to * 2 more times. Join with sl st to first sc.
You should now have 4 stitch groups and 4 corner chain spaces forming a small square.
Round 2: Sl st into first corner sp. Ch 1. Work *(3 sc, ch 2, 3 sc)* into same corner sp. Move to next corner and repeat around. Join with sl st to first sc. (24 sc total)
The square should now sit flat with visible corners.
Round 3: Sl st into first corner sp. Ch 1. Work *(3 sc, ch 2, 3 sc)* into corner sp. Work 3 sc into side sp between corners. Repeat around. Join. (36 sc total)
Round 4: Repeat pattern from Round 3. You will now have 2 side clusters between corners. (48 sc total)
Round 5: Repeat around placing 3 sc into each side sp and *(3 sc, ch 2, 3 sc)* into corners. (60 sc total)
Round 6: Repeat Round 5. (72 sc total)
Round 7: Repeat Round 5. (84 sc total)
Round 8: Repeat Round 5. (96 sc total)
The blanket should stay flat after every round. If corners begin pulling upward, your stitches may be too tight. If the edges ripple heavily, your tension may be too loose.
The finished blanket portion should measure about 12 to 14 inches across before adding the border.
Border Round
Using rust yarn:
Join yarn in any corner space.
Work 1 sc in every stitch around entire blanket.
Work 3 sc in each corner space.
Join with sl st to first sc.
Fasten off and weave in ends.
This border helps the blanket edge hold its shape and gives the lovey a cleaner finished look.
Attaching the Head

Lay the blanket flat and locate the center point.
Position the fox head so the blanket corners fall evenly beneath it.
Pin the head into place before sewing.
Using rust yarn and a yarn needle, whip stitch around the bottom edge of the head through both loops.
Sew around the base twice for extra stability.
Check the fox from the front before tying off the final yarn end. The head should sit upright without leaning heavily to one side.
Common Beginner Mistakes
If the blanket starts turning into a bowl shape, the corner spaces may be missing stitches.
If the edges ripple too much, stitches may be too loose or extra stitches may have been added accidentally.
If the fox head wobbles, sew around the base one more time before weaving in ends.
Beginners sometimes place the ears too low. Pinning all pieces before sewing helps the face look more balanced.
Finishing the Lovey
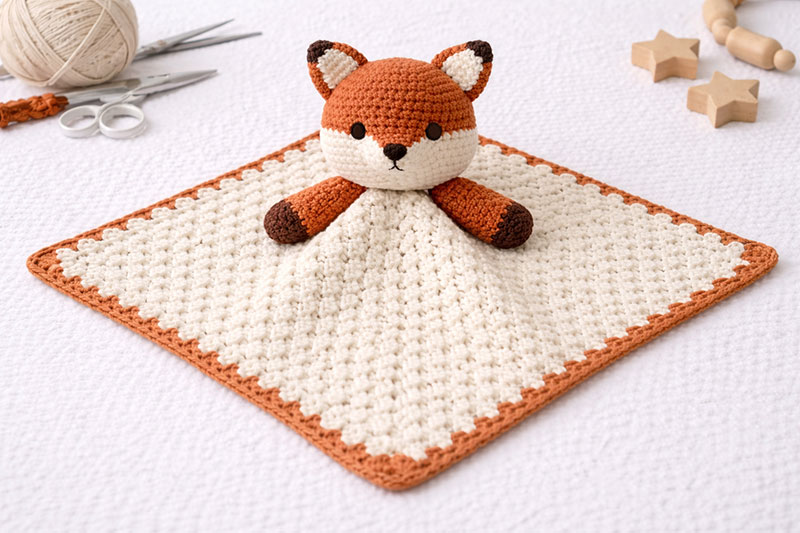
The finished fox lovey should feel balanced, flat, lightweight, and easy to fold or carry.
Weave in all yarn ends securely.
Double-check the ears, muzzle, and head attachment before gifting.
If desired, lightly steam block the blanket portion only.
Size Notes
The finished lovey measures roughly 14 to 16 inches across using worsted weight yarn and an H hook.
To make the blanket larger, continue repeating the square rounds before adding the border.
To make it smaller, stop after Round 6.
Woodland Nursery Gift Ideas
A fox lovey works especially well for woodland nursery themes, forest animal baby showers, camping nursery decor, and handmade baby baskets.
To build a full room around the same little fox theme, these fox woodland nursery ideas show how forest creatures can work together to complement loveys and other decorative handmade pieces.
Woodland rooms usually feel far more believable once the decorative details start reinforcing the theme, and these woodland nursery decor ideas show how forest textures, rustic accents, shelving, and nature-inspired wall décor can help the room feel complete without becoming too busy.
For more woodland-style room inspiration, visit my woodland nursery ideas page.
For matching forest-style projects, browse these woodland nursery patterns.
My bear lovey pattern also pairs naturally with woodland nursery themes and handmade baby gifts.
Baby Safety Note
For babies, embroidered facial features are safer than buttons or plastic safety eyes.
Always check seams carefully before gifting handmade baby items.
Loveys should not be placed in infant sleep spaces or cribs during sleep.
For current infant sleep guidance in the United States, visit the U.S. Consumer Product Safety Commission safe sleep recommendations.
Common Questions
Is this fox crochet pattern beginner friendly?
Yes. The pattern uses basic stitches and gradual shaping without difficult techniques.
Can I use different yarn colors?
Yes. Brown, gray, cream, and white combinations also work well.
How do I keep the blanket flat?
Make sure each corner receives the correct stitches and maintain even tension throughout the rounds.
Can I make the lovey larger?
Yes. Continue adding square rounds before the border.
Is this suitable for a baby shower gift?
Yes. The finished fox lovey works especially well for woodland nursery themes and handmade baby baskets.
Once finished, this fox crochet pattern becomes a simple handmade keepsake that works for nursery decor, supervised cuddles, stroller time, and thoughtful baby gifts.
This pattern and all content on this page are original to Unique Baby Gear Ideas and may not be copied or reproduced.
When you click on links to various merchants on this site and make a purchase, this may result in this site earning a commission. This does not affect the price you pay.
UBGI Gold Standard 2026
Verified for performance, SEO,
and accessibility compliance.
Photos, decorating ideas, party setups, and reader submissions are shared for inspiration only and are not intended as step-by-step decorating, construction, or DIY instructions.
About Jan | Contact | Baby Room Ideas (Blog) | Site Map | Privacy Policy | Disclosure Policy | Disclaimer | Affiliate Disclosure | Earnings Disclosure | Facebook | Pinterest
I am a participant in the Amazon Services LLC Associates Program, an affiliate advertising program designed to provide a means for us to earn fees by linking to Amazon.
Copyright © 2006-2026. All Rights Reserved.