Free Crochet Halloween Applique Patterns
By Jan Bay
These free crochet Halloween applique patterns give you small flat motifs you can add to blankets, bags, costumes, banners and other fall projects. The collection includes bats, bat wings, a pumpkin, a ghost and a skull, so you can pick one design or mix several together for a bigger Halloween project.
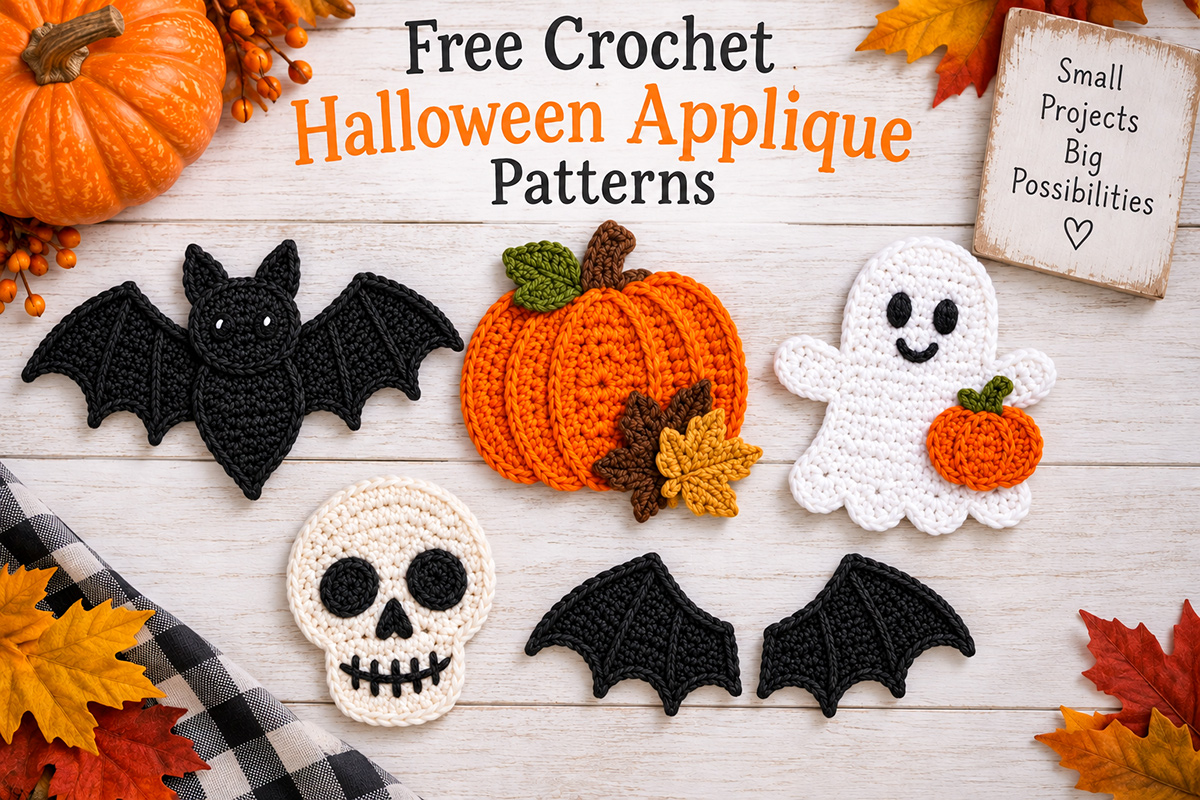
Choose From These Free Crochet Halloween Applique Patterns
Crochet Supplies for The Patterns on This Page
Jump to:
Crochet Bat Applique – make the finished Halloween bat Crochet Bat Wing – use a single wing for costumes and crafts Crochet Pumpkin Applique – ribbed pumpkin with fall leaves Crochet Ghost Applique – make the flat Halloween ghost Crochet Skull Applique – add a spooky skull motif Ways to Use the Appliques – blankets, bags, costumes and decorationsYou can use this page to compare the Halloween appliques before opening the full pattern you want to make. The bat is a complete little Halloween character, the ghost has a friendlier look with its small pumpkin, the skull is the bolder graphic choice, and the ribbed pumpkin works just as well for fall projects that aren't meant to look especially spooky. The bat wings are different from the others because they're a component pattern rather than a complete character.
If you're combining several motifs on one project, I wouldn't give every design equal space. Pick one or two larger focal appliques, then use the smaller bat or wing shapes as supporting details. That keeps the individual shapes easy to recognize instead of turning the whole project into one busy Halloween collage.
Crochet Bat Applique Pattern
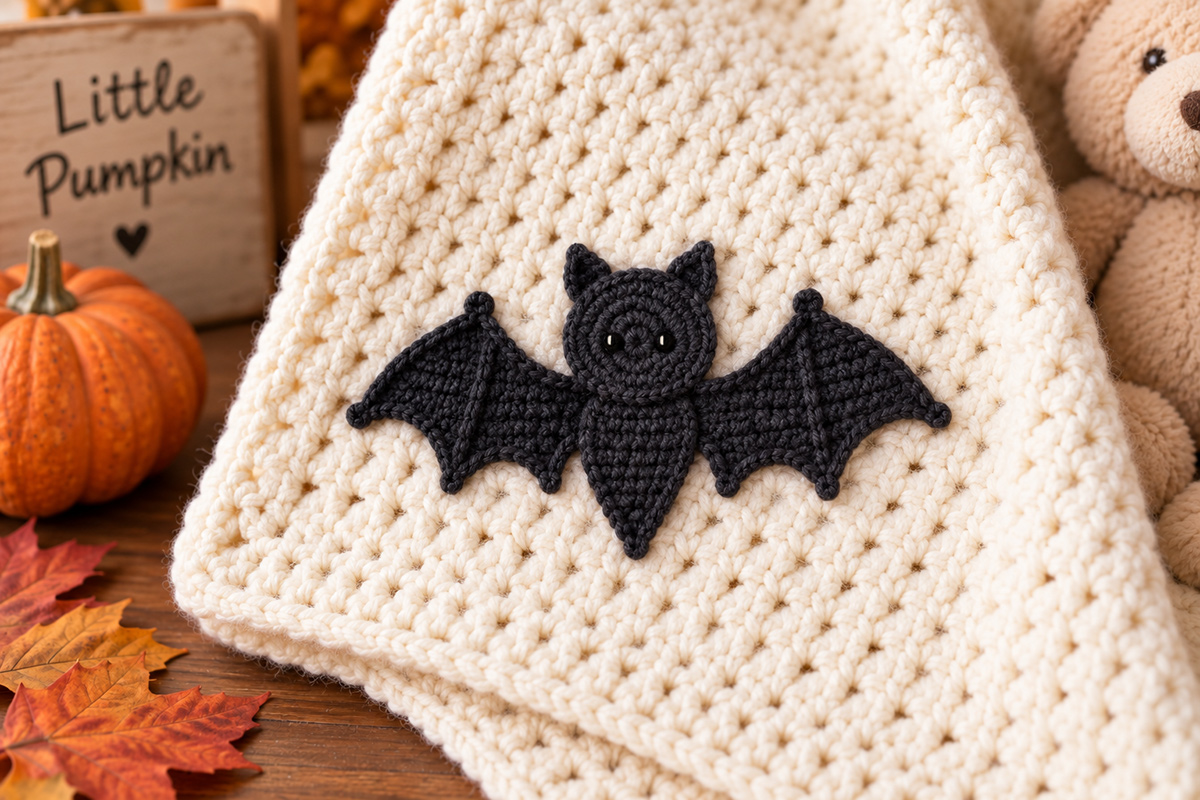
The free crochet bat applique pattern makes a complete flat bat with a rounded head, pointed ears, tapered body and two shaped wings. The finished bat is expected to measure about 4 1/2 to 5 inches across the spread wings and about 4 inches from the ears to the lower point of the body.
I'd choose this one when you want a small Halloween shape that still reads clearly from a distance. The wings give it most of its outline, so black, charcoal or deep plum against a lighter background will show the shape better than putting a dark bat on another very dark fabric.
The bat is made from a head, tapered body and two matching wings. You make the wings from the same instructions, flip one to create the mirrored pair and then sew everything together. The pointed ears are worked directly onto the head, so there aren't two extra tiny ear pieces to keep track of.
Use one bat on a bag or sweatshirt, or make several for a banner or wall hanging. If the project will be handled by a baby or child, sew the projecting wing edges and points securely to the background rather than leaving them loose.
Crochet Bat Wing Pattern in Three Sizes
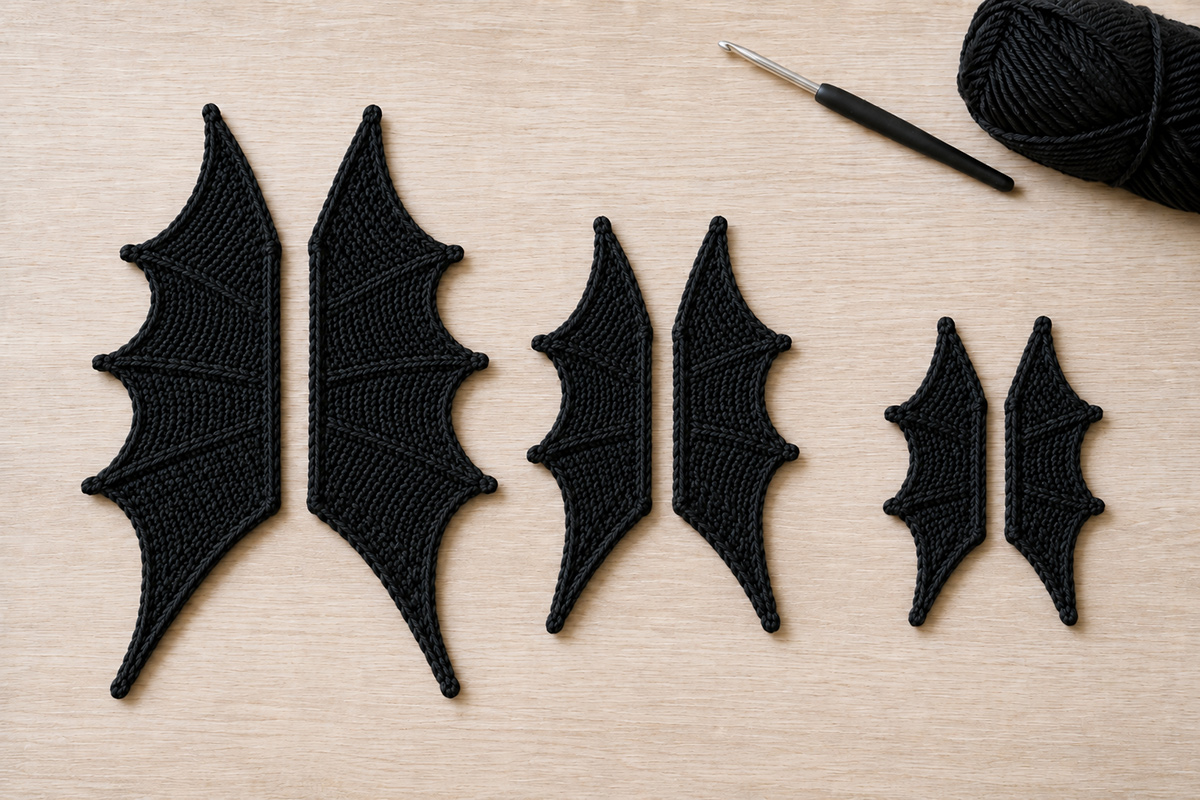
The free crochet bat wings pattern is the one to use when you need the wing shape without starting another complete bat pattern. It includes small, medium and large wings made with the same basic turned-row construction.
The small size works for a flat bat applique. The medium version gives you more wing for a lovey or other character project, and the large version can stand out on a blanket, framed crochet piece or seasonal wall hanging.
These aren't meant to be a complete Halloween motif by themselves unless that's the look you're after. If you simply want a finished little bat to sew onto something, use the complete bat applique above. Come to the wing page when you want to build your own bat, replace wings on another project or choose a larger wing size without enlarging a small pattern by guesswork.
Make two identical wings and flip one before attachment. That gives you the mirrored pair without maintaining separate left-wing and right-wing instructions.
Crochet Pumpkin Applique Pattern with Fall Leaves
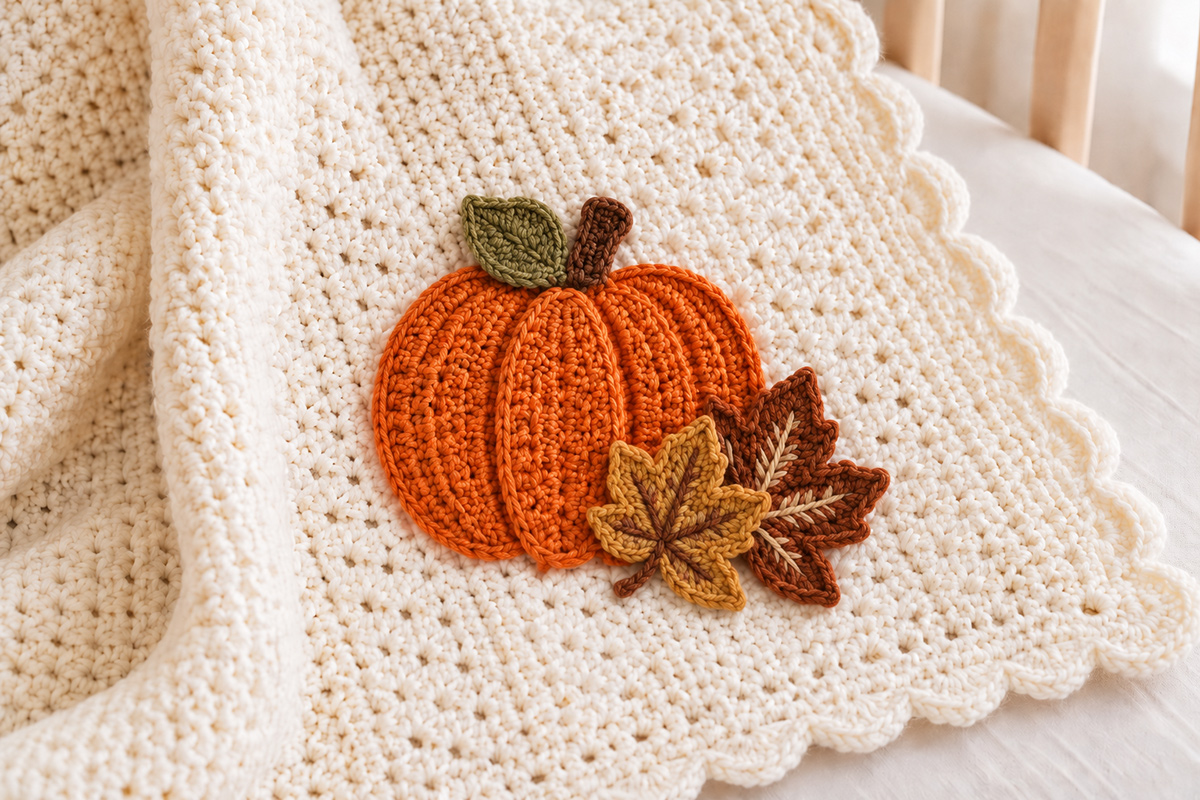
The free crochet pumpkin applique pattern is the most detailed fall design in this collection. Instead of making one plain orange oval, the pumpkin uses two wider side lobes and a narrower center lobe. Their overlapping sc edges create the raised ribbed look.
A short brown stem sits at the top with a small olive leaf on the upper left. Two separate autumn leaves overlap at the lower right, with the darker brown leaf behind and the smaller tan or mustard leaf in front. That asymmetrical leaf arrangement is part of the design, not extra decoration you have to add to every version.
The orange pumpkin body is expected to finish close to 7 inches wide and about 6 to 6 1/2 inches tall. With all three leaves arranged as shown, the complete motif spreads roughly 8 1/2 to 9 1/2 inches across.
I'd use this one when you want the project to work beyond Halloween. Leave both lower leaves in place for the full harvest version, use only one for something simpler, or skip the two bottom leaves and keep the ribbed pumpkin by itself. The basic pumpkin still works without changing its construction.
Crochet Ghost Applique Pattern with a Little Pumpkin
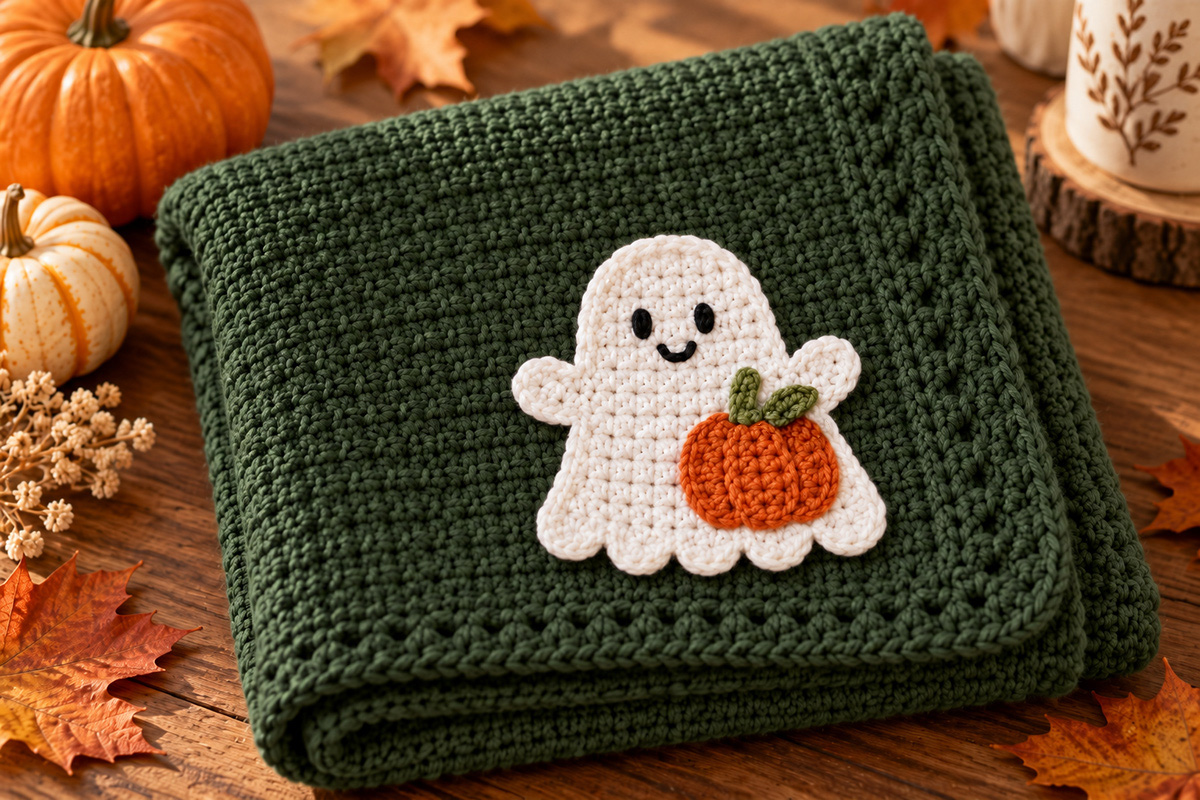
The free crochet ghost applique pattern makes a flat ghost with a rounded head, gently widening body, two short arms and five separate curves along the lower edge. A small orange pumpkin sits over the lower right side instead of leaving the ghost as a plain white shape.
The finished ghost is expected to measure about 5 inches tall and about 5 to 5 1/2 inches across from arm tip to arm tip. The face is embroidered, and the little pumpkin is also crocheted flat so the whole applique can lie against a blanket, shirt, bag or wall hanging.
Pick the ghost when you want Halloween without making the project too dark or severe. The embroidered face and pumpkin give it a friendlier look than the skull, while the five lower waves keep the white body from reading as a simple oval with eyes.
Background color matters with this one. I'd use forest green, charcoal, rust or another medium-to-dark color behind the white ghost. Cream or white can make too much of the outline disappear.
Crochet Skull Applique Pattern
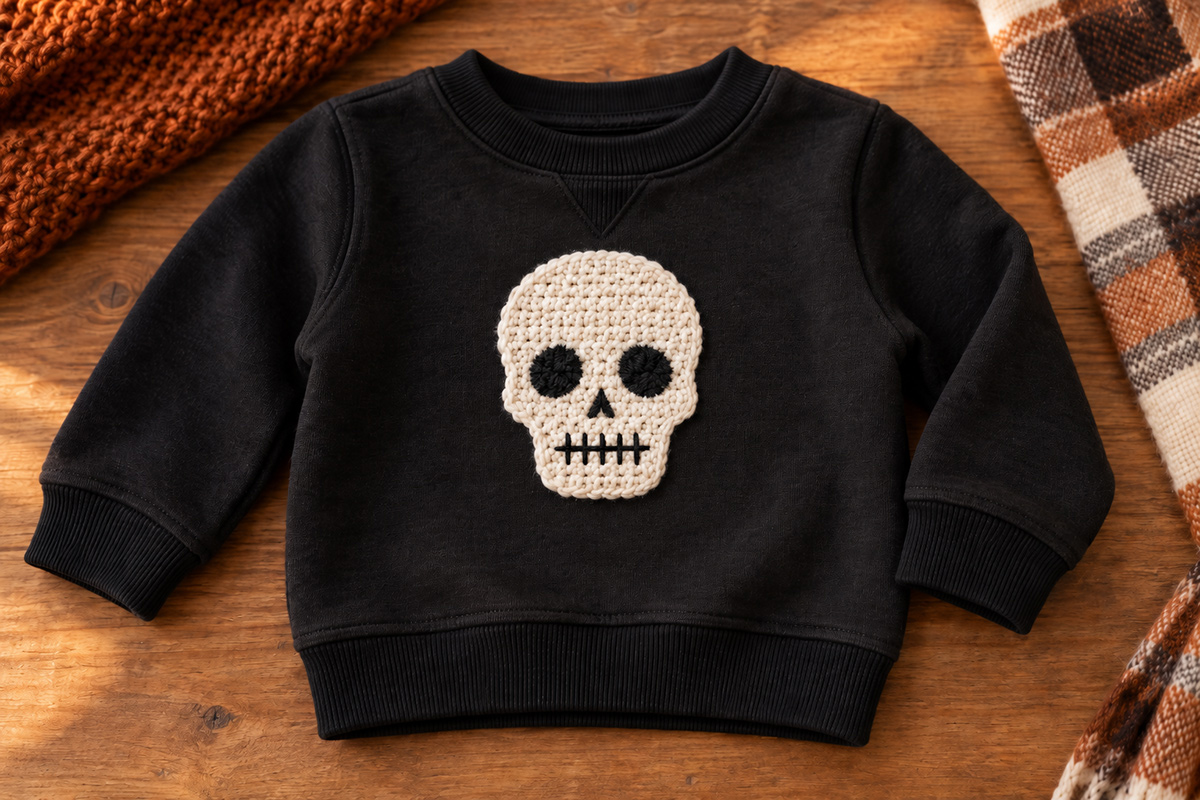
The free crochet skull applique pattern is the bolder choice in this group. It works especially well when you want a Halloween motif for clothing, a tote bag, blanket, wall hanging or a goth-inspired handmade project rather than the softer harvest look of the pumpkin or the friendly expression of the ghost.
I wouldn't surround the skull with a lot of extra detail. Give the outline enough open background around it to stay recognizable. High contrast helps too. A light skull on black, charcoal, deep plum or another dark background will give you a much clearer graphic shape than two similar colors together.
It also makes a useful counterpoint when you're mixing motifs. A pumpkin and ghost can carry most of the color, then one skull adds a sharper Halloween note without making every piece in the project look the same.
Ways to Use Crochet Halloween Appliques
You don't need to use all five designs every time. For a blanket or wall hanging, I'd start by choosing one main motif, then add one or two smaller supporting shapes if the project still needs them. A pumpkin with a couple of bats is enough. So is a ghost with one bat nearby. You can stop there.
For a banner, repeating the same two or three colors will do more to make the pieces look like a set than forcing every motif into every section. Black or charcoal bats, white ghosts, orange pumpkins and a limited amount of olive, tan or rust give you plenty to work with.
On clothing and bags, place the applique while the item is lying completely flat. Keep motifs away from zippers, snaps, neck openings and folds that have to bend repeatedly. Once you're happy with the position, sew the outside edges down with matching yarn or sturdy coordinating thread. Tack down points, stems, wings and other projecting pieces if the item will be handled often.
For baby-oriented projects, I would keep the embellishments flat and sewn on. Skip loose buttons, beads, bells and other small hard pieces, and make sure every yarn end and projecting edge is secure. If you add an applique to a baby blanket, keep that blanket out of an infant's sleep space. The U.S. Consumer Product Safety Commission safe sleep guidance recommends keeping the sleep space bare except for a fitted sheet.
Explore More Free Crochet Baby Patterns
Free Halloween Crochet Patterns
When you click on links to various merchants on this site and make a purchase, this may result in this site earning a commission. This does not affect the price you pay.

UBGI Gold Standard 2026
Reviewed under the site's
editorial checklist.
Photos, decorating ideas, party setups and reader submissions are shared for inspiration unless a page is specifically presented as a pattern, tutorial, reference guide or step-by-step project. Follow the instructions, measurements, safety guidance and manufacturer directions provided for the particular project or product.
About Jan | Contact | Baby Nursery Ideas (Blog) | Site Map | Privacy Policy | Disclosure Policy | Disclaimer | Affiliate Disclosure | Earnings Disclosure | Facebook | Pinterest
I am a participant in the Amazon Services LLC Associates Program, an affiliate advertising program designed to provide a means for us to earn fees by linking to Amazon. As an Amazon Associate I earn from qualifying purchases.
Copyright © 2006-2026. All Rights Reserved.