Free Crochet Turkey Rattle Pattern for Baby
By Jan Bay
This little crochet turkey rattle pattern brings the warm colors of Thanksgiving to a baby item that will both charm and entertain. It makes a plump little turkey with colorful tail feathers that is sure to make your little gobbler grin. The gentle rattle tucked securely inside is a delightful surprise. The turkey is small enough for little hands to hold, so it is easy to admire all the wonderful fall colors I included in this project.
Explore More Free Turkey Crochet Patterns
Jump to the Crochet Turkey Rattle Pattern
Materials and Supplies for This Crochet Turkey Rattle Pattern
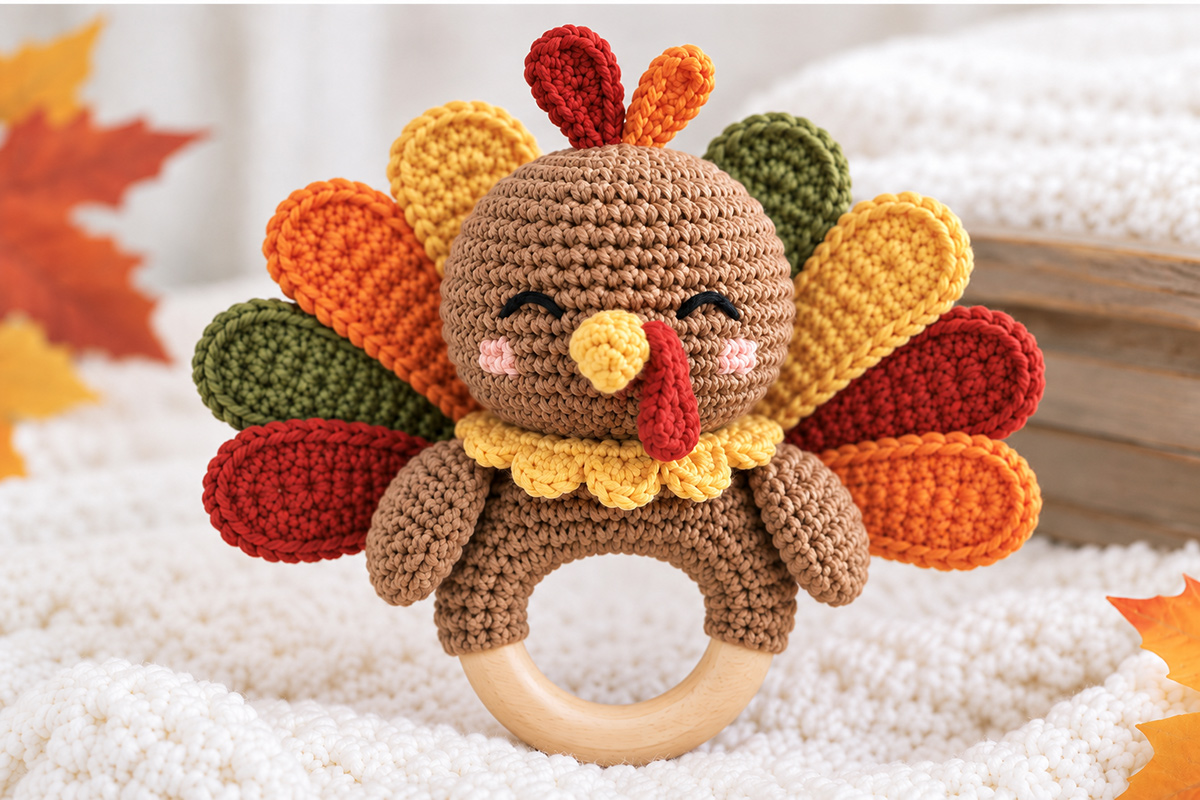
I wanted this crochet turkey rattle pattern to keep the fat, cheerful shape of the turkey in the example image instead of turning into a tiny turkey head stuck on a ring. The big round head, eight separate tail feathers, little wings and scalloped collar all matter. So does that chunky brown section around the top of the wooden ring.
Use a smooth worsted-weight cotton or cotton-rich yarn for the crochet work. I would choose yarn with enough body to hold the feather shapes and make a firm amigurumi fabric. Very fuzzy yarn hides the stitches and makes the little embroidered face harder to control, so I'd skip it here.
- Worsted-weight cotton or cotton-rich yarn, Category 4
- Approximately 65 to 80 yards medium brown
- Approximately 20 to 25 yards golden yellow
- Approximately 12 to 18 yards deep red
- Approximately 12 to 18 yards burnt orange
- Approximately 12 to 18 yards olive green
- Small amount of blush pink yarn
- Small amount of black yarn for embroidered eyes
- 3.25 mm crochet hook, or the hook size needed to produce a firm fabric
- One smooth solid wooden ring approximately 2 3/4 inches in outside diameter
- One enclosed rattle insert made for toy making
- Polyester fiberfill
- Yarn needle
- Stitch marker
- Scissors
I would not substitute loose beads, beans, rice or bells for the enclosed rattle insert. The sound piece belongs inside the stuffed head and the head will be crocheted closed around it.
The eyes are embroidered with black yarn. There are no plastic safety eyes in this version. That is one of the details I'm keeping fixed throughout the pattern.
A handmade baby rattle also shouldn't be treated as automatically equivalent to a commercially tested infant toy. The U.S. Consumer Product Safety Commission's rattle information explains that rattles sold in the United States are subject to specific construction, dimensional and testing requirements. If you're making this for a baby, inspect every seam and attachment carefully and replace the rattle if the crochet, wooden ring or any attached piece becomes damaged.
Use this handmade rattle only during supervised awake play. Don't leave it with a sleeping baby or place it in a crib, bassinet or other sleep space, and stop using it if any seam, yarn or attached piece becomes loose or damaged.
Finished Size for the Free Crochet Turkey Rattle Pattern
Using worsted-weight yarn, a 3.25 mm hook and a wooden ring about 2 3/4 inches across, the finished turkey should measure approximately 6 1/2 to 7 inches tall from the bottom of the ring to the tips of the little head feathers.
The full tail fan should measure about 7 to 7 1/2 inches across. The stuffed head should finish close to 3 1/4 inches across, and each tail feather should be approximately 2 1/2 to 3 inches long.
Those are expected finished measurements based on the yarn, hook and construction used for this pattern. Your finished size may vary a little with yarn choice and tension.
Gauge isn't critical in the same way it would be for a sweater, but it does matter here. The stitches need to be tight enough that the stuffing doesn't peek through and the finished head holds that plump round shape.
Approximate gauge: 18 single crochet stitches and 20 rows or rounds = 4 inches in firm single crochet.
Abbreviations and Pattern Notes
This pattern uses U.S. crochet terminology.
- ch = chain
- sc = single crochet
- hdc = half double crochet
- dc = double crochet
- sl st = slip stitch
- st = stitch
- sts = stitches
- inc = work 2 single crochet stitches in the same stitch
- dec = single crochet 2 stitches together
- MR = magic ring
The head, beak, crown feathers, tail feathers and wings are worked in continuous rounds unless the instructions say otherwise. Do not join or turn at the end of these rounds. Place a stitch marker in the first stitch of each round and move it up as you work. For the turned rows in the ring cover, body panels and neck ruffle, the beginning ch 1 is a turning chain only and does not count as a stitch.
The tail feathers, wings, head feathers and neck ruffle are worked separately and sewn into place. Keep your beginning and ending tails long enough for assembly where noted.
Stuff the head firmly enough to hold its round shape, but don't pack it so hard that the stitches stretch apart.
The eight tail feathers are an important part of this particular turkey. Their number, color arrangement and broad fan shape are what give the finished rattle the full Thanksgiving look shown in the example image.
Crochet the Turkey Head
Use medium brown yarn.
Round 1: Work 6 sc into an MR. (6)
Round 2: Inc in each st around. (12)
Round 3: *Sc in next st, inc in next st.* Repeat around. (18)
Round 4: *Sc in next 2 sts, inc in next st.* Repeat around. (24)
Round 5: *Sc in next 3 sts, inc in next st.* Repeat around. (30)
Round 6: *Sc in next 4 sts, inc in next st.* Repeat around. (36)
Round 7: *Sc in next 5 sts, inc in next st.* Repeat around. (42)
Rounds 8 through 14: Sc in each st around. (42)
Stop here before beginning the decreases. The face is much easier to place while you can still reach the inside of the head.
Complete the embroidered eyes and cheeks and attach the beak and wattle using the instructions in the face and head details section. Then return here to finish the head.
Round 15: *Sc in next 5 sts, dec.* Repeat around. (36)
Round 16: *Sc in next 4 sts, dec.* Repeat around. (30)
Round 17: *Sc in next 3 sts, dec.* Repeat around. (24)
Begin stuffing the head. Shape the stuffing toward the sides as well as the center so the head stays broad and round.
Place the enclosed rattle insert in the center of the stuffing. Add more fiberfill around it so the insert is cushioned and doesn't sit directly against the crochet fabric.
Round 18: *Sc in next 2 sts, dec.* Repeat around. (18)
Round 19: *Sc in next st, dec.* Repeat around. (12)
Add the final bit of stuffing before the opening becomes too small to reach comfortably.
Round 20: Dec around. (6)
Fasten off, leaving a long tail. Thread the tail through the front loops of the remaining 6 stitches, pull the opening closed and secure the yarn inside the head.
The finished head should look noticeably round and oversized. Don't flatten it. That chunky head is part of what gives this turkey its baby rattle look.
Add the Embroidered Face and Head Details
The expression is simple, but placement matters. Put the face on the side of the head opposite your round marker so the beginning-of-round line stays toward the back.
Eyes: Using black yarn, embroider one shallow curved eye on each side of the beak area between Rounds 10 and 11. Make each curve span about 3 stitches and leave about 5 to 6 visible brown stitches between the inner ends of the eyes.
Form each eye with 2 or 3 small embroidery stitches that follow the curve shown in the finished turkey rather than filling in an oval. Keep the stitches snug against the crochet fabric.
Cheeks: Using blush pink yarn, make two short horizontal embroidered marks just below and slightly outside the eyes. Keep them small. They shouldn't compete with the beak and wattle.
The eyes remain embroidery only. Do not substitute plastic safety eyes, beads or buttons.
Beak: Using golden-yellow yarn, make a small cone.
Round 1: Work 4 sc into an MR. (4)
Round 2: Inc in each st around. (8)
Round 3: Sc in each st around. (8)
Fasten off with a long sewing tail. Add only a pinch of stuffing. Sew the open edge of the beak horizontally between the eyes with its upper edge sitting around Round 11. The point should project outward from the center of the face.
Wattle: Using deep red yarn, ch 7.
Beginning in the second ch from the hook, work sl st in the first ch, sc in the next ch, hdc in the next ch, dc in the next ch, hdc in the next ch and 3 sc in the final ch.
Continue along the unused loops on the opposite side of the foundation chain. Work hdc in the next ch, dc in the next ch, hdc in the next ch, sc in the next ch and sl st in the final ch.
Fasten off with a long tail. The piece should form a narrow rounded teardrop. Sew its upper end immediately beside the beak and let the rounded end hang downward.
Top head feather 1: With deep red yarn, ch 5.
Beginning in the second ch from the hook, sc in the next 3 ch, work 3 sc in the last ch, then work along the opposite side of the foundation chain. Sc in the next 2 ch and work 2 sc in the final ch. (10)
Round 2: Inc in the first st, sc in the next 2 sts, inc in each of the next 3 sts, sc in the next 2 sts and inc in each of the final 2 sts. (16)
Fasten off with a long tail.
Top head feather 2: Repeat the same instructions with burnt-orange yarn.
Flatten both pieces. Sew their lower ends to the crown of the head around Rounds 2 through 4 with the red feather leaning slightly toward the viewer's left and the orange feather slightly toward the viewer's right.
Keep them short. These are little crown feathers, not another pair of tail feathers.
Cover the Rattle Ring and Make the Brown Body
The wooden ring stays partly visible in this design. The brown crochet covers the upper arc of the ring and comes down both sides, while the lower section of smooth wood remains exposed as the handle.
Ring cover: Using brown yarn, ch 9.
Row 1: Sc in the second ch from the hook and in each ch across. (8)
Before continuing, wrap this short row around the thickness of your wooden ring. The two long edges of the strip should meet comfortably around the wood without a hard stretch or a large overlap. If they do not, adjust the starting chain now so the strip will wrap around your particular ring, then keep that same stitch count for every following row.
Rows 2 through 26: Ch 1, turn. Sc in each st across. (8, or the adjusted stitch count established after Row 1)
Do not fasten off until you check the fit around your ring.
Wrap the strip around the upper arc of the wooden ring with the short ends pointing toward the lower left and lower right sides. The strip should cover approximately the upper two-thirds of the ring while leaving the lower section of smooth wood exposed.
Add or remove rows if necessary so the covering reaches approximately the same point on both sides of your ring. Use the physical fit rather than the row count as the final checkpoint. The strip should lie smoothly against the wood without gathering, buckling or stretching hard.
Fasten off with a long tail. Wrap the strip around the upper portion of the wooden ring and whipstitch the two long edges together along the back of the covered section. Keep the seam toward the back and leave the lower wooden section uncovered.
Now make the broad brown body that sits over the upper part of the ring.
Make 2 body panels.
With brown yarn, ch 13.
Row 1: Sc in the second ch from the hook and in each ch across. (12)
Row 2: Ch 1, turn. Inc in the first st, sc in the next 10 sts, inc in the last st. (14)
Row 3: Ch 1, turn. Sc across. (14)
Row 4: Ch 1, turn. Inc in the first st, sc in the next 12 sts, inc in the last st. (16)
Rows 5 and 6: Ch 1, turn. Sc across. (16)
Row 7: Ch 1, turn. Dec, sc in the next 12 sts, dec. (14)
Row 8: Ch 1, turn. Sc across. (14)
Row 9: Ch 1, turn. Dec, sc in the next 10 sts, dec. (12)
Fasten off the first panel. Make the second panel the same way, but leave a long sewing tail on the second one.
Place the two panels together. Sew around the top and side edges, leaving the lower edge open. Add a thin layer of stuffing. You want some dimension, but not a hard stuffed ball.
Sew most of the lower opening closed, leaving enough flexibility to shape the body over the upper arc of the covered wooden ring.
Center this padded brown body over the top of the ring. The lower corners should angle down toward the covered sides of the ring while the center stays high enough to leave the ring opening clear.
Don't sew it to the ring yet. Final attachment comes after the feather fan is assembled.
Make the Eight Crochet Turkey Tail Feathers
Make exactly eight feathers. Use two deep red, two burnt orange, two golden yellow and two olive green.
Each feather is worked around both sides of a foundation chain to make a firm oval.
For each feather: Ch 8.
Round 1: Beginning in the second ch from the hook, sc in the next 6 ch. Work 3 sc in the last ch. Turn the work so you can crochet along the unused loops on the opposite side of the foundation chain. Sc in the next 5 ch and work 2 sc in the final ch. (16)
Round 2: Inc in the first st, sc in the next 5 sts, inc in each of the next 3 sts, sc in the next 5 sts and inc in each of the final 2 sts. (22)
Round 3: Inc in the first st, sc in the next 6 sts, *sc in the next st, inc in the next st* 3 times, sc in the next 5 sts, then *sc in the next st, inc in the next st* 2 times. (28)
Fasten off with a long sewing tail.
Repeat until you have all eight feathers.
Flatten each feather with the foundation chain running vertically through its center. Don't stuff them. The three-round construction keeps the feathers flat enough to fan behind the turkey while giving them the plump oval shape shown in the finished rattle.
Lay the finished feathers on the table before sewing anything. Viewed from the front of the finished turkey, arrange them from left to right in this exact order:
deep red, olive green, burnt orange, golden yellow, olive green, golden yellow, deep red, burnt orange
The four center feathers should sit a little higher. Angle the outer feathers farther sideways to make the broad fan visible behind the wings and body.
Overlap neighboring feathers by roughly 1/4 to 1/2 inch near their bases. Tack the overlapping edges together with matching yarn. Keep those joining stitches low enough that the head and body will hide them later.
Check your count before you put the yarn needle down.
Eight feathers. Not seven. Not nine.
Make the Small Rounded Wings
Make two with brown yarn.
Ch 6.
Round 1: Beginning in the second ch from the hook, sc in the next 4 ch. Work 3 sc in the last ch. Continue along the unused loops on the opposite side of the foundation chain. Sc in the next 3 ch and work 2 sc in the final ch. (12)
Round 2: Inc in the first st, sc in the next 3 sts, inc in each of the next 3 sts, sc in the next 3 sts and inc in each of the final 2 sts. (18)
Fasten off with a long sewing tail.
Flatten each wing. Do not stuff them.
The wings sit low on the body and angle slightly downward toward the ring. They should not sit beside the turkey's face and they should not cover the wooden opening.
Crochet the Scalloped Neck Ruffle
Use golden-yellow yarn.
Ch 21.
Row 1: Beginning in the second ch from the hook, sc in each ch across. (20)
Row 2: Ch 1, turn. *Skip the next st, work 5 dc in the next st, skip the next st, sl st in the next st.* Repeat from * to * across. You will have 5 scallops.
Fasten off with a long sewing tail.
The straight edge goes behind the lower front of the head. The five scallops should remain visible beneath the chin after the head is attached to the body.
Don't pull the ruffle flat when you sew it on. A little bit of fullness is what gives that yellow collar its soft petal shape.
Assemble the Crochet Turkey Rattle
Lay all the finished pieces out before you begin sewing. You should have one stuffed head containing the enclosed rattle insert, one covered wooden ring, one lightly stuffed brown body, eight tail feathers joined into a fan, two wings, one scalloped ruffle and two small crown feathers already attached to the head.
1. Attach the tail fan.
Place the feather fan behind the brown body with the joined bases centered behind it. The four center feathers should rise behind the head area. The outer feathers should spread toward each side.
Sew the feather bases securely to the back body panel. Work through several stitches on each feather rather than relying on one attachment point.
2. Attach the body to the ring.
Center the padded brown body over the upper arc of the crochet-covered wooden ring. Curve the lower edge around the ring so the body follows its shape. When you are happy with the fit, finish sewing the remaining lower opening closed so all of the stuffing is completely enclosed.
Sew the closed lower edge of the body securely to the crochet ring covering along the lower front and back edges. Do not sew through the exposed wood.
Check the handle from the front. The crochet-covered upper section should come down evenly on both sides, and the lower section of smooth wooden ring should remain visible and easy to grasp.
3. Add the neck ruffle.
Center the straight edge of the golden-yellow ruffle along the lower front of the head. Sew it in place with the five scallops pointing downward.
4. Attach the head.
Center the head above the body with the face pointing straight forward. The lower edge of the head should overlap the upper portion of the brown body slightly.
Sew around the lower back and sides of the head using brown yarn. Catch the body fabric securely with each stitch. Add several concealed anchoring stitches between the back of the head and the center tail feathers as well.
The head should not wobble independently from the body when you finish.
5. Attach the wings.
Position one brown wing on each side of the body. Put the upper end just below the neck ruffle and angle the rounded lower end slightly toward the ring.
Sew the upper edge and the edge closest to the body securely in place, leaving the rounded outer edge unsewn so the wing can sit slightly away from the body instead of looking pasted flat.
Match the placement on the second side before sewing it down.
Look at the whole turkey from the front before weaving in the final tails. The head should be centered, the eight feathers should make a balanced fan, and both wings should sit low enough that the face remains the clear focal point.
Finishing the Turkey Rattle
Weave every yarn end deeply into the crochet fabric and trim only after you're satisfied that the end won't work its way back out.
Run your fingers over the entire turkey. Check the head seam, both wings, every tail feather, the beak, wattle, neck ruffle and crown feathers. None of those pieces should lift away easily when tugged.
Look at the embroidered eyes too. There shouldn't be a loose black strand that a little finger could catch.
Give the wooden ring one last inspection for cracks, splinters or rough spots. If the ring becomes damaged later, retire the rattle rather than trying to hide the damage under more yarn.
Now look at the shape instead of the stitches. The finished turkey should have a big round head, two short crown feathers, a little golden beak and red wattle, five yellow neck scallops, two low brown wings and all eight fall-colored feathers forming a wide fan behind it.
The exposed lower section of the wooden ring is intentional. The brown crochet should cover the upper portion evenly while leaving a clear wooden handle below.
If yours has all of those details, you've made the turkey this pattern was designed to produce.
If you're in the mood to keep going with Thanksgiving yarn, you'll find the rest of my turkey crochet patterns together on one page. You can also browse the larger collection of free Thanksgiving crochet patterns when you want something besides another turkey.
More Free Turkey Crochet Patterns
If you want another Thanksgiving project after finishing the rattle, these turkey crochet patterns use the same warm fall colors in everything from quick little projects to baby wearables.
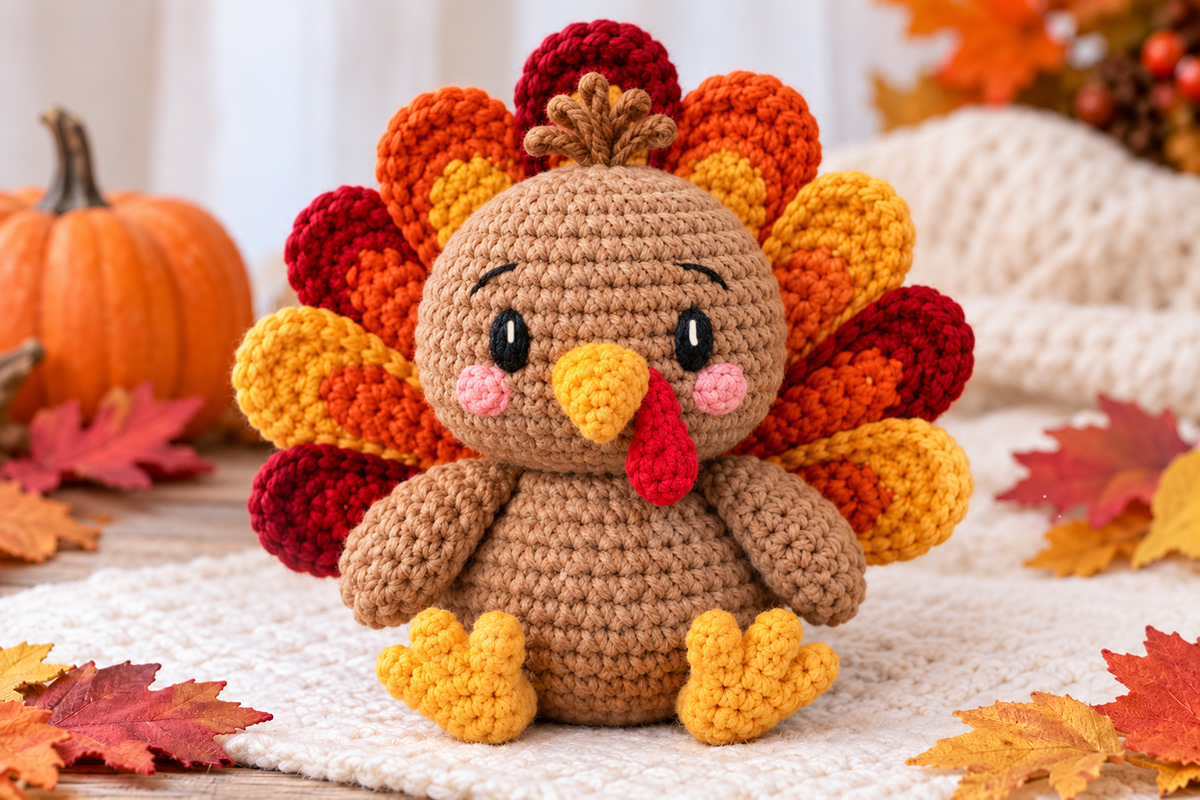
Mini Crochet Turkey Pattern
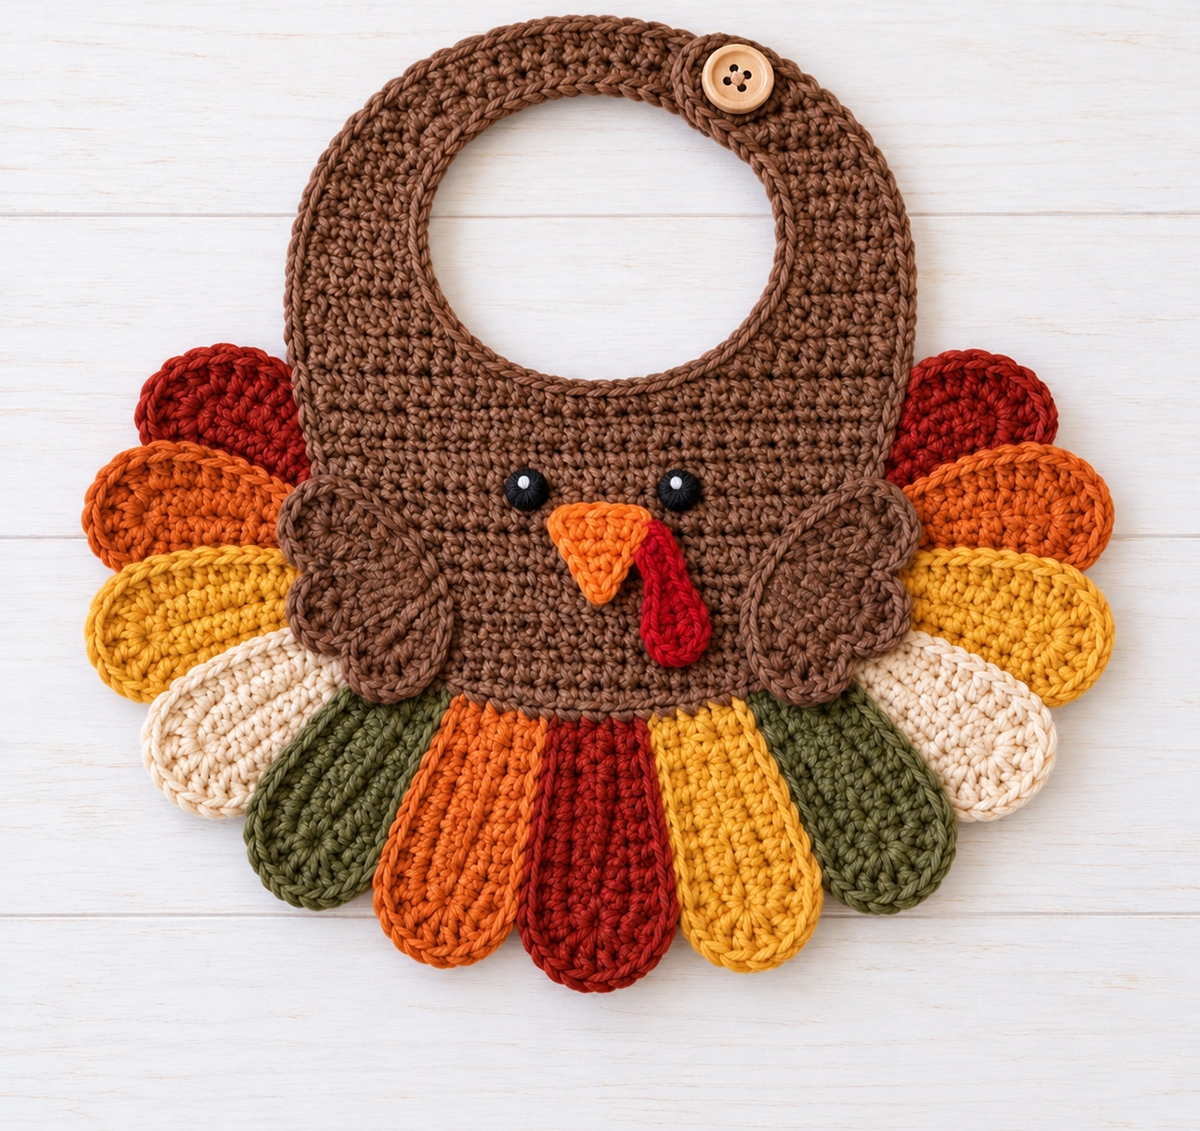
Turkey Baby Bib Crochet Pattern
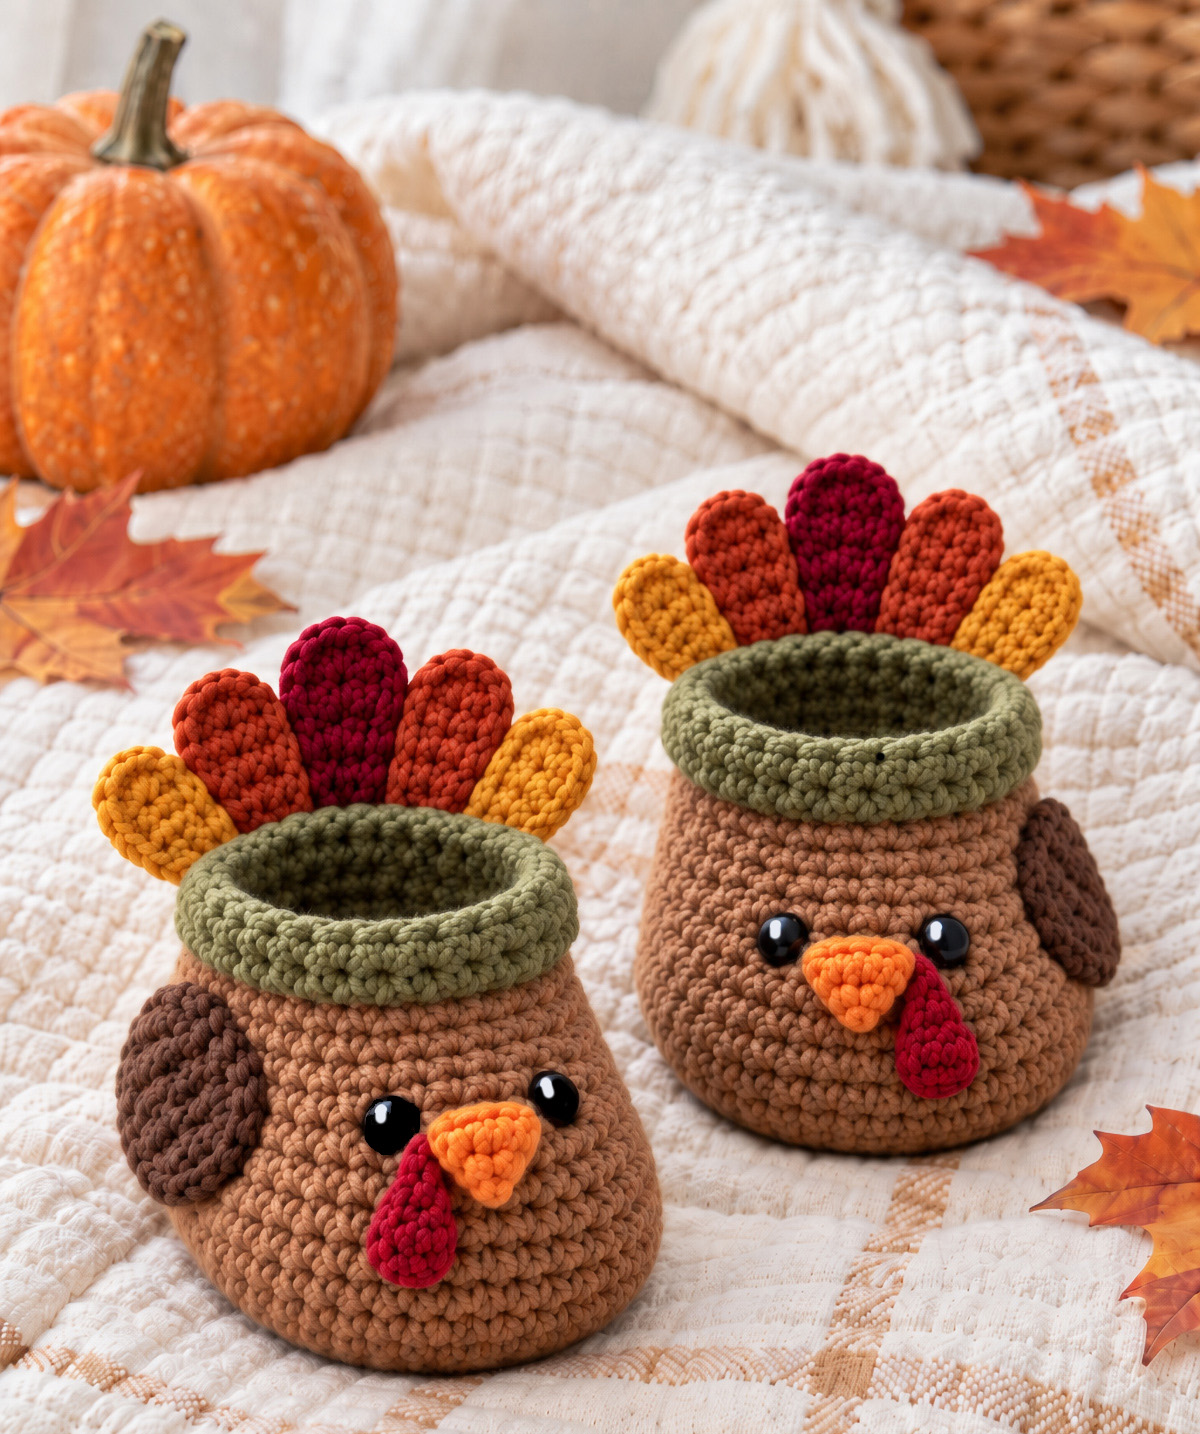
Turkey Baby Booties
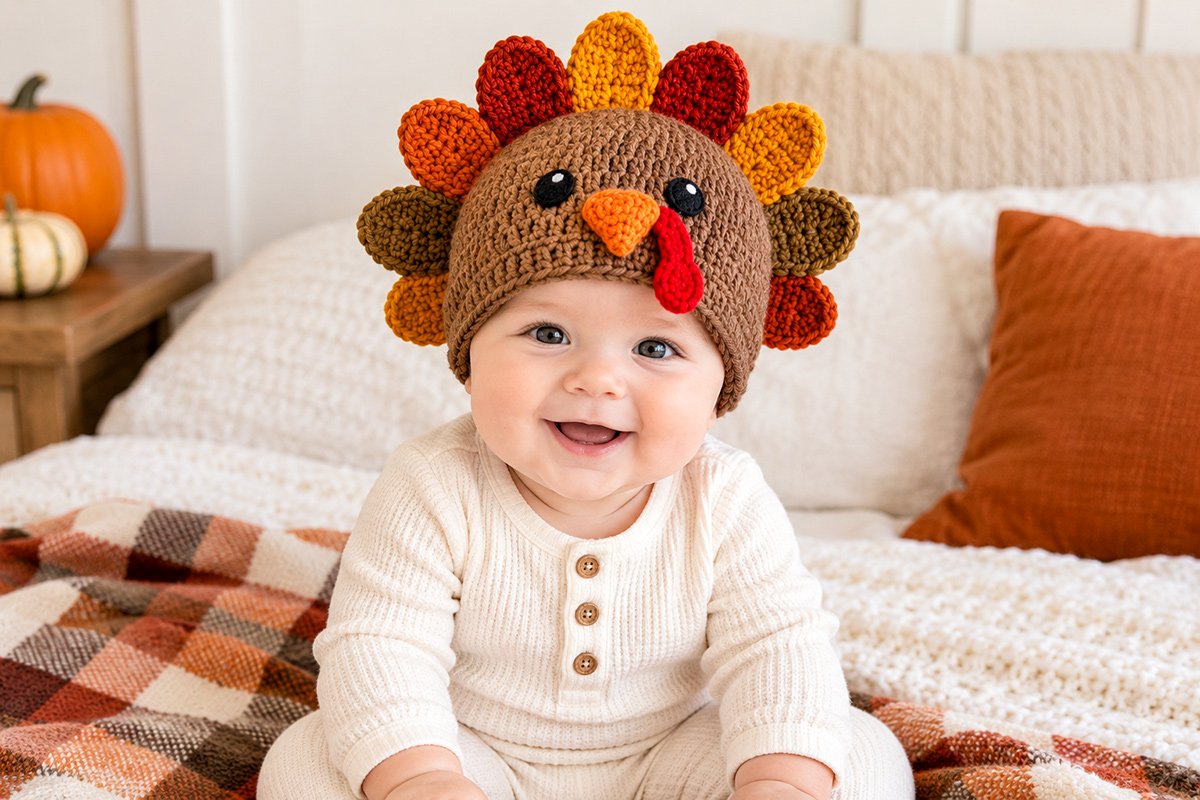
Crochet Turkey Hat
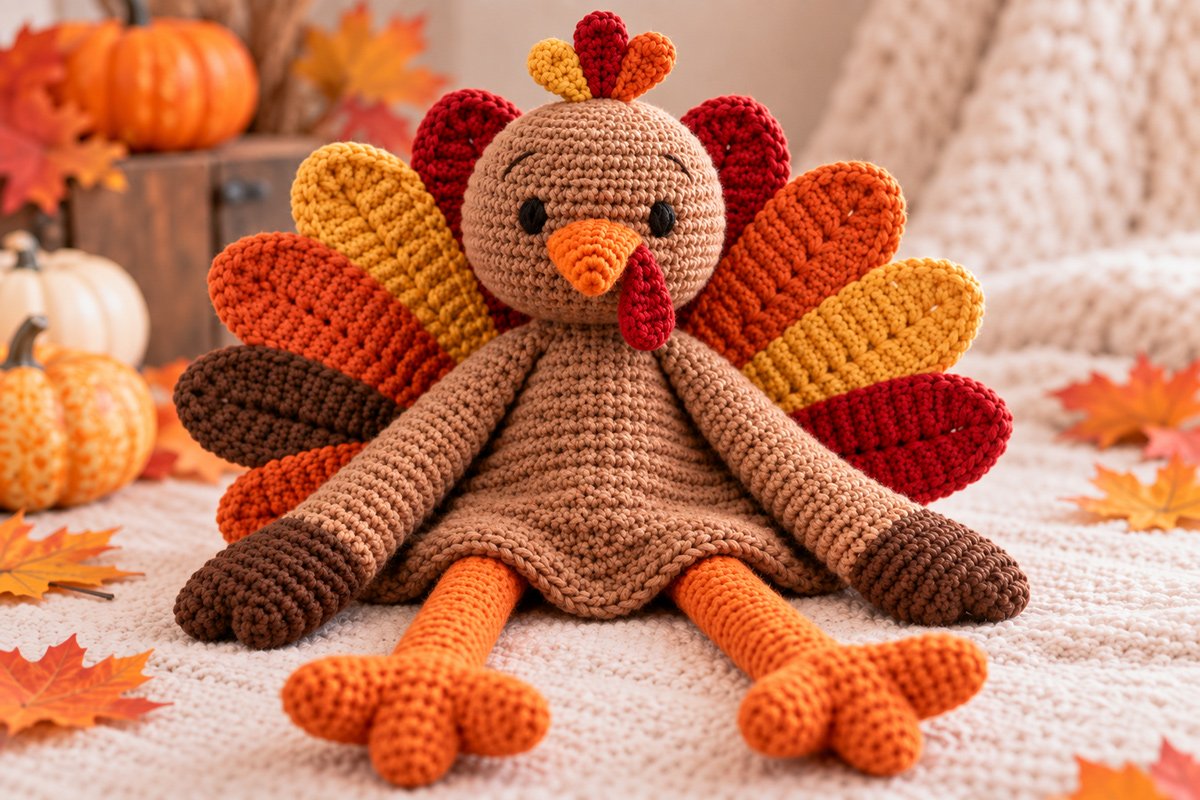
Crochet Turkey Lovey
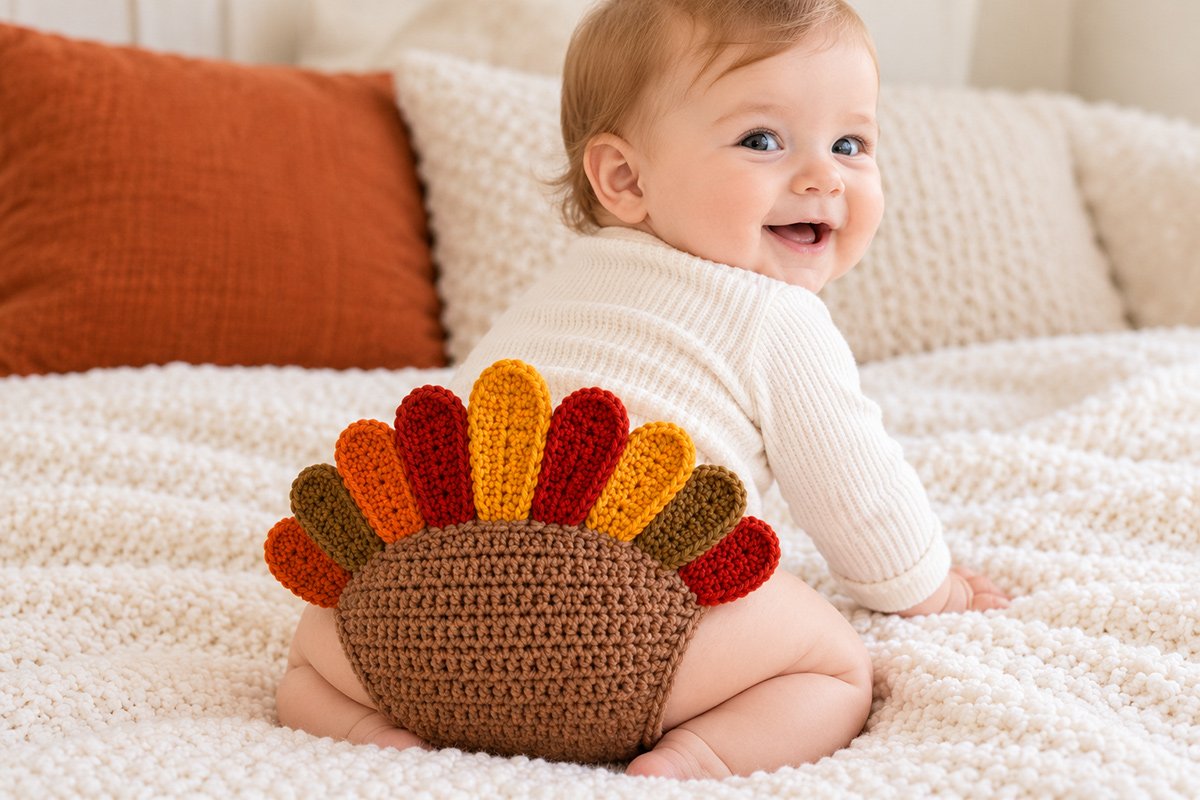
Turkey Diaper Cover
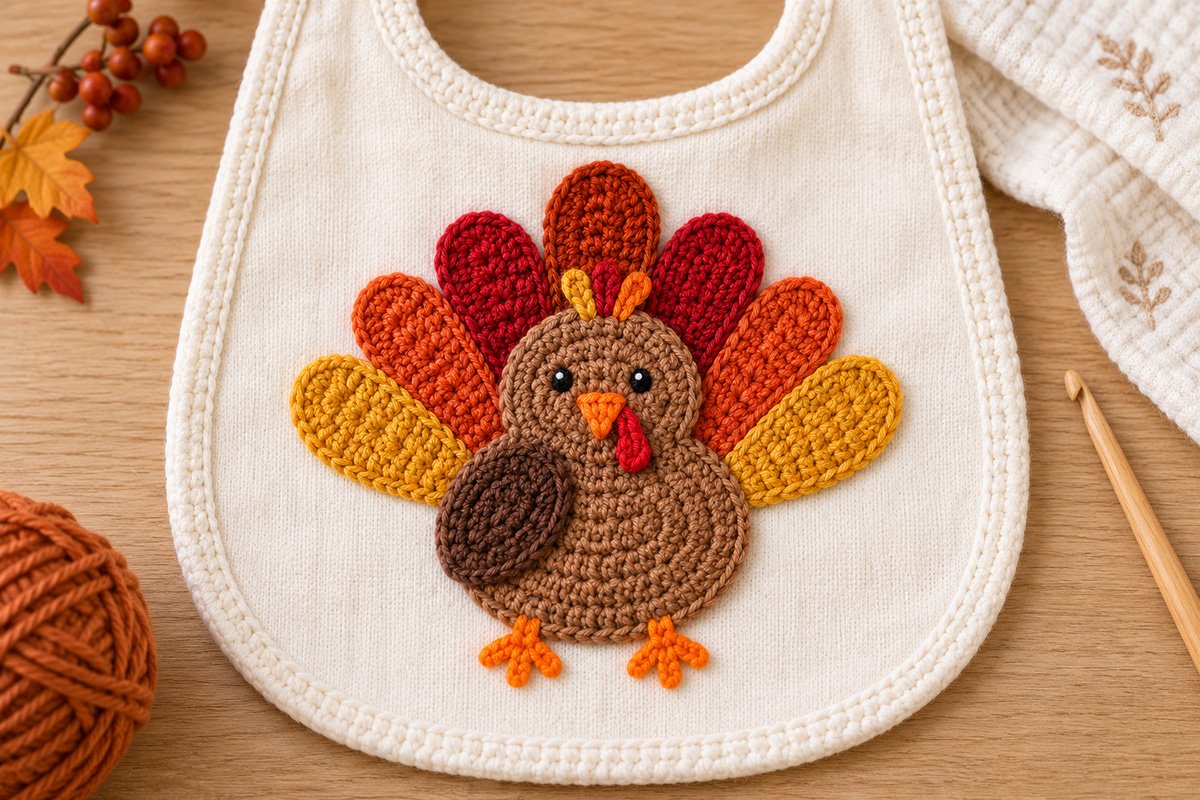
Crochet Turkey Appliqué
Questions About the Crochet Turkey Rattle Pattern
Can I use plastic safety eyes instead of embroidery?
No. This version is designed with embroidered eyes, and I would keep them that way. The soft embroidered face is part of the finished turkey shown in the example image.
Can I make fewer than eight tail feathers?
You can change any handmade project for yourself, but it won't reproduce the turkey shown here. This pattern uses eight feathers because that full fan is one of the main features of the design.
Does the crochet covering go all the way around the wooden ring?
No. The crochet covers the upper portion and comes down both sides. The lower section of the smooth wooden ring remains exposed as the handle.
Where does the rattle insert go?
It goes inside the stuffed head. Surround the enclosed insert with fiberfill before completing the final decrease rounds so it stays centered inside the head rather than resting directly against the crochet fabric.
Can I use a different size wooden ring?
A small change is manageable, but the written ring-cover dimensions are based on a ring approximately 2 3/4 inches across. A substantially larger or smaller ring changes the proportions of the body, head and visible opening.
When you click on links to various merchants on this site and make a purchase, this may result in this site earning a commission. This does not affect the price you pay.

UBGI Gold Standard 2026
Reviewed under the site's
editorial checklist.
Photos, decorating ideas, party setups and reader submissions are shared for inspiration unless a page is specifically presented as a pattern, tutorial, reference guide or step-by-step project. Follow the instructions, measurements, safety guidance and manufacturer directions provided for the particular project or product.
About Jan | Contact | Baby Nursery Ideas (Blog) | Site Map | Privacy Policy | Disclosure Policy | Disclaimer | Affiliate Disclosure | Earnings Disclosure | Facebook | Pinterest
I am a participant in the Amazon Services LLC Associates Program, an affiliate advertising program designed to provide a means for us to earn fees by linking to Amazon. As an Amazon Associate I earn from qualifying purchases.
Copyright © 2006-2026. All Rights Reserved.