Crochet Turkey Baby Mobile Pattern for a Fall Nursery
By Jan Bay
This crochet turkey baby mobile pattern gathers a small flock of handmade turkeys to add to baby's fall nursery decor. The crib mobile features warm harvest colors and autumn leaves with enough open space between the decorations to keep things airy and light. The lightweight crochet pieces hang from a simple wooden mobile ring and should be kept completely out of baby's reach but still within sight for a little nature themed entertainment.
Explore More Free Turkey Crochet Patterns
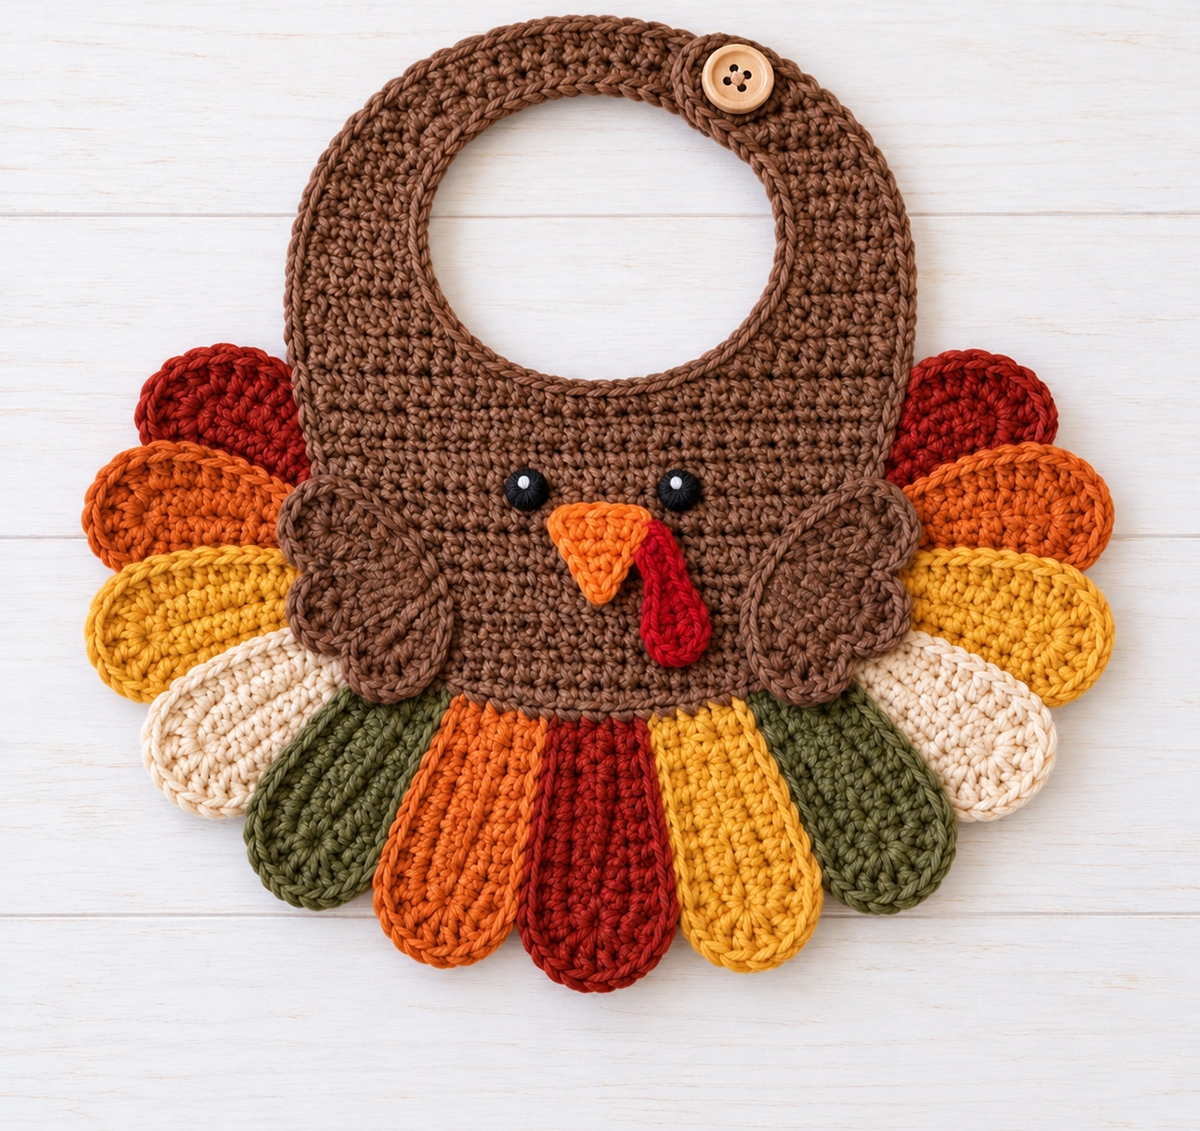
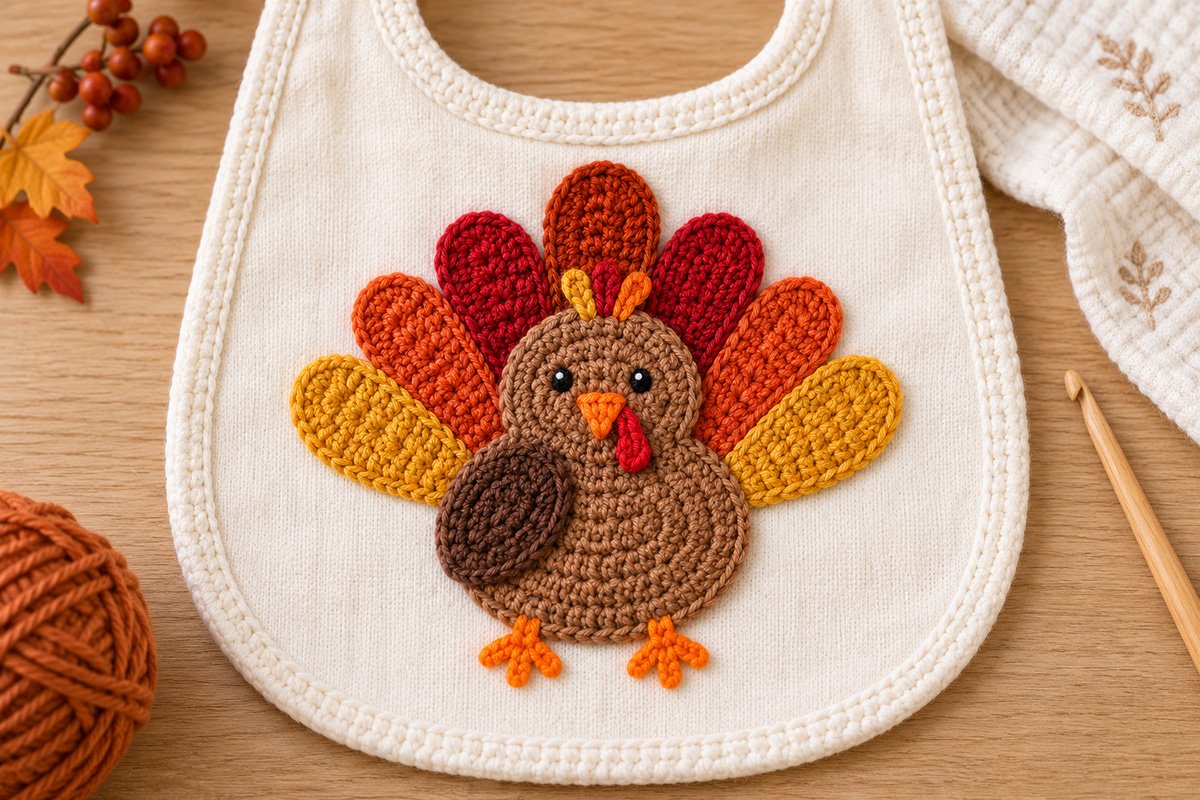
Turkey Baby Bib Crochet Pattern
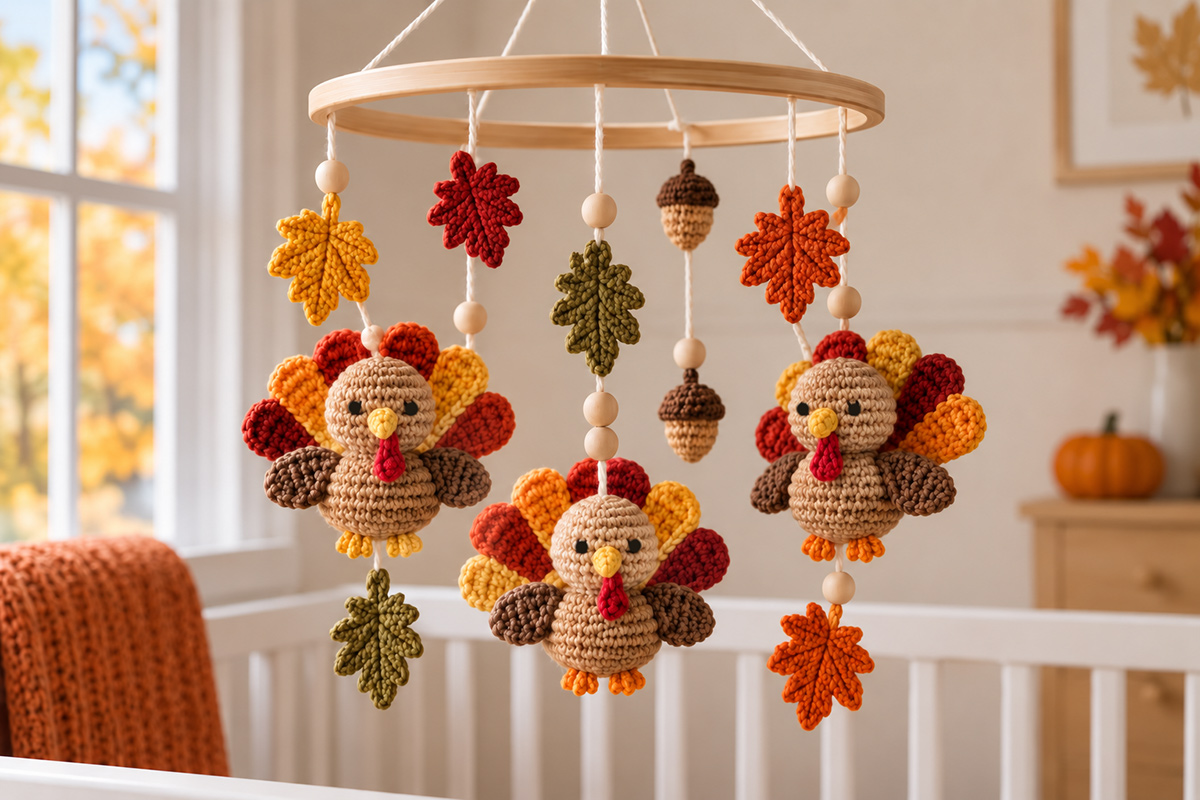
Wooden Baby Mobile Ring for Hanging Crochet Pieces
Jump to:
Crochet Turkey Baby Mobile Pattern Materials and Supplies
I kept the yarn colors close to the fall palette in the finished mobile: tan for the turkeys, brown wings, red wattles and tail feathers in mustard, orange and deep rust. Olive leaves keep all that orange and red from becoming too much. You don't need a different yarn for every little piece.
A smooth worsted weight yarn works well here because the turkeys need enough body to hold their shape without becoming heavy. I would skip fuzzy yarn. It hides the small details in the faces, feet and feathers.
- Worsted weight #4 yarn in tan, about 65 yards
- Worsted weight #4 yarn in medium brown, about 35 yards
- Worsted weight #4 yarn in deep rust or brick red, about 30 yards
- Worsted weight #4 yarn in burnt orange, about 30 yards
- Worsted weight #4 yarn in mustard or golden yellow, about 25 yards
- Worsted weight #4 yarn in olive green, about 25 yards
- Worsted weight #4 yarn in red for the wattles, about 10 yards
- Cream or off-white yarn or strong cotton cord for hanging, about 10 yards
- Small amount of black embroidery floss or black yarn for the eyes
- 3.5 mm crochet hook
- Polyester fiberfill
- 10-inch natural wood mobile ring
- 10 unfinished natural wood beads, approximately 20 mm
- Yarn needle
- Embroidery needle if using embroidery floss
- Stitch markers
- Scissors
- Flexible measuring tape
The wooden beads in the example are plain and unfinished. I would leave them that way. Painted beads would add another color that this mobile really doesn't need.
Finished Size
Using worsted weight yarn with a 3.5 mm hook and the gauge below, each finished turkey is expected to measure about 5 1/2 inches from the top of the head to the feet and about 6 to 6 1/2 inches across the spread tail feathers. The leaves are about 3 inches long and the acorns are expected to measure about 1 1/2 inches long.
The wooden ring is 10 inches across. From the ring to the lowest crochet decoration, plan on approximately 17 to 18 inches. The three turkeys hang at slightly different levels instead of forming a straight line. That staggered placement is part of the finished design.
Those measurements are calculated from the yarn, hook and stitch counts in this pattern. They have not been physically verified from a completed test sample, so your exact measurements can vary with yarn choice and tension.
Gauge: About 20 single crochet stitches and 20 rounds = 4 inches in firmly worked single crochet.
Exact gauge isn't important for the leaves and tail feathers, but it matters more on the stuffed pieces. If your stitches leave visible gaps around the stuffing, go down a hook size.
Crochet Abbreviations Used in This Pattern
- ch = chain
- sc = single crochet
- hdc = half double crochet
- dc = double crochet
- tr = treble crochet
- sl st = slip stitch
- st = stitch
- sts = stitches
- inc = work 2 single crochet stitches in the same stitch
- dec = single crochet 2 stitches together
- MR = magic ring
- BLO = back loop only
The heads, bodies and acorns are worked in continuous rounds. Don't join at the end of those rounds unless the instructions specifically tell you to. Move the stitch marker up as you work.
Stuff the turkeys firmly enough to hold their round shape, but don't pack the fiberfill until the stitches stretch apart. The mobile pieces should stay light.
Crochet Turkey Baby Mobile Pattern: Make the Three Turkeys
Make all three turkeys the same size. The colors in the tail do most of the work here, so there isn't any reason to change the body construction from one bird to the next.
The head and body are crocheted separately in tan yarn and then sewn together. Work both pieces in continuous rounds and move your stitch marker up after every round.
Turkey Head
Make 3.
Round 1: With tan yarn, work 6 sc in a MR. (6)
Round 2: Inc in each st around. (12)
Round 3: [Sc in next st, inc in next st] 6 times. (18)
Round 4: [Sc in next 2 sts, inc in next st] 6 times. (24)
Rounds 5 through 8: Sc in each st around. (24)
Round 9: [Sc in next 2 sts, dec] 6 times. (18)
Round 10: [Sc in next st, dec] 6 times. (12)
Stuff the head firmly enough to keep it rounded without stretching the stitches.
Round 11: Dec around. (6)
Fasten off, leaving a long tail. Close the remaining opening and leave the sewing tail attached.
Turkey Body
Make 3.
Round 1: With tan yarn, work 6 sc in a MR. (6)
Round 2: Inc in each st around. (12)
Round 3: [Sc in next st, inc in next st] 6 times. (18)
Round 4: [Sc in next 2 sts, inc in next st] 6 times. (24)
Round 5: [Sc in next 3 sts, inc in next st] 6 times. (30)
Rounds 6 through 11: Sc in each st around. (30)
Round 12: [Sc in next 3 sts, dec] 6 times. (24)
Round 13: [Sc in next 2 sts, dec] 6 times. (18)
Round 14: [Sc in next st, dec] 6 times. (12)
Stuff the body. Shape it into a slightly plump oval rather than a hard round ball.
Round 15: Dec around. (6)
Fasten off and close the opening.
Crochet the Turkey Tail Feathers
Each turkey gets seven separate feathers, so you'll make 21 altogether. Don't let that number scare you off. Each feather is one short round worked around a foundation chain.
The separate feathers matter. A single fan-shaped tail wouldn't give the finished mobile the same layered look as the example.
For each turkey, make 3 deep rust feathers, 2 mustard feathers and 2 burnt orange feathers.
Tail Feather
Ch 10.
Starting in the second ch from the hook, work sc in next ch, hdc in next ch, dc in next 2 ch, tr in next 2 ch, dc in next ch, hdc in next ch.
Work 5 dc in the last ch.
Continue along the opposite side of the foundation chain. Work hdc in next ch, dc in next ch, tr in next 2 ch, dc in next 2 ch, hdc in next ch and sc in the final ch.
Sl st to the first sc. Fasten off, leaving a sewing tail about 8 inches long.
The finished feather should be a long rounded oval with a fuller curve at the outer end. Don't stuff it.
Arrange seven feathers into a fan before sewing anything permanently. From the viewer's left to right, use:
- Deep rust
- Mustard
- Burnt orange
- Deep rust
- Burnt orange
- Mustard
- Deep rust
Overlap the lower ends by about 1/4 inch. The center feather sits highest, with the remaining feathers stepping down slightly on each side.
Sew through the overlapping bases until the fan holds together as one piece. Don't stitch the upper halves together. Those separate edges are what give the tail its layered look.
Crochet the Turkey Wings
Make 6 wings in medium brown, two for each turkey.
Ch 8.
Starting in the second ch from the hook, work sc in next ch, hdc in next ch, dc in next 2 ch, hdc in next ch and sc in next ch.
Work 4 dc in the final ch.
Continue along the opposite side of the foundation chain. Work sc in next ch, hdc in next ch, dc in next 2 ch, hdc in next ch and sc in the final ch.
Sl st to the first sc and fasten off, leaving a long sewing tail.
The wings stay flat. Give each one a slight curve with your fingers before attaching it to the body.
Make the Beak, Wattle and Feet
Beak
Make 3 in mustard or golden yellow.
Make a MR and work 6 hdc into the ring. Sl st to the first hdc. Pull the ring firmly closed and fasten off, leaving a long sewing tail.
Use the sewing tail to cup the small circle slightly as you attach it to the center of the face. Sew around the outer edge so the beak sits as a small rounded bump rather than lying completely flat.
Wattle
Make 3 in red.
Ch 5. Starting in the second ch from the hook, work sl st, sc, hdc and sc.
Fasten off, leaving a sewing tail.
The wattle should hang just below and slightly to one side of the beak. Keep it small. A large red piece starts taking over that little face fast.
Feet
Make 2 feet in mustard or golden yellow for the left turkey and 4 feet in burnt orange for the center and right turkeys.
Ch 4. Starting in the second ch from the hook, sl st back through all 3 ch to return to the starting point. This makes the first toe.
Ch 4 again and sl st back through all 3 ch for the second toe.
Repeat once more for the third toe.
Ch 3 for the short leg and fasten off, leaving a sewing tail.
You'll have three little chain toes meeting at one point with a short leg extending above them.
Embroider the Turkey Faces
Use black embroidery floss or a thin strand of black yarn for the eyes. Do not add plastic safety eyes.
Position the eyes between Rounds 6 and 7 of the head, about 4 stitches apart.
For each eye, make several short black embroidery stitches in the same small area until you have a compact oval dot about one stitch wide and slightly taller than it is wide. Keep both eyes simple with no eyelashes so the three turkey faces match the finished mobile.
Center the rounded beak one round below the eyes and sew its outer edge securely to the head, keeping the center slightly raised.
Attach the red wattle immediately below one side of the beak.
Crochet the Autumn Leaves
Make 6 leaves for the mobile:
- 1 mustard leaf
- 1 deep rust leaf
- 2 olive green leaves
- 2 burnt orange leaves
These are stylized seven-lobed fall leaves with a longer center point and progressively shorter lobes toward each side. The graduated shape gives them the fuller maple-leaf look shown on the finished mobile without making the hanging pieces heavy.
Seven-Lobed Leaf
Begin with a MR. Do not tighten it until all seven lobes and the stem have been worked.
First small lobe: Ch 5. Starting in the second ch from the hook, work sl st, sc, hdc and dc. Sl st into the MR.
Second lobe: Ch 7. Starting in the second ch from the hook, work sl st, sc, hdc, dc, tr and tr. Sl st into the MR.
Third lobe: Ch 8. Starting in the second ch from the hook, work sl st, sc, hdc, dc, tr, tr and dc. Sl st into the MR.
Center lobe: Ch 9. Starting in the second ch from the hook, work sl st, sc, hdc, dc, tr, tr, dc and hdc. Sl st into the MR.
Fifth lobe: Repeat the third lobe.
Sixth lobe: Repeat the second lobe.
Seventh lobe: Repeat the first small lobe.
Stem: Ch 6. Starting in the second ch from the hook, sl st in each of the 5 ch. Sl st into the MR.
Pull the MR closed and fasten off. Weave in the starting tail. Leave the final tail long only if you're using it to attach the leaf to a hanging cord.
Spread the seven lobes with your fingers before you set the leaf aside. There's no need to make every leaf perfectly flat. A little movement in the points looks better once they're hanging.
Crochet the Two Acorns
Make 2. The acorns use a tan stuffed body with a dark brown cap.
Acorn Body
Round 1: With tan yarn, work 6 sc in a MR. (6)
Round 2: Inc in each st around. (12)
Round 3: [Sc in next st, inc in next st] 6 times. (18)
Rounds 4 and 5: Sc in each st around. (18)
Round 6: [Sc in next st, dec] 6 times. (12)
Add a small amount of fiberfill.
Round 7: Dec around. (6)
Fasten off and close the opening.
Acorn Cap
With dark brown yarn:
Round 1: Work 6 sc in a MR. (6)
Round 2: Inc in each st around. (12)
Round 3: [Sc in next st, inc in next st] 6 times. (18)
Round 4: Working in BLO, sc in each st around. (18)
Fasten off, leaving a sewing tail.
Center the cap over the beginning end of the acorn body, with the magic-ring center of the cap directly above the body's Round 1 center. Pull the cap down until its 18-stitch edge rests around the 18-stitch section of the body at about Round 4, then sew the cap edge securely to the body. Add a short hanging loop through the center of the cap.
Assemble the Crochet Turkey Baby Mobile Pieces
Finish the three turkeys before you start tying anything to the wooden ring. It's much easier to judge their heights when each bird is completely assembled.
Attach the Tail
Place one seven-feather fan behind the turkey body. The center feather should line up with the center of the body and extend above the shoulders.
The lower 1 to 1 1/4 inches of the feather fan sits behind the body. Sew securely through the feather bases and the back of the body. Keep your stitches in the back half of the body so they don't show from the front.
Check the fan from the front before tying off. You should see all seven feathers.
Add the Head
Center the head over the top of the body. Let the lower edge of the head overlap the body slightly.
Sew around the base of the head twice. A turkey hanging on a mobile will move and turn, so I wouldn't depend on a few little stitches here.
Add the Wings
Pin one brown wing to each side of the body around Rounds 7 through 10.
Angle the narrow upper end slightly toward the head. Sew around the upper and side edges, leaving the lower rounded edge free.
Add the Feet
Sew one foot beneath each side of the lower body. Leave about 1/2 inch of the crocheted leg visible and let the three toes hang free.
Repeat the complete assembly for the other two turkeys.
Before moving on, count the pieces. You should have three finished turkeys, six leaves and two acorns.
Arrange the Mobile Hanging Layout
The finished mobile looks airy because the decorations aren't packed around the wooden ring at equal heights. Resist the temptation to fill every open spot.
Cut five lengths of cream cotton cord or cream yarn longer than you think you'll need. Start with pieces about 24 inches long. You'll trim them after the layout is balanced.
Arrange the five hanging positions around the 10-inch wooden ring before tying the final knots.
Secure each crochet piece directly to its hanging cord with the cord passing through a sturdy crochet stitch at the top center of the piece. Tie a firm knot immediately above or behind the attachment point so the piece cannot slide. Where a strand continues below a turkey, leaf or acorn, carry the same cord through the top attachment stitch and out through a sturdy stitch at the lower center before adding the next piece. Hide knots behind the crochet whenever possible. Knot above and below every wooden bead so the beads cannot move along the cord.
Hanging Position 1
Start with 1 natural wooden bead, then hang the mustard leaf below it. Add a second wooden bead lower on the strand, followed by the left turkey. Place one olive leaf below the turkey. Keep this turkey higher than the center turkey.
Hanging Position 2
Hang the deep rust leaf near the upper part of a shorter strand. Add 1 natural wooden bead below the leaf. Keep this strand short enough that the rust leaf remains above and slightly inside the left turkey group.
Hanging Position 3
Start with 1 natural wooden bead, followed by the second olive leaf. Add 2 more wooden beads below the leaf, then attach the center turkey. Make this the lowest of the three turkeys.
Hanging Position 4
Hang one acorn above the other with 1 natural wooden bead between them. Keep this strand shorter than the center turkey strand.
Hanging Position 5
Start with 1 natural wooden bead, then hang one burnt orange leaf. Add a second wooden bead below the leaf, followed by the right turkey. Add the third wooden bead beneath the turkey and finish the strand with the remaining burnt orange leaf.
Step back and compare all five positions before tightening everything permanently. The left turkey should hang slightly higher than the center turkey. The right turkey can sit between those two heights.
Open space matters here. The ring should still be easy to see between the hanging pieces.
Make the Five Ring Supports
Cut 5 equal lengths of strong cream cotton cord, each about 30 inches long.
Tie the five cords evenly around the wooden ring so the attachment points are spaced as evenly as possible.
Bring all five cords together above the center of the ring. Lift the mobile and adjust the cords until the wooden ring hangs level.
Tie the five cords together with a secure knot. Leave enough cord above that knot to form the hanging loop required for your display location.
Don't trim any cord tails until you've lifted the complete mobile and checked its balance from several directions.
Finish and Balance the Mobile
Turn each turkey so its face points slightly outward rather than straight toward the center of the ring.
If one side dips, don't immediately add weight to the opposite side. Slide the hanging cord on the wooden ring a small amount first. A shift of less than an inch can be enough.
Check every sewing tail and knot. Weave yarn tails back through several stitches and trim only after they're secure.
Remove every pin and removable stitch marker before hanging the mobile. Check all three turkeys and every crochet piece once more so no temporary assembly tool remains in the finished project.
Check the beads separately. Each bead should be trapped between secure knots so it cannot travel along the hanging cord.
Give the turkeys one final look from the front. Straighten the feathers, pull the wings slightly away from the bodies and arrange the little feet so they aren't tucked underneath.
That's plenty. Don't keep adding pieces just because there's room on the ring.
Crochet Baby Mobile Safety
This handmade mobile is nursery decoration. It is not a baby toy and none of the crochet pieces, beads, cords or wooden parts should ever be within a baby's reach.
Although the example image is styled with the mobile above a crib, I would treat that as a decorating scene rather than an installation plan. For actual use, display the finished mobile away from the crib, bassinet, changing area and any place where a baby could eventually reach or pull the cords.
Do not tie the mobile to crib rails, crib posts or other crib parts. The U.S. Consumer Product Safety Commission warns about strangulation hazards from strings and cords around babies. Keep the entire hanging assembly completely out of reach.
If you use a ceiling or wall mounting point, use hardware designed for the surface and the weight being supported. Check the mounting point, cords, knots, beads and crocheted pieces regularly.
The embroidered eyes are intentional. There are no plastic safety eyes on these turkeys.
If the mobile is moved to another location as your baby grows, check the reach distance again rather than assuming the old placement still works.
More Free Turkey Crochet Patterns for Thanksgiving
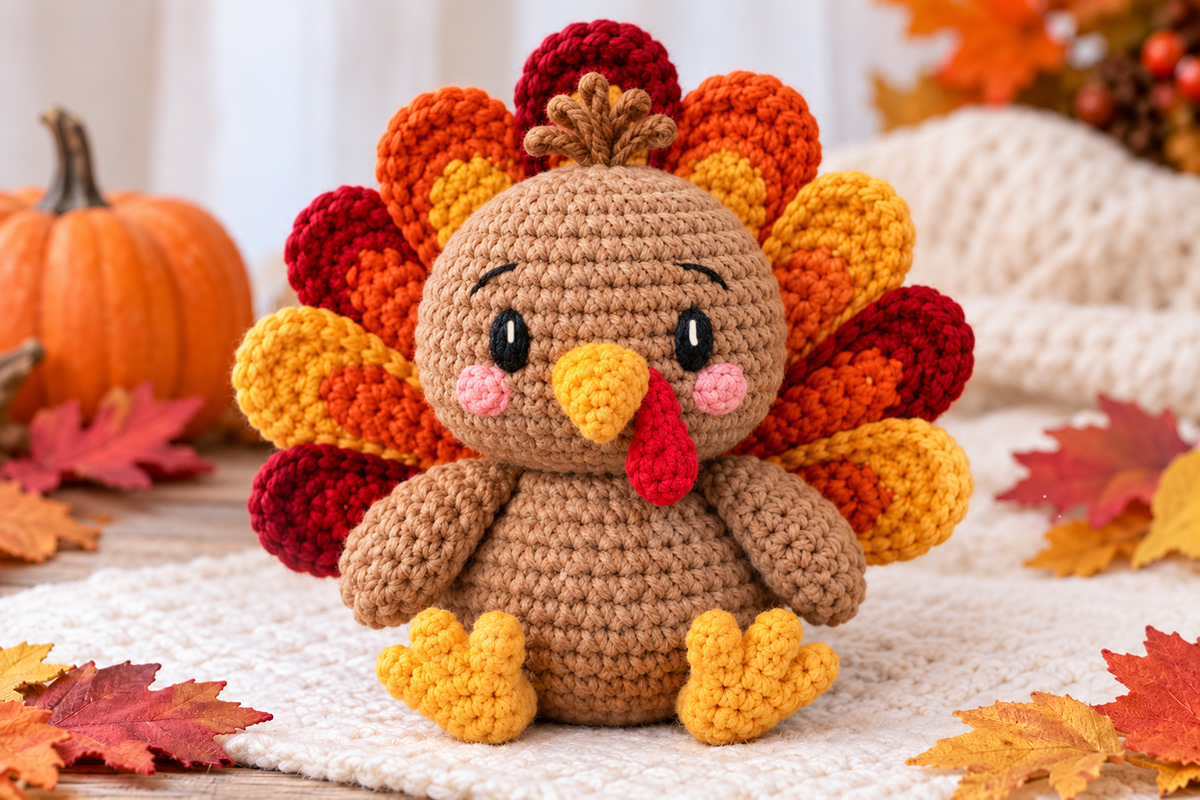
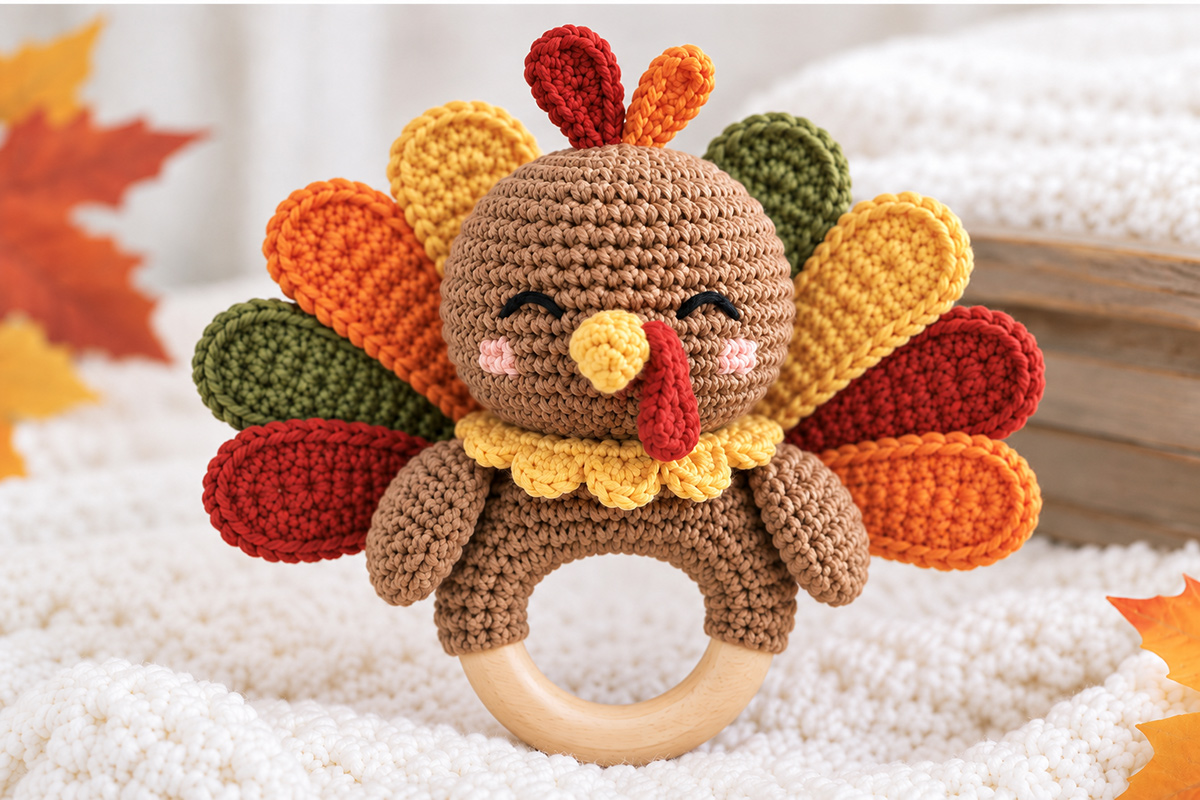
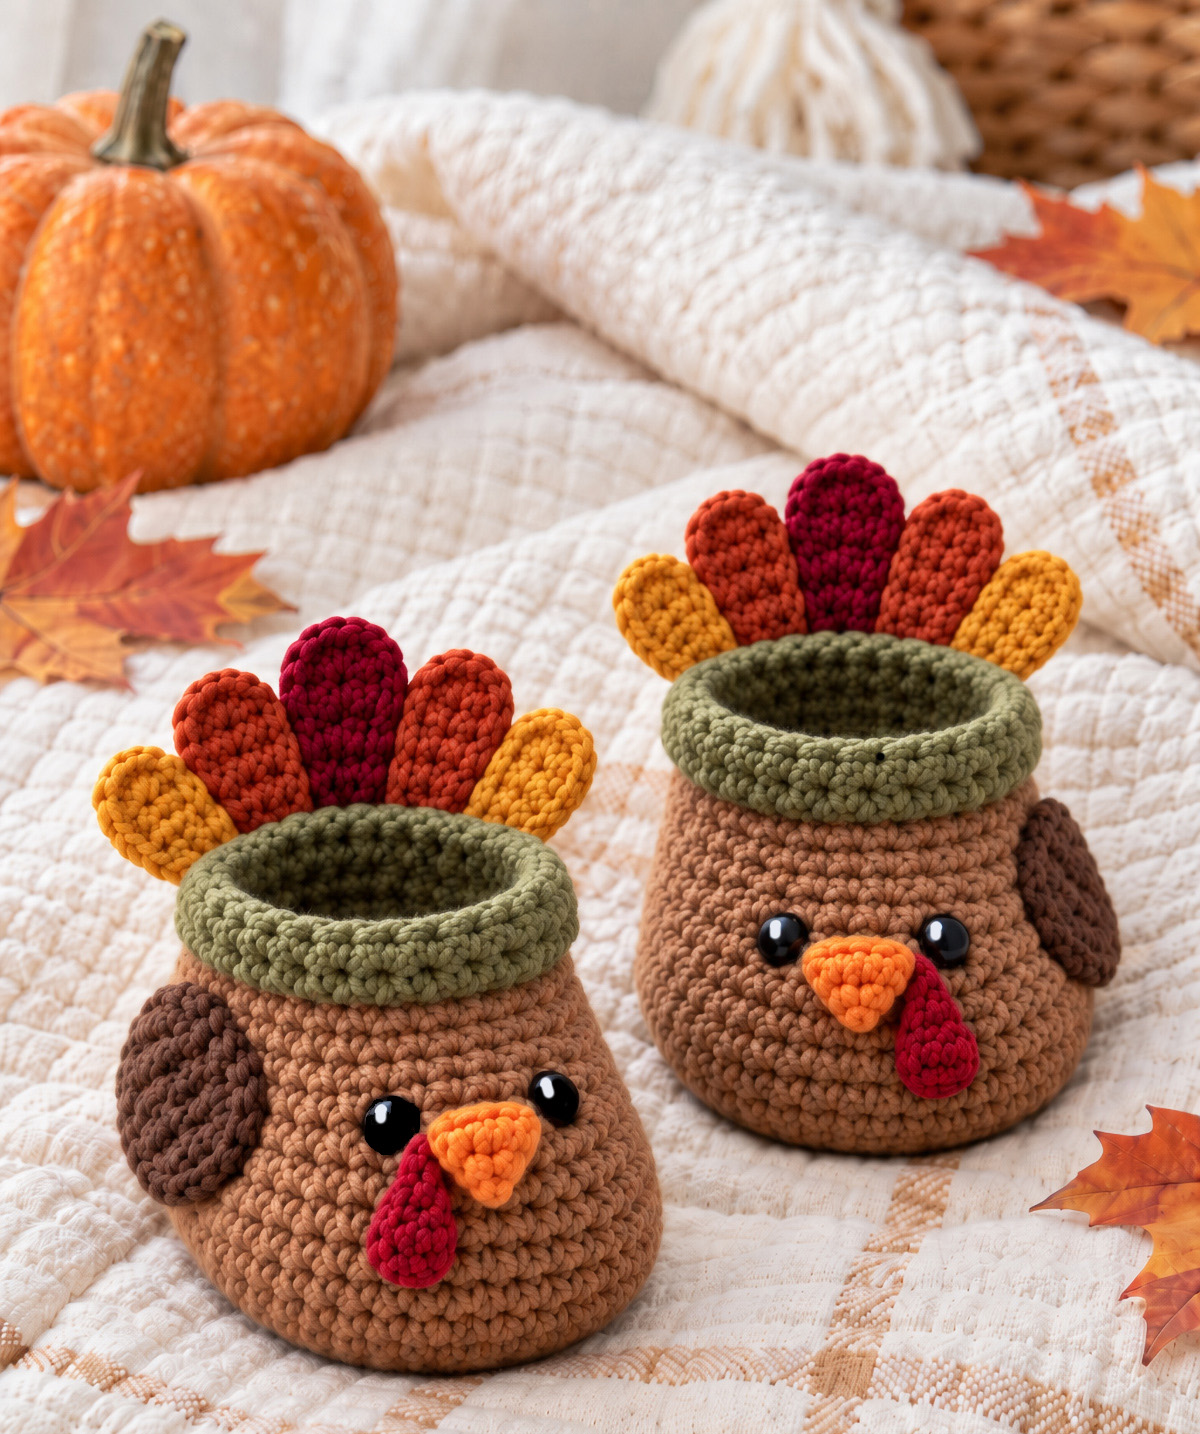
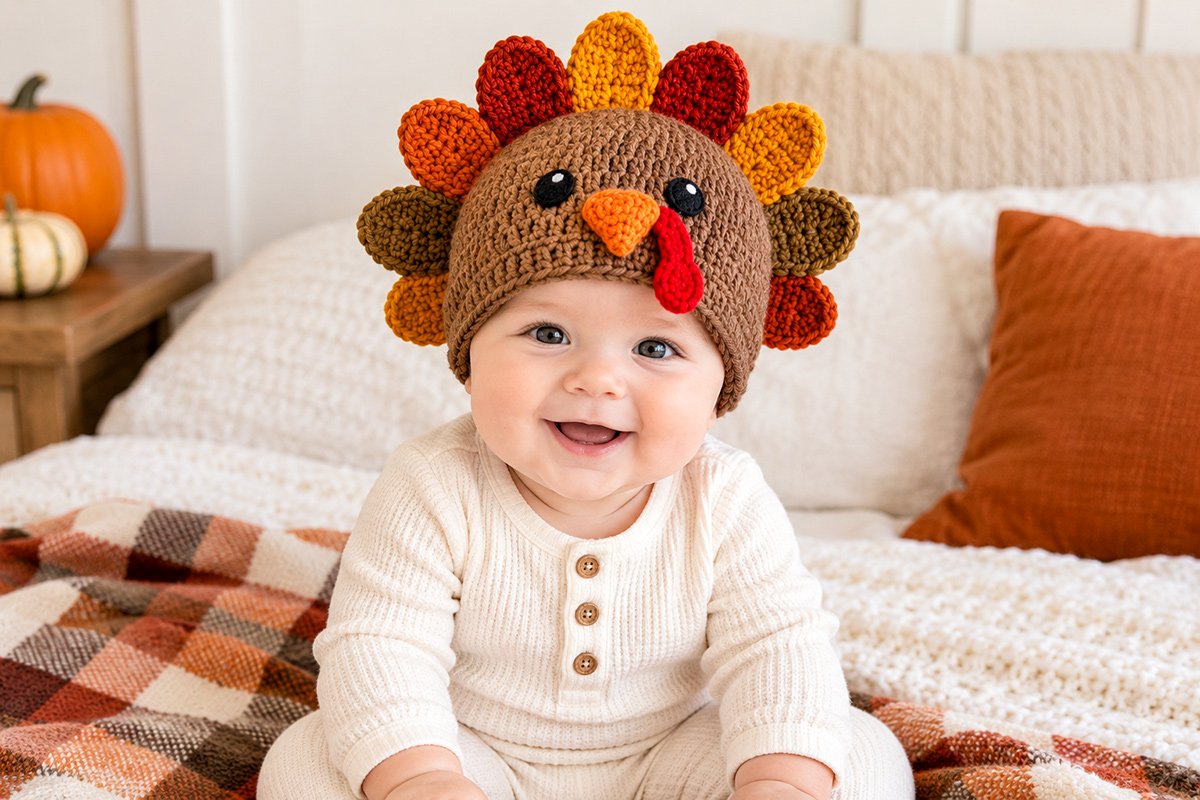
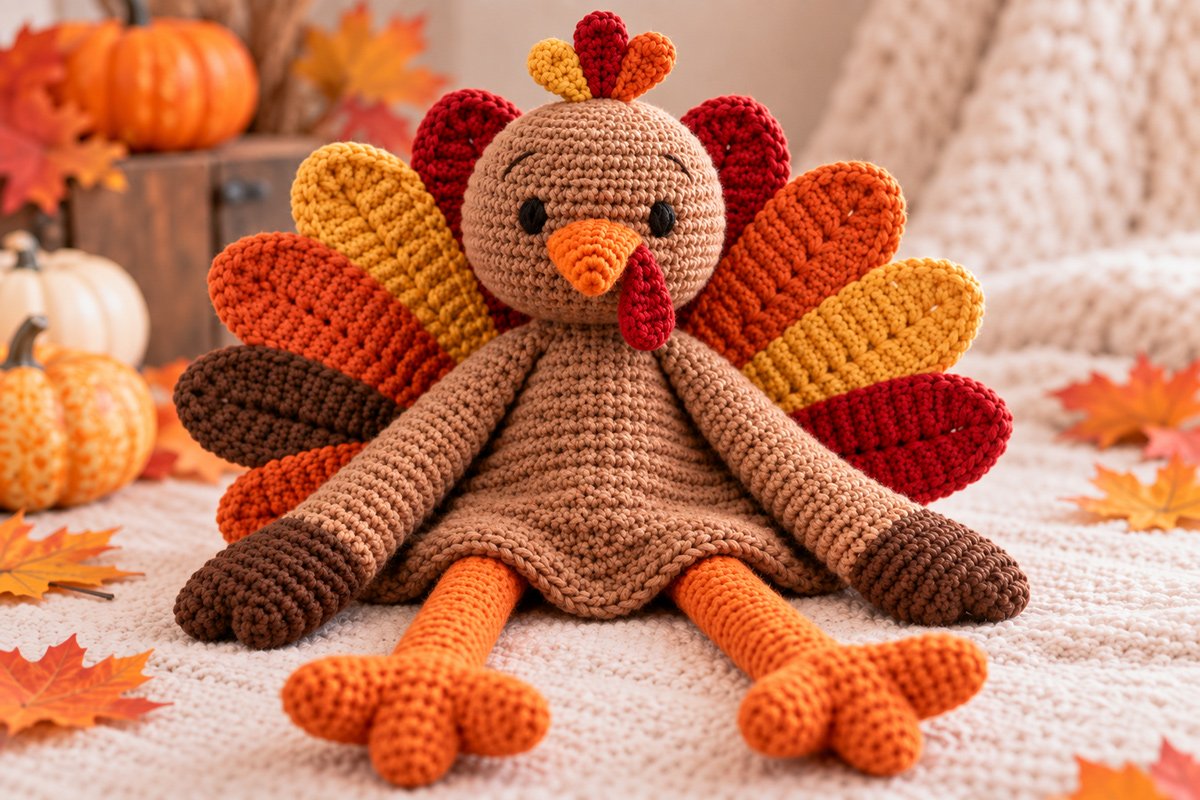
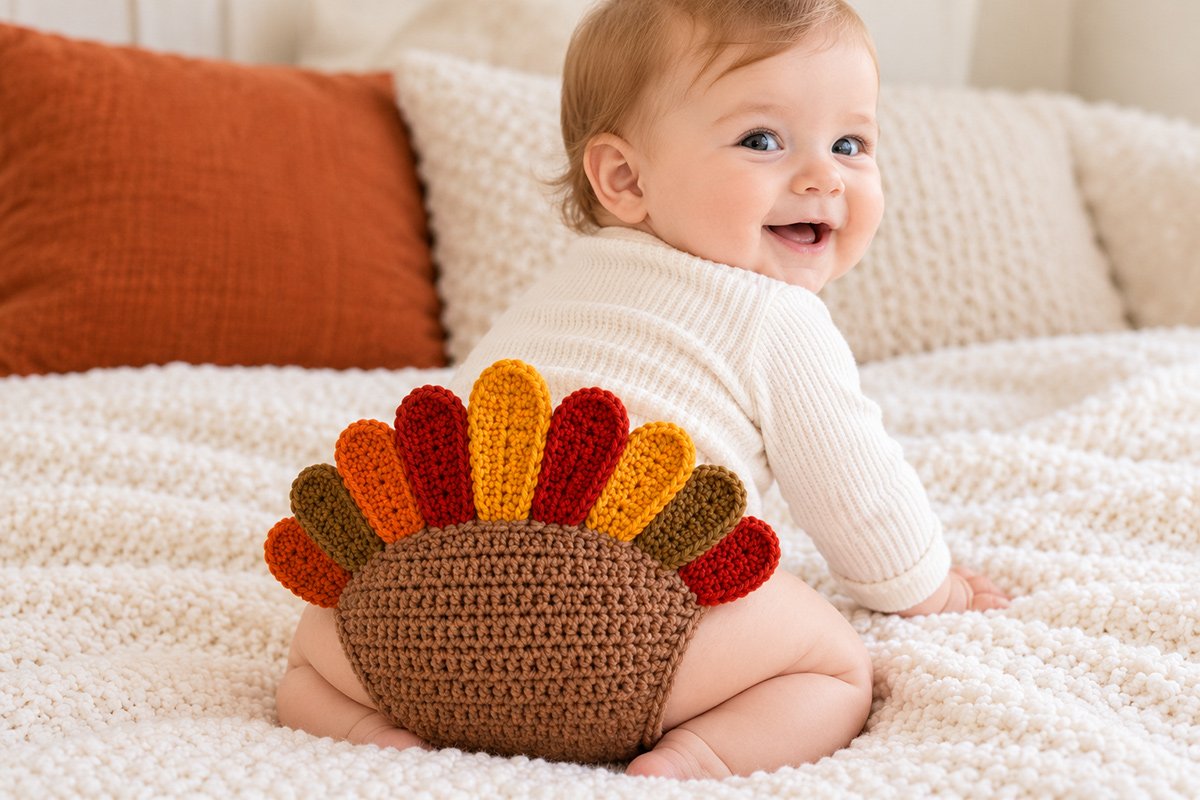
If you want to keep the turkey theme going, these free crochet patterns include quick little projects, baby wearables and larger makes for Thanksgiving.
When you click on links to various merchants on this site and make a purchase, this may result in this site earning a commission. This does not affect the price you pay.

UBGI Gold Standard 2026
Reviewed under the site's
editorial checklist.
Photos, decorating ideas, party setups and reader submissions are shared for inspiration unless a page is specifically presented as a pattern, tutorial, reference guide or step-by-step project. Follow the instructions, measurements, safety guidance and manufacturer directions provided for the particular project or product.
About Jan | Contact | Baby Nursery Ideas (Blog) | Site Map | Privacy Policy | Disclosure Policy | Disclaimer | Affiliate Disclosure | Earnings Disclosure | Facebook | Pinterest
I am a participant in the Amazon Services LLC Associates Program, an affiliate advertising program designed to provide a means for us to earn fees by linking to Amazon. As an Amazon Associate I earn from qualifying purchases.
Copyright © 2006-2026. All Rights Reserved.