Ladybug Stencils for Nursery Walls and DIY Baby Room Decor
Ladybug stencils are an easy way to add cute designs and personality to a baby girl's room without the cost of wallpaper or a hand-painted mural. I like using a ladybug stencil to create custom walls, painted furniture, nursery signs, toy boxes, and canvas art that coordinate with a ladybug nursery theme. Whether you choose a reusable wall stencil or a printable ladybug stencil template, these decorating ideas can help you create a cheerful nursery that's simple to personalize and easy to update as your child grows.
Explore the Ladybug Nursery Ideas Collection
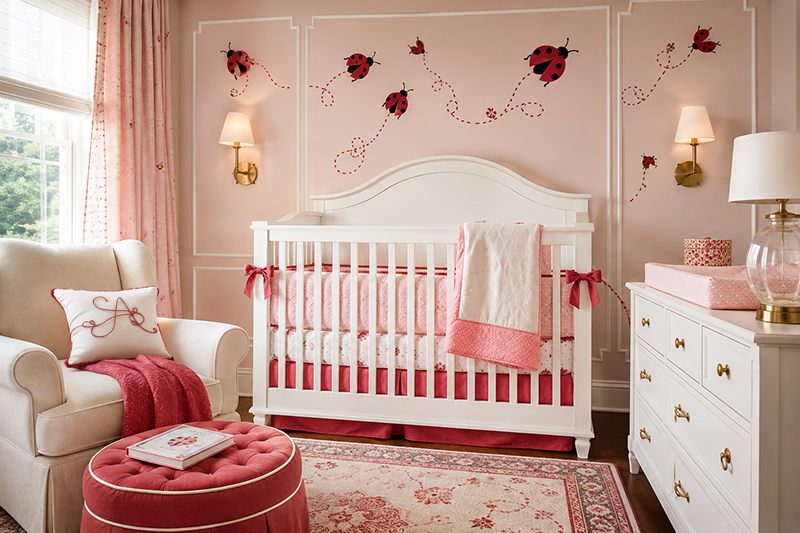
Easy Ladybug Stencil Ideas for Nursery Walls and Furniture
I love how a simple ladybug stencil can change a plain nursery wall, dresser, storage box, or piece of handmade artwork. The familiar red wings and black dots are easy to recognize, but the design can still be adjusted to match the colors and style of the room.
A small painted ladybug can add a playful detail to the corner of a nursery sign, while a group of larger bugs can create a border across an accent wall. Ladybugs also look charming resting on painted leaves, crawling along a vine, or appearing beside flowers, butterflies, bees, and dragonflies.
Stenciling is especially useful when you want painted nursery decor but do not have the time or confidence to paint every shape freehand. A reusable stencil keeps the outlines consistent and makes it easier to repeat the same design across several parts of the room.
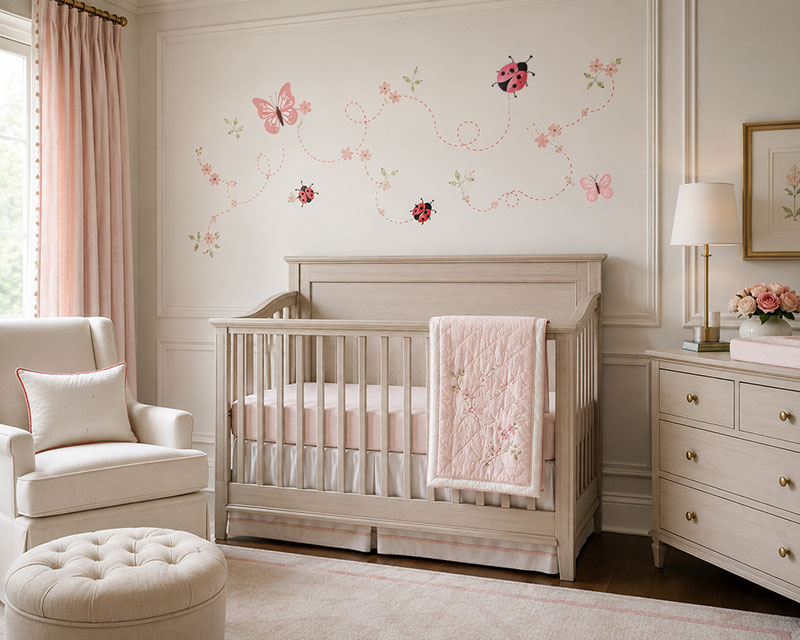
Why Use Ladybug Wall Stencils?
Wall stencils will not replace the detail of a professionally painted mural, but they offer an affordable way to add a custom painted design without hiring an artist. A good stencil gives you a clear shape to follow, even when this is your first nursery painting project.
Unlike wallpaper, a painted stencil can be placed only where you want it. You might stencil one cluster above a dresser, create a trail of ladybugs around a window, or add a narrow border beneath a chair rail. The design can also be painted over later when the room is updated.
Ladybug wall stencils work well with several decorating styles, including garden nurseries, insect themes, floral rooms, woodland spaces, and classic red-and-black rooms. For more ready-made wall options, compare these projects with ladybug wall decals and the artwork shown in my collection of ladybug nursery pictures.
Reusable and Printable Ladybug Stencil Options
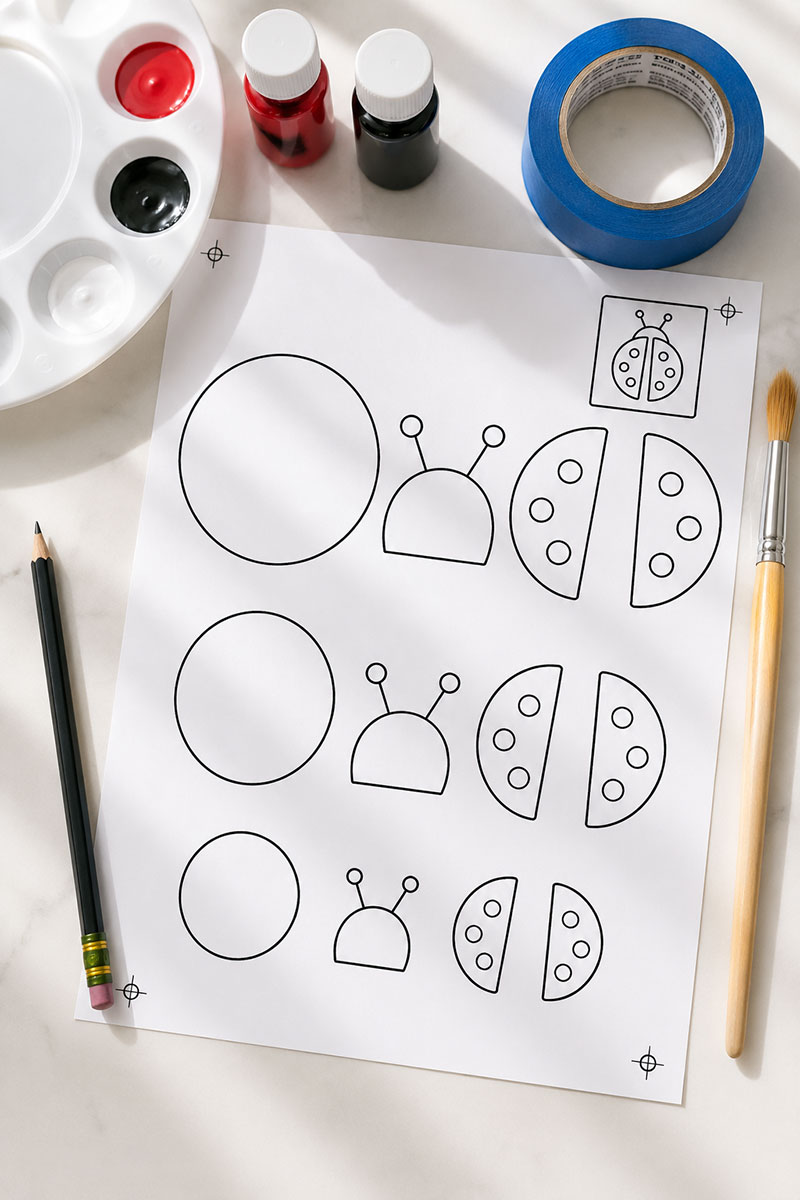
You can buy a reusable plastic or Mylar stencil, cut a design with a craft machine, or start with a printable ladybug stencil template. Reusable stencils are best when you want to repeat a pattern many times. Printable templates are useful for one-time projects, tracing shapes, creating paper crafts, or testing the size of a design before painting.
The page featuring free printable nursery stencils can help you explore additional shapes that coordinate with a ladybug room. Print the design at several sizes before choosing one. A ladybug that looks large on paper may appear surprisingly small once it is placed on a wide nursery wall.
For a reusable homemade stencil, transfer the printed outline onto stencil plastic and cut the openings carefully with a craft knife. Keep the bridges between sections wide enough to hold the pattern together. A simple silhouette with a round body, divided wings, dots, and antennae is easier to cut and paint than a highly detailed design.
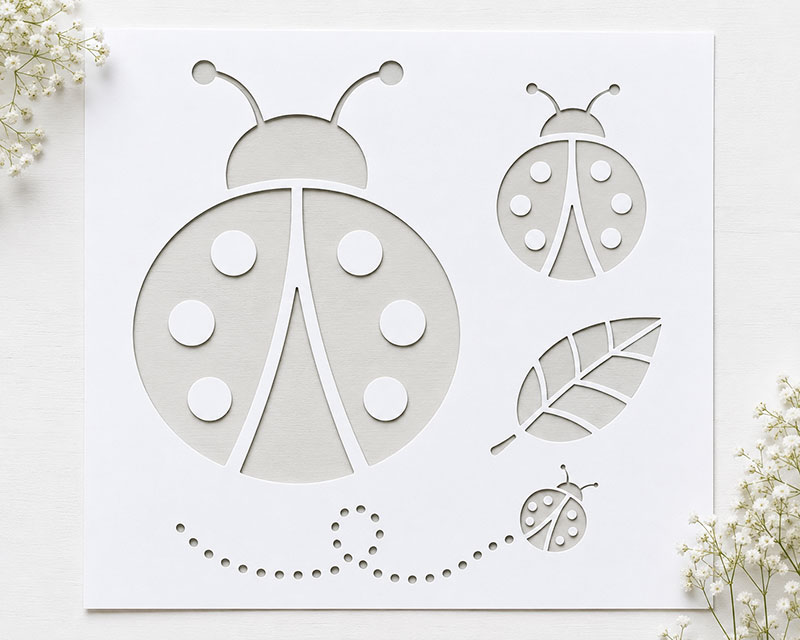
Free Printable Ladybug Stencil Template
Download the Printable Ladybug Stencil Template (PDF)
This free PDF includes large, medium, and small ladybug stencil pieces that you can print on standard US Letter paper (8.5 × 11 inches). Simply print at 100% scale, cut out the stencil pieces, and use them for nursery wall art, baby room decorating projects, crafts, and DIY painting.
How to Paint a Clean Ladybug Stencil
Prepare the surface before opening the paint. Walls should be clean, dry, and free of dust. Painted furniture may need light sanding and a coat of primer, especially when the finish is glossy. Test your stencil and paint combination on cardboard or a scrap board first.
- Position the stencil. Use low-tack painter's tape or temporary stencil adhesive to keep it flat against the surface.
- Remove excess paint. Load a stencil brush or small foam roller, and then blot most of the paint onto a paper towel.
- Apply light coats. Use a gentle tapping or rolling motion instead of brushing heavy paint toward the stencil edges.
- Lift the stencil carefully. Remove it while the paint is still slightly damp, pulling it straight away from the surface.
- Let the design dry. Wait before repositioning the stencil near freshly painted areas.
The biggest cause of blurry edges is too much paint. Several light applications produce a cleaner result than one thick coat. Check the back of the stencil between repeats and wipe away any paint that could transfer to the next section.
Ladybug Stencil Colors Beyond Red and Black
A ladybug does not have to be painted in traditional bright red. Use the colors found in the room's textiles, artwork, and ladybug baby bedding to create a coordinated design.
Coral, raspberry, dusty rose, and burgundy can replace true red. The dots may be painted charcoal, dark brown, plum, or soft black. Green leaves can range from fresh spring green to muted sage. White, cream, pale pink, and soft gray backgrounds keep the pattern easy to see without making every wall busy.
Paint sample cards are helpful when choosing combinations. Place several options beside the crib bedding and view them in both daylight and evening light before buying project paint.
Where to Use a Ladybug Stencil in the Nursery
Nursery walls are only one possibility. A smaller ladybug stencil can repeat the theme throughout the room without requiring every item to match exactly.
- Dresser drawers: Paint one ladybug near each drawer pull or create a row across the bottom drawer. See more ideas for coordinating ladybug nursery furniture.
- Storage boxes: Add a stencil to painted wooden boxes, canvas bins, or labeled containers used outside the baby's reach.
- Bookshelves: Paint tiny bugs along the shelf edges or on the side panels.
- Nursery signs: Use a printable ladybug stencil to frame a baby's name, initial, or short greeting.
- Canvas artwork: Paint a set of small canvases featuring ladybugs, leaves, flowers, and dots. Display them securely according to safe nursery placement practices.
- Growth charts: Add a trail of ladybugs climbing beside measurement marks.
- Closet doors: Paint a scattered pattern on a flat door or along the bottom panel.
- Floors and rugs: Use paint made for the specific floor material, or coordinate the stencil pattern with an existing ladybug nursery rug.
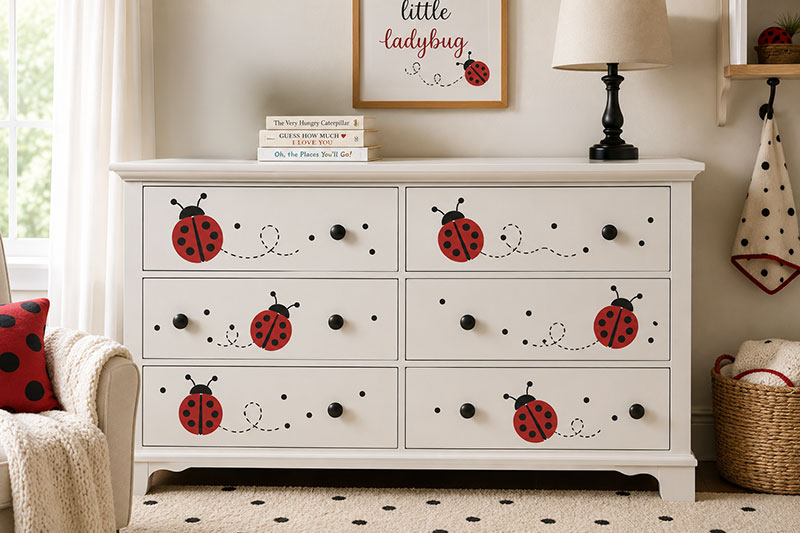
Create a Ladybug Wall Border or Scattered Pattern
A border is one of the easiest ways to use ladybug stencils on a large wall. Mark a light guideline with removable painter's tape, and measure the spacing before painting the first design. Alternate the direction of the bugs so the finished border does not appear too rigid.
For a scattered pattern, cut several paper copies of the stencil and tape them temporarily to the wall. Step back and check the arrangement. This prevents crowded areas and helps you decide whether the pattern needs more small, medium, or large ladybugs.
Mixing several sizes makes the design look more natural. A large ladybug can serve as the focal point, while smaller bugs create movement across the wall. Add only a few leaves, flowers, or dotted trails so the supporting details do not compete with the main design.
Coordinate Stencils with the Ladybug Nursery Theme
Use the stencil as one part of the room rather than repeating the same ladybug on every surface. For example, pair a painted wall border with simple bedding, a solid rug, and a few carefully selected ladybug nursery accessories.
The main ladybug baby nursery theme page has additional ideas for combining furniture, fabrics, artwork, and decorative details. You can also use the stencil beside painted wall letters or designs inspired by my ladybug nursery wall decor collection.
A few repeated colors will connect the room. Carry the stencil's red or coral shade into a picture frame, drawer pull, storage label, or blanket trim. Repeating black in small amounts through frames or furniture hardware helps define the color scheme without darkening the room.
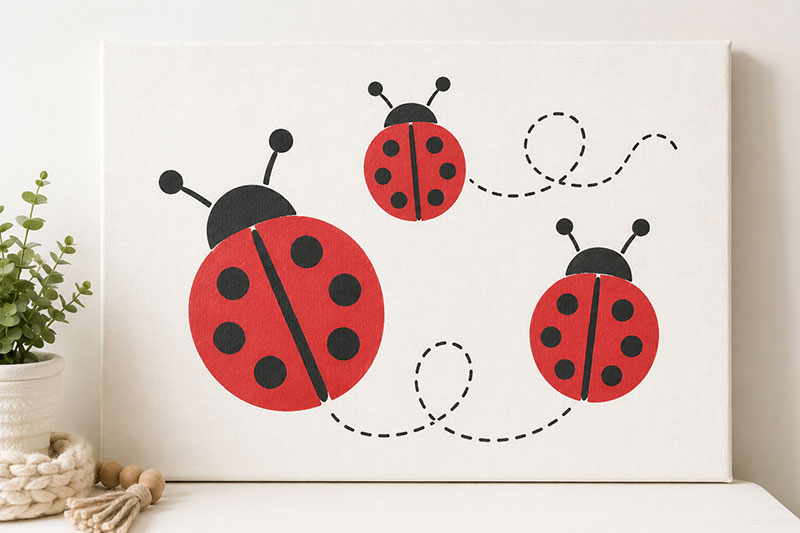
Ladybug Stencils for Baby Shower Crafts and Gifts
The same stencil can be reused for projects outside the nursery. Paint or trace ladybugs onto handmade gift tags, favor bags, place cards, invitations, and party signs for a ladybug baby shower.
A small stencil can personalize a wooden keepsake box, picture frame, or canvas presented with one of these ladybug baby shower gift ideas. Use fabric paint only on suitable washable fabrics, and keep painted details away from areas a baby may chew or mouth.
For paper projects, coordinate the stencil with ladybug baby shower invitations. Small jewelry boxes or gift packaging can also complement a piece selected from the ladybug baby jewelry page.
Common Stenciling Mistakes to Avoid
- Starting without a test: Practice on scrap material before painting the nursery wall or furniture.
- Using too much paint: Blot the brush or roller thoroughly to prevent paint from bleeding beneath the stencil.
- Ignoring spacing: Measure repeated designs or arrange paper copies before painting.
- Removing the stencil too late: Lift it before the paint dries completely and bonds to the edge.
- Using the wrong paint: Choose a formula made for walls, wood, fabric, or the exact surface being decorated.
- Adding too many motifs: Leave open space around the stencil design so individual ladybugs remain easy to recognize.
Make a Ladybug Stencil Project Your Own
A ladybug stencil gives you the shape, but the finished project can still be completely personal. Change the colors, reverse the direction, combine multiple sizes, or add leaves and flowers that coordinate with the nursery.
Begin with a small project if you are new to stenciling. A picture frame, storage box, or canvas allows you to practice before moving to a wall or dresser. Once you know how much paint to use and how firmly to hold the stencil, repeating the design becomes much easier.
Explore more baby nursery ideas, or continue through the ladybug collection for wall decorations, bedding, furniture, rugs, handmade projects, and coordinated room inspiration.


About Jan | Contact | Baby Nursery Ideas (Blog) | Site Map | Privacy Policy | Disclosure Policy | Disclaimer | Affiliate Disclosure | Earnings Disclosure | Facebook | Pinterest
I am a participant in the Amazon Services LLC Associates Program, an affiliate advertising program designed to provide a means for us to earn fees by linking to Amazon. As an Amazon Associate I earn from qualifying purchases.
Copyright © 2006-2026. All Rights Reserved.