Free Crochet Star Pattern: Applique for Baby and Nursery Projects
By Jan Bay
This free crochet star pattern makes a flat five point star that can be sewn onto baby clothes, blankets, nursery banners, storage baskets and other handmade baby projects. Make one as a small accent or crochet several stars for a coordinated nursery project.
Explore More Free Crochet Baby Patterns
Crochet Animal Applique Patterns
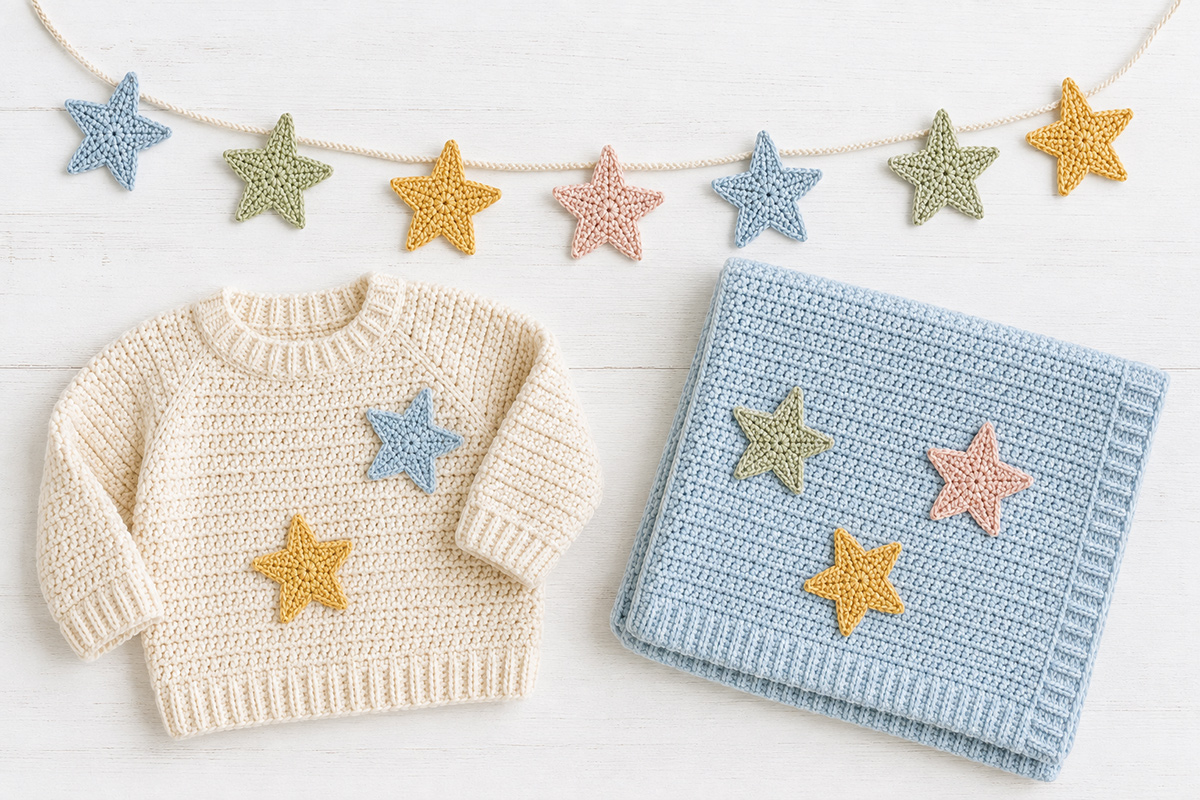
Crochet Supplies for This Pattern
Jump to:
Materials and Supplies
You don't need much yarn for one star. I'd use a smooth medium weight yarn with good stitch definition rather than anything fuzzy or heavily textured. The points need to stay easy to see, especially if you're sewing the applique onto baby clothing or a blanket.
For one crochet star:
- Small amount of #4 medium weight cotton or acrylic yarn, about 5 to 7 yards
- 4 mm (G-6) crochet hook
- Yarn needle
- Scissors
- Removable stitch marker, optional
Expected finished size: About 2 1/2 inches across from point to point with #4 medium weight yarn and a 4 mm hook. Yarn thickness and crochet tension can make the finished star slightly larger or smaller.
Gauge: Exact gauge isn't critical for this applique. The center should lie flat and the five points should feel firm enough to keep their shape. If the finished star feels loose or floppy, try a smaller hook. If the fabric feels unusually stiff or the magic ring is difficult to close, try a larger hook.
This pattern uses a 4 mm hook to give the small applique a firmer fabric and more defined points. That's a little smaller than the general hook range listed for #4 medium yarn in the Craft Yarn Council Standard Yarn Weight System, which notes that its hook ranges are guidelines. Use the finished fabric as your guide if you're substituting yarn.
If the star will be sewn onto baby clothes or a washable blanket, I'd choose yarn with care instructions that work with the item underneath it. A hand-wash-only applique on a machine-washable baby sweater just makes the finished project harder to live with.
Skip beads, buttons and other small add-ons. The plain five point star is the design, and it doesn't need anything attached to the center.
How to Make This Free Crochet Star Pattern
The star is worked in two rounds without cutting the yarn between them. Round 1 makes the compact 10-stitch center. Round 2 forms five points around that center.
Put a stitch marker in the first single crochet of Round 1 if you tend to lose your place. It also makes the final join of the fifth point easier to spot.
US crochet abbreviations:
- ch = chain
- sc = single crochet
- hdc = half double crochet
- dc = double crochet
- sl st = slip stitch
- st = stitch
- sts = stitches
Round 1, Center: Make a magic ring. Ch 1. Work 10 sc into the ring. Pull the ring closed firmly. Join with a sl st to the first sc. Do not count the beginning ch 1 as a stitch. 10 sc.
Count the 10 single crochet stitches before making the points.
Round 2, Points: *Ch 5. Sl st in the second ch from the hook, sc in the next ch, hdc in the next ch and dc in the next ch. Skip the next sc of Round 1 and sl st in the following sc.* Work the sequence between the asterisks 5 times total. After the fifth point, the final sl st goes into the first sc of Round 1. 5 points.
Remove the stitch marker if you used one. Fasten off and weave the ending tail securely into the back of the star. Weave the beginning magic-ring tail through the backs of several Round 1 stitches, change direction and weave through several more stitches before trimming it.
The slip stitch at the tip keeps the point from ending in a blunt chain loop. The sc, hdc and dc then increase in height as you work back toward the center. That's what gives each point its triangular shape without adding another edging round.
If one point twists, don't immediately add stitches to fix it. First flatten the star with your fingers and check the chain. A chain worked much tighter than the other four can pull that point sideways.
The finished star should lie flat with a small center, five narrow points and clear valleys between them. If the center is flat but every point looks noticeably shorter and wider than the example image, your chain tension may be too tight. If the points are unusually long and loose, try the next smaller hook.
You can lightly shape the finished star before attaching it. Pin the five points into position on a blocking mat and use the blocking method recommended for your yarn fiber. Don't stretch the center larger just to gain another half inch. The small center is part of the look of this applique. Remove all blocking pins before sewing or using the star.
Using the Crochet Star as a Baby Clothes Applique
A single star is enough on most baby clothes. I'd rather put one where you can actually see the shape than scatter little stars over every available inch.
Try one on the upper front of a cardigan, sweater or baby bodysuit. You can also place one near the bottom corner of a bib or on the front of a soft fabric jacket. Keep it away from snaps, zippers, neck openings and any place where the applique would have to fold every time the garment is put on.
Before sewing, lay the garment completely flat and position the star with one point facing up. Pin or clip it in place, making sure the fabric underneath isn't stretched.
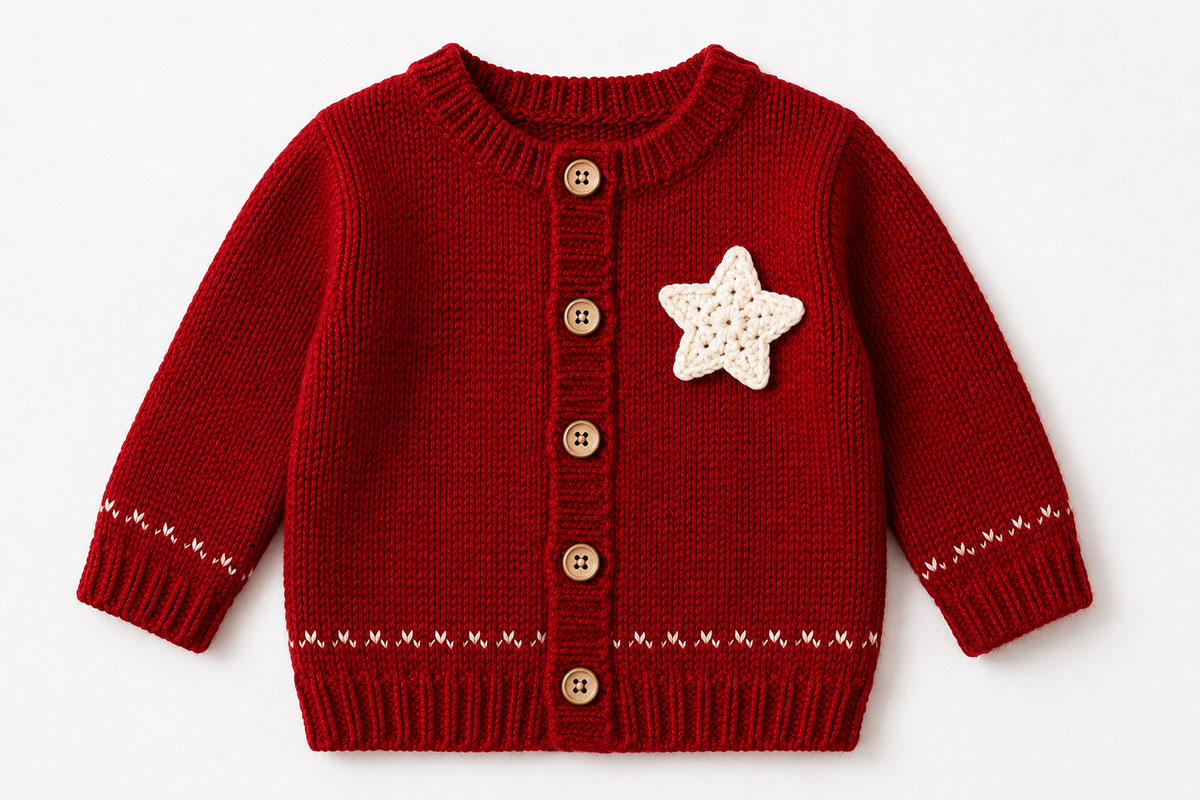
Thread a yarn needle with matching yarn or a sturdy coordinating thread. Sew around the outside of the star with small stitches, catching the back edge of the crochet and the garment underneath. Work around every point and every valley instead of attaching only the center.
Keep the stitches on the back short. Long strands running between the five points can catch and they aren't necessary.
Once the star is attached, check each point individually. If you can lift a point away from the garment with your finger, add another small stitch there. Remove every pin or clip before the garment is worn or washed.
I would skip beads, buttons, bells and separate decorative pieces on a baby applique. The star already has a clear shape. Adding little things to the center doesn't improve it.
If you want more small motifs for baby clothes and handmade gifts, the crochet bunny applique pattern, crochet fox applique pattern and crochet deer applique pattern give you other shapes that can be used the same way.
Adding Crochet Star Appliques to a Baby Blanket
Stars are easy to overdo on a blanket. You don't need twenty of them to make the idea clear.
For a simple baby blanket, I'd start with one star in a lower corner or a group of three arranged near one end. Three gives you enough room to mix colors without turning the whole blanket into a star pattern.
If you're adding several, place all of the stars before sewing the first one down. Step back and look at the spacing. Once they're attached, moving one means undoing all those little sewing stitches.
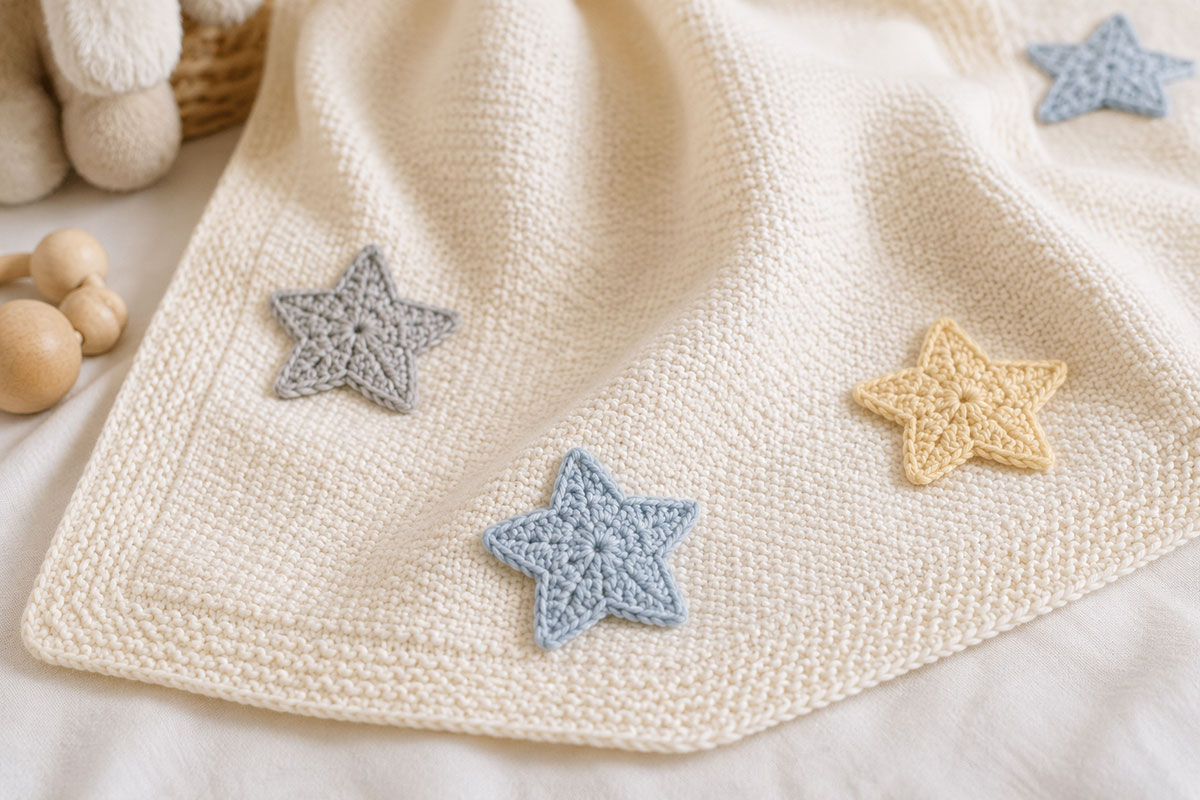
Keep the stars far enough apart that each five point shape stays easy to see. With stars around 2 1/2 inches across, a few inches of open blanket between them is usually plenty.
You can repeat colors from the blanket or use one contrasting color for every applique. I wouldn't introduce five completely unrelated colors unless the blanket already uses them. The stars should look as though they belong on the blanket, not as though they were added afterward because there was yarn left over.
Sew each star around its full perimeter just as you would on baby clothing. Pay particular attention to the tips. A point that isn't secured will curl upward before the center of the applique does.
If this applique goes on a baby blanket, don't place the finished blanket loose in an infant sleep space. The U.S. Consumer Product Safety Commission safe sleep guidance recommends keeping blankets and other loose items out of an infant's sleep space.
If you're planning the blanket itself rather than adding stars to an existing one, browse the free baby crochet patterns first and choose the blanket before deciding how many appliques to make.
Make a Nursery Star Garland
This same little star works well for a nursery garland because it's flat and light. Five or seven stars are enough for a short wall display. Make more only if you actually need the extra length.
I like an odd number because it gives you one star to center and then you can balance the remaining stars on each side.
Make all of the stars first. Block them to the same general size, then arrange the colors in the order you want before making the cord.
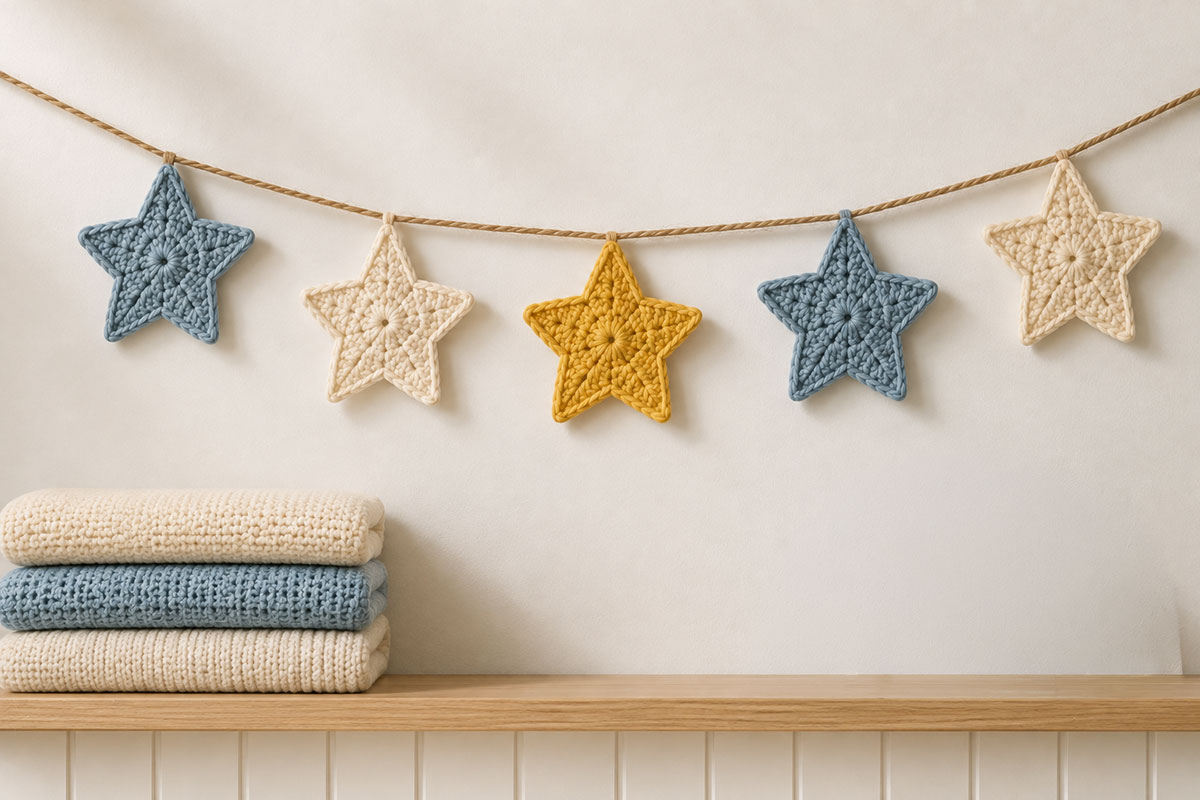
For the cord, use the same yarn and crochet a chain long enough for your hanging space. Leave extra chain at both ends so you have room to attach the garland securely.
Lay the chain flat and space the stars about 2 to 3 inches apart. Sew the top point of each star to the cord with several small stitches. Catch enough of the point that the star hangs facing forward rather than turning sideways on one loose stitch.
You can also use all one color. A row of ivory stars on a colored nursery wall looks completely different from a mixed pastel garland even though the pattern hasn't changed.
Keep a nursery garland on the wall and well out of a baby's reach. I would not attach crochet garlands to a crib, bassinet or other sleep space.
If you like the idea of combining several small crochet shapes into nursery decor, the crochet bunny baby mobile pattern uses separate handmade pieces in another way.
More Nursery Projects for the Crochet Star Applique
You can get quite a bit of use from this pattern without turning every project into a star theme.
A storage basket is an easy place to use one or three stars. Put them on the front where they'll stay visible once the basket is filled. If the basket itself is crocheted, sew through the outer layer of the basket rather than pulling the applique stitches so tightly that the basket wall puckers.
A fabric nursery banner is another good option. Sew one star onto each pennant, or alternate plain pennants with star pennants. I'd choose one approach or the other instead of filling the banner with several different applique styles.
You can also add stars to a handmade wall hanging. Use different sizes or colors if you want more movement, but keep the same five point construction so the pieces still look related.
For a nursery mobile, the stars need to stay lightweight and securely attached to the mobile structure. Flat stars can be mixed with clouds or other simple shapes, but the finished mobile should be hung securely and kept out of reach rather than suspended over a place where a baby can grab it.
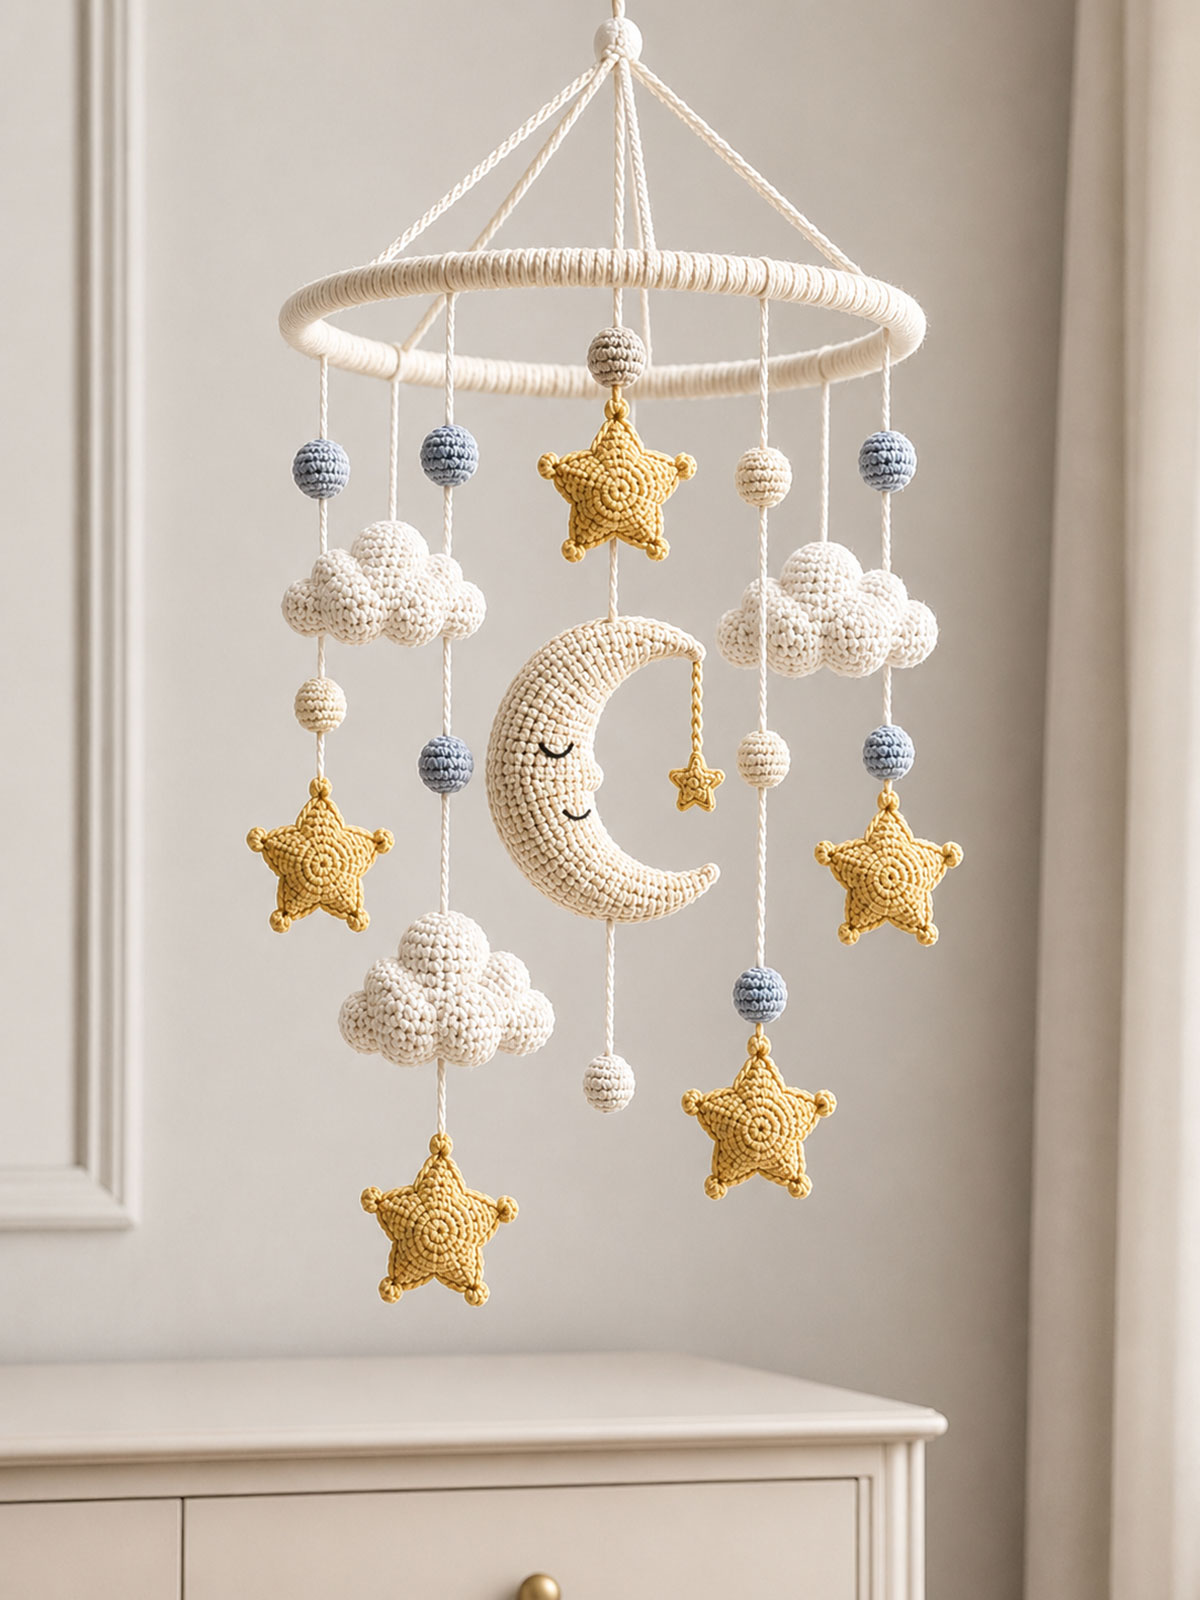
A star also works on the front of a fabric diaper caddy, a handmade gift bag or a keepsake basket. Those smaller uses are handy when you want the handmade detail without committing to a whole star-covered room.
If you're decorating a crochet storage piece, the crochet bear basket pattern is another nursery project built around a useful finished item rather than decoration alone.
Turn the Same Pattern Into a Crochet Star Ornament
You don't need a second star pattern to make an ornament. Use the same finished applique and add a hanging loop to the top point.
After finishing the star, join matching yarn at the tip of one point. Ch 18 to 24, depending on how long you want the hanger. Bring the chain back to the same point and sl st securely into the star.
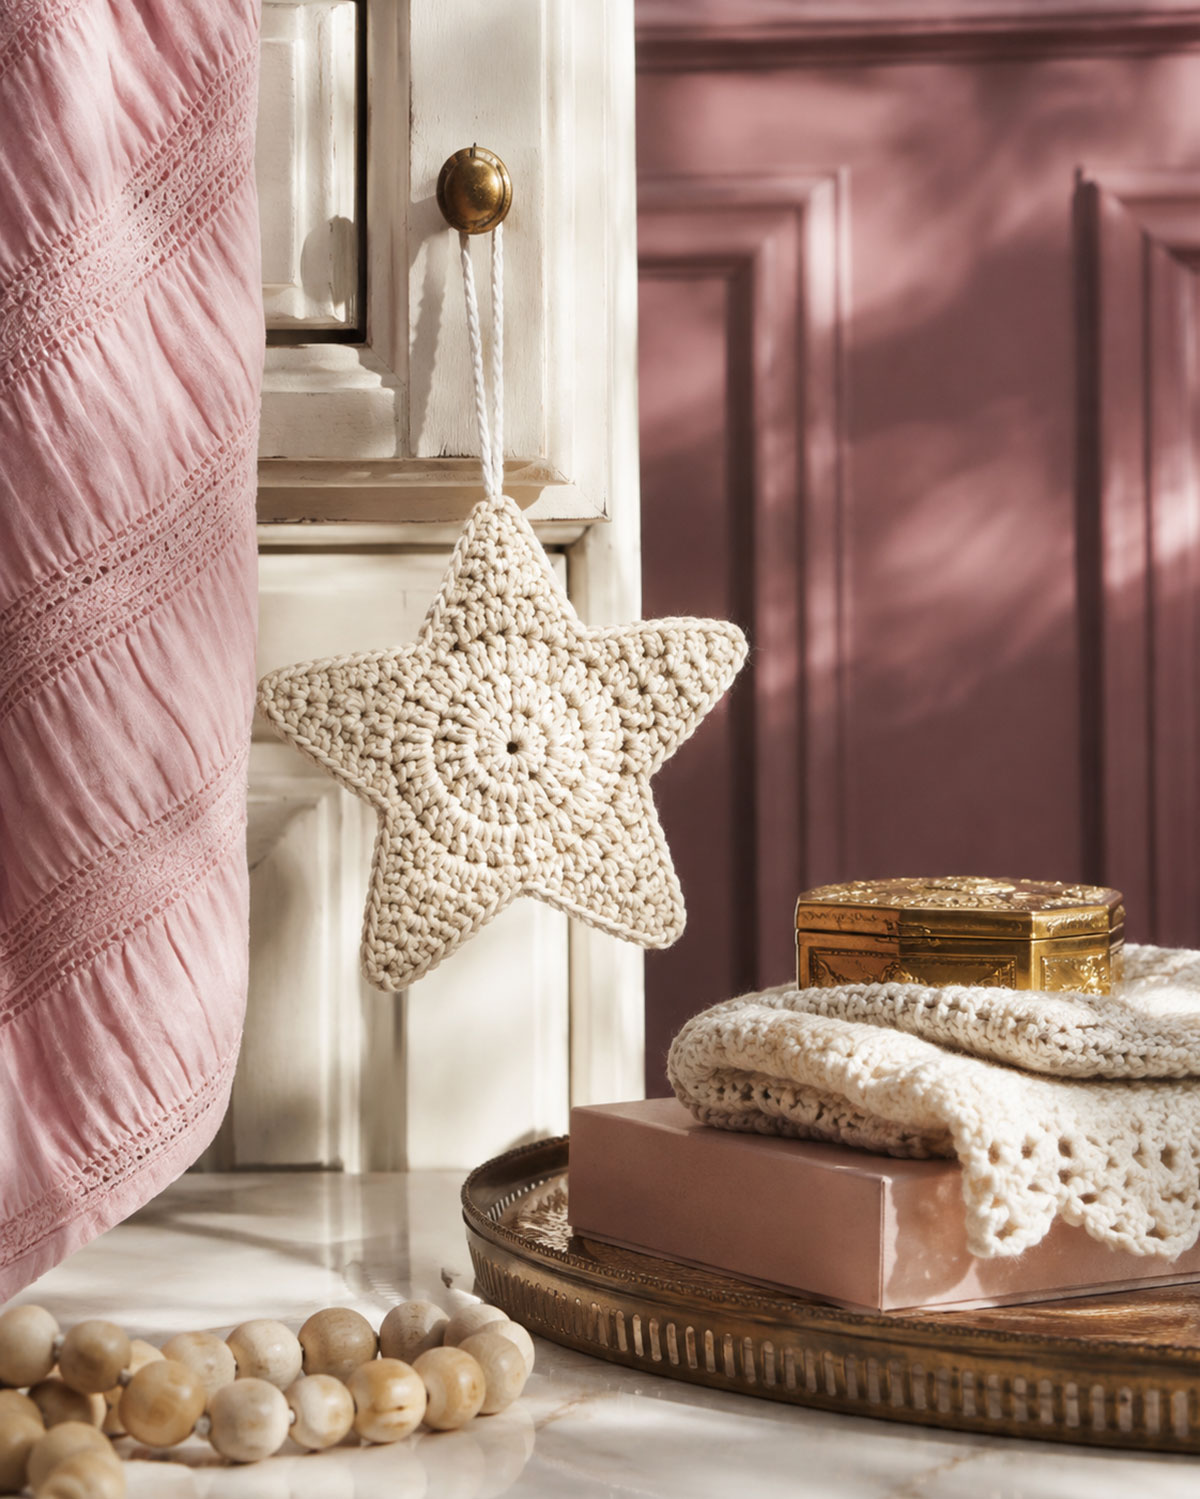
Fasten off and weave both ends into the back. Give the loop a gentle pull before hanging the ornament so you know the join is secure.
If you want the star a little firmer for a Christmas tree, use cotton yarn or try a slightly smaller hook than 4 mm rather than adding a separate border. Keep the same yarn and hook combination for every ornament in a matching set so the stars stay close to the same size.
You can make several in one color for a simple set or use leftover yarn from other baby projects. I wouldn't add beads or buttons just because it's becoming an ornament. The clean star shape is enough.
For more holiday crochet projects, browse my free Christmas crochet patterns collection.
This also makes an easy addition to a handmade baby's first Christmas gift. You can use the ornament by itself, tie it onto the outside of a wrapped gift or add it to one of the projects on the baby Christmas ornaments page.
If you're putting together several handmade holiday projects, there are more ideas on Baby Christmas Crafts.
When you click on links to various merchants on this site and make a purchase, this may result in this site earning a commission. This does not affect the price you pay.

UBGI Gold Standard 2026
Reviewed under the site's
editorial checklist.
Photos, decorating ideas, party setups and reader submissions are shared for inspiration unless a page is specifically presented as a pattern, tutorial, reference guide or step-by-step project. Follow the instructions, measurements, safety guidance and manufacturer directions provided for the particular project or product.
About Jan | Contact | Baby Nursery Ideas (Blog) | Site Map | Privacy Policy | Disclosure Policy | Disclaimer | Affiliate Disclosure | Earnings Disclosure | Facebook | Pinterest
I am a participant in the Amazon Services LLC Associates Program, an affiliate advertising program designed to provide a means for us to earn fees by linking to Amazon. As an Amazon Associate I earn from qualifying purchases.
Copyright © 2006-2026. All Rights Reserved.