How to Make a Diaper Cake Step by Step
Wondering how to make a diaper cake? The fastest way is to build sturdy diaper tiers first, secure them tightly, then decorate lightly so the finished cake looks clean instead of cluttered. This step-by-step guide shows how to make a diaper cake that stays balanced, looks professional on a baby shower table, and comes apart easily when parents need the diapers later.
More baby shower help:
Browse Diaper Cake Ideas See Popular Baby Shower Themes Get Baby Shower Decorating Ideas Plan a Diaper Shower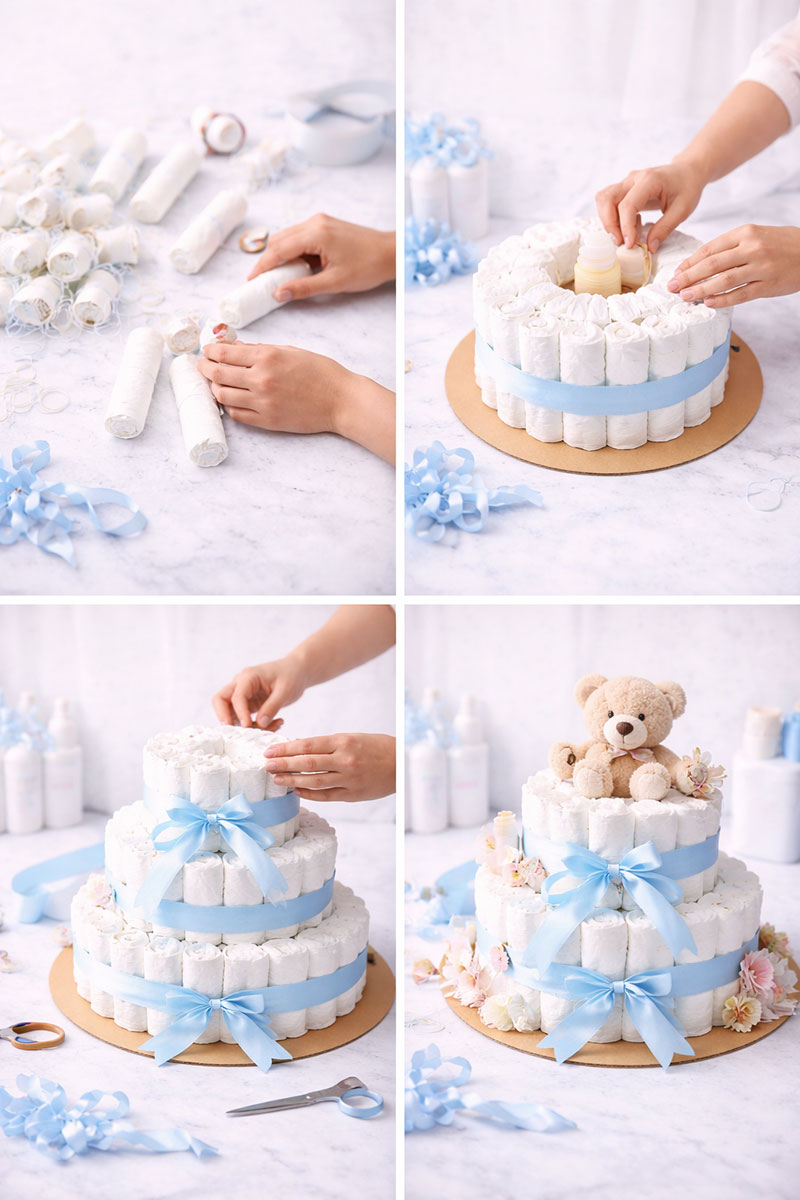
Helpful before you start:
The easiest diaper cakes use wide ribbon, evenly sized diapers, and a sturdy round base that will not bend when moved.
Quick navigation
Supplies You Need Step-by-Step Instructions How Many Diapers You Need Decorating the Cake Mistakes to Avoid When to Use OneQuick answer: To make a diaper cake, roll or stand clean diapers into tiers, secure each layer with ribbon or bands, place the tiers on a firm base, then add small baby gifts and simple decorations. Most standard three-tier diaper cakes use about 45 to 65 diapers, depending on diaper size and how tightly each layer is built.
Once the base is steady, the rest of the diaper cake is mostly about keeping each tier even, centered, and easy to take apart later.
Diaper Cake Supplies You Really Need First
Basic diaper cake supplies checklist:
- 45–65 disposable diapers
- Wide ribbon
- Rubber bands or clear hair elastics
- Round cake base or cardboard circle
- Baby socks, bibs, or washcloths
- Optional topper or small baby gift
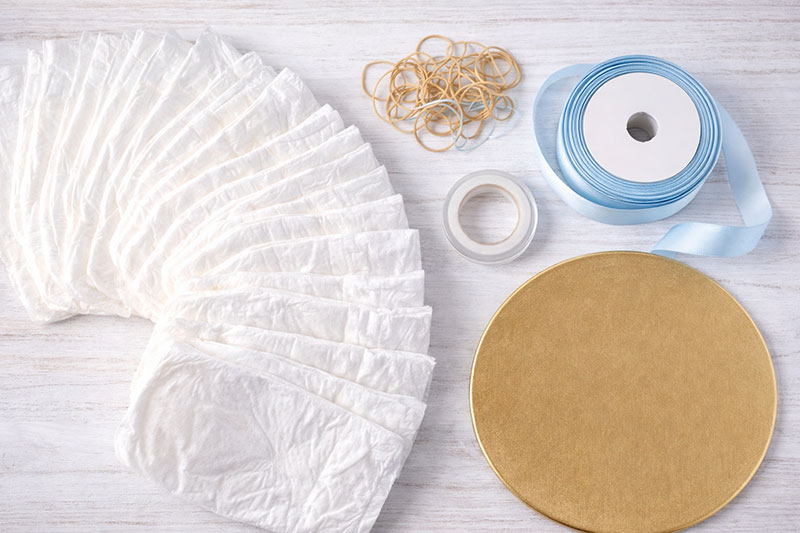
You do not need a giant craft haul to make a diaper cake that looks finished on a table. The real secret is structure first, decoration second. That keeps the tiers round, steady, and clean-looking from every side.
Start with the basics. You need clean disposable diapers, a firm round base, ribbon, and a way to hold each tier together while you build. A cardboard cake round or flat plate works well. Wide ribbon usually hides the structure better than thin ribbon.
A properly built diaper cake should stand level, hold its shape without collapsing, and allow all diapers to be used afterward.
A few simple add-ons can make the finished diaper cake look complete without turning it into a cluttered craft project. Washcloths, baby socks, bibs, and small baby items are usually enough.
Woodland-themed showers also work beautifully with layered greens, small forest animals, and rustic ribbon details, and these woodland diaper cake ideas show how to build a centerpiece that feels coordinated appropriately decorated.
For an October variation, my Halloween diaper cake tutorial uses the same tiered approach with orange-and-black ribbon, bats, ghosts and a pumpkin topper.
If you want theme inspiration after learning how to make a diaper cake, see my diaper cake ideas.
If you are matching your diaper cake to a specific party style, see my baby shower themes for coordinated color and design ideas.
How to Make a Diaper Cake Step by Step
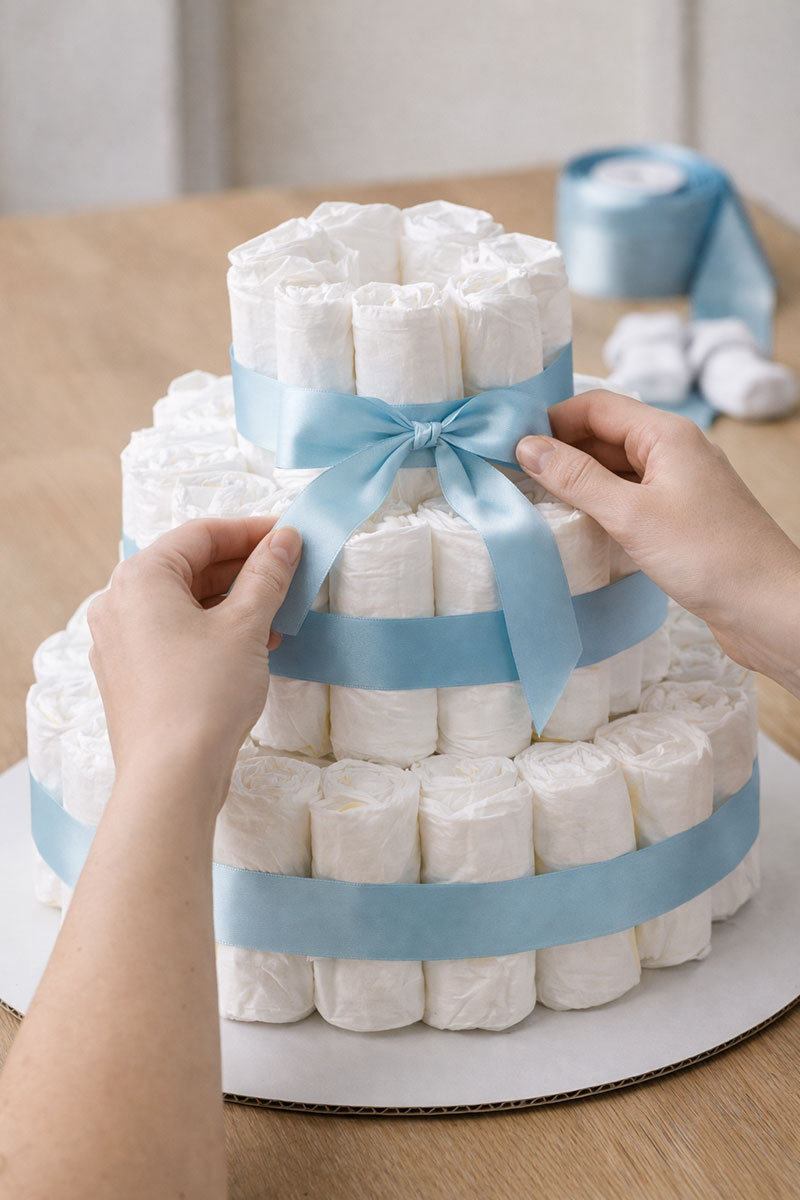
This step-by-step method shows exactly how to make a diaper cake that holds its shape and looks balanced from every angle.
Step 1. Build the bottom tier. Stand or roll enough diapers to form a circle on your base. Secure the layer with ribbon or bands.
Step 2. Check the shape first. Stack tiers loosely and adjust before securing anything. This prevents leaning.
Step 3. Add the middle tier. Make it smaller than the bottom and center it carefully.
Step 4. Add the top tier. Keep the size balanced so the cake does not look narrow.
Step 5. Secure everything. Use light tape only where needed to keep the tiers from sliding.
Step 6. Cover the structure. Wrap ribbon around each tier so the base looks clean and finished.
Do not focus on exact numbers first. Focus on a round, steady shape. A slightly smaller diaper cake that stands straight will look better than a larger one that leans.
Good diaper cake vs common problems:
- Good: round, even tiers, centered top, smooth ribbon lines
- Problem: squeezed layers, uneven sides, leaning top
- Good: consistent spacing and clean edges
- Problem: too many decorations hiding the structure
A diaper cake is especially useful at a diaper shower, where guests bring diapers instead of traditional gifts.
For full setup, see my baby shower decorations and baby shower ideas.
How Many Diapers Do You Need for a Diaper Cake?
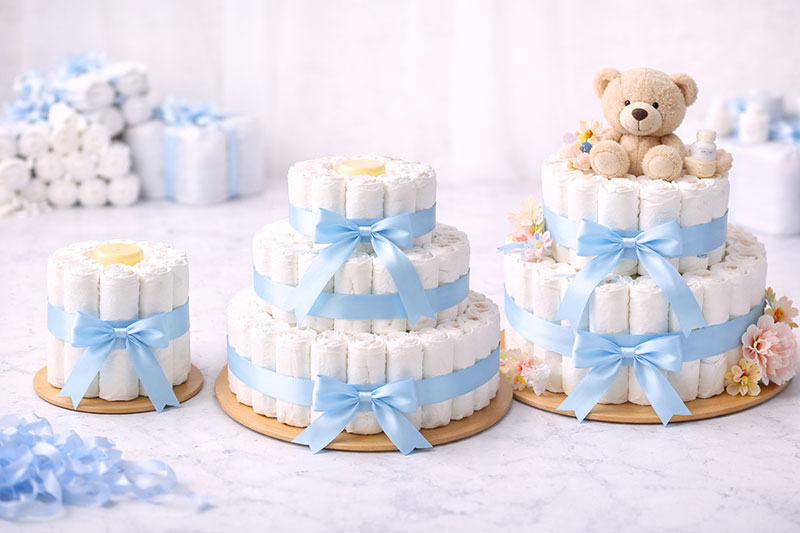
Most three-tier diaper cakes use about 45 to 65 diapers. Smaller cakes use fewer, and oversized centerpiece cakes may need more.
Small: 25 to 35 diapers
Medium: 40 to 50 diapers
Large: 50 to 65 diapers
Once you understand how to make a diaper cake, you can adjust the size and shape based on your materials, table space, and baby shower theme.
How to Decorate a Diaper Cake Without Making It Fussy
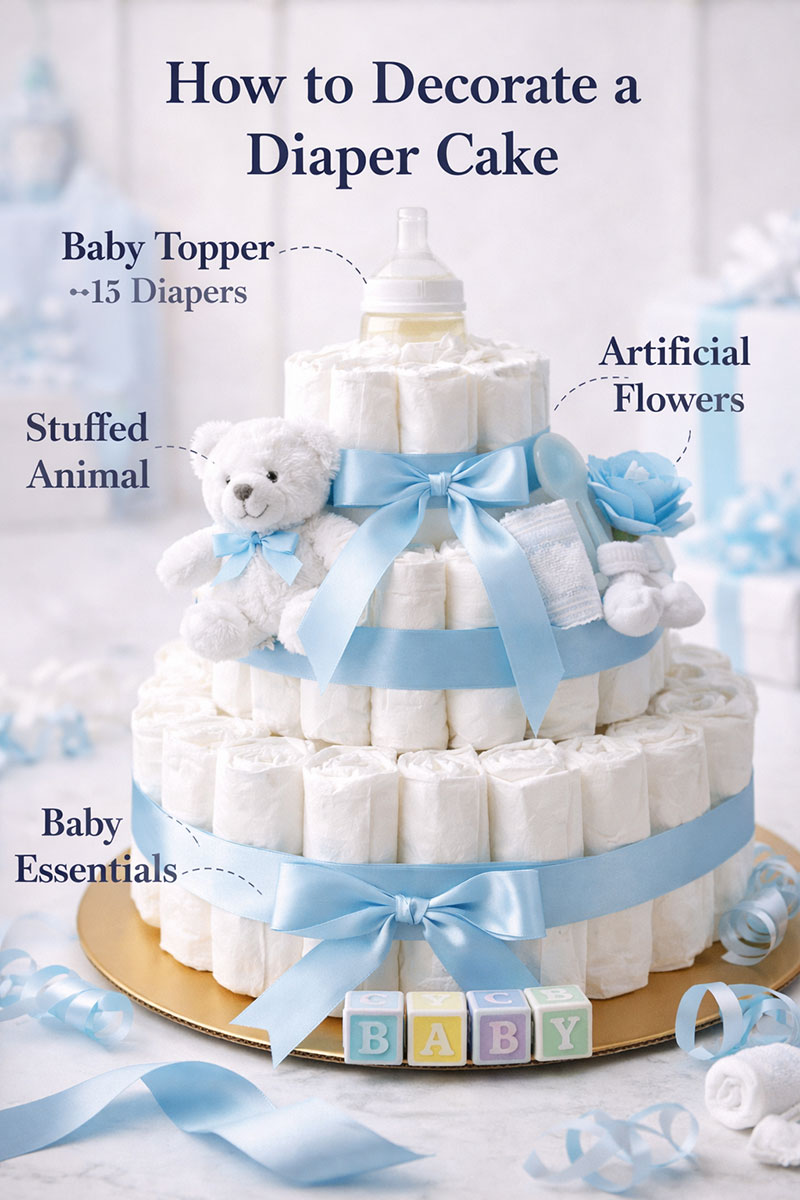
The best decorations hide the structure and keep the design simple.
Use ribbon first, then add a few baby items like socks, washcloths, bibs, or a small topper. Keep colors consistent so the diaper cake looks planned instead of crowded.
Skip glue and heavy decorations so everything stays usable. Parents should be able to take the cake apart without ruining the diapers or baby items.
You can match your cake with baby shower favors and other table details.
Common Diaper Cake Mistakes That Ruin the Shape
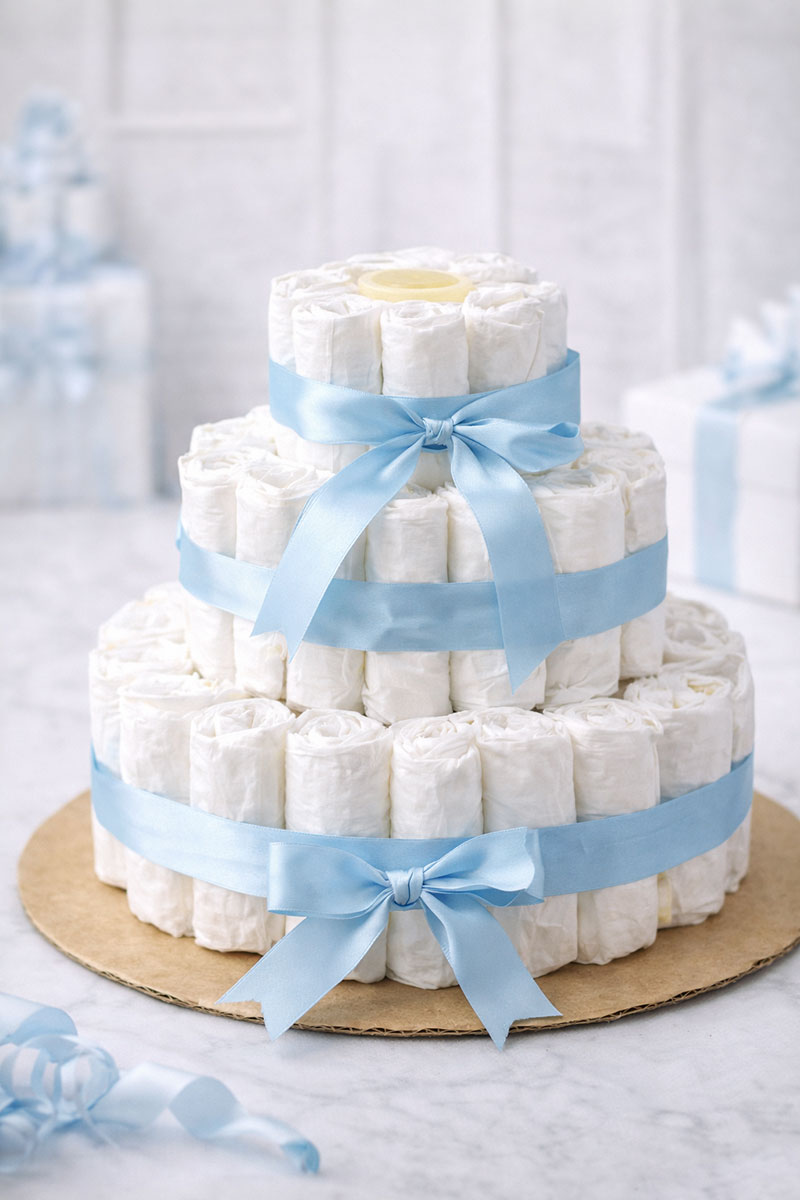
The most common mistake is making tiers too tight or decorating before the shape is stable.
- Base too small
- Top tier too narrow
- Too many decorations
- Not checking all angles
- Ribbon pulled unevenly
- Heavy items placed on one side
Fix problems by rebuilding the layer instead of hiding them. If the base is crooked, decorations will not save the finished cake.
When a Diaper Cake Works Best
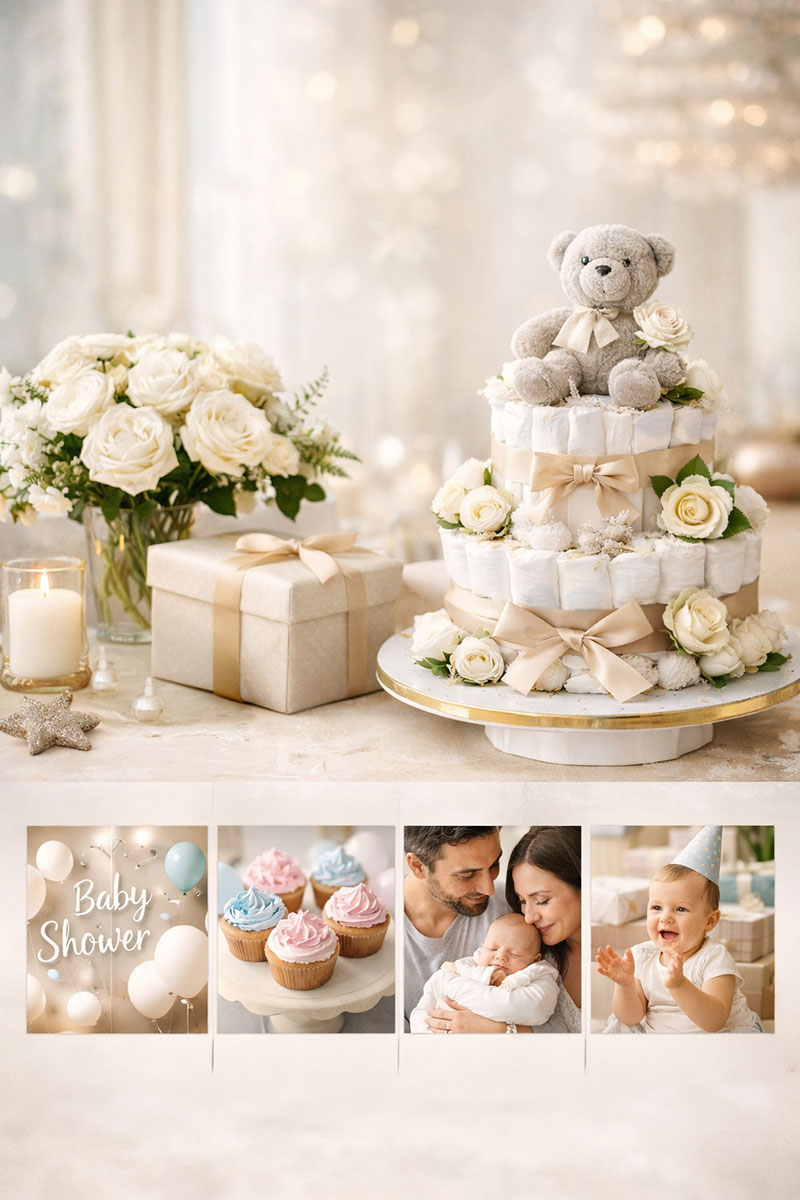
This guide shows how to make a diaper cake that stays stable, looks clean, and can be taken apart easily after the shower.
A diaper cake works as a gift, centerpiece, and display item at the same time. It is especially helpful when you want one table piece that looks pretty but still gives the parents something practical.
If you are unsure when to use one, see my baby shower etiquette.
For full planning, visit my baby shower ideas and planning guide.
The finished result is a stable, gift-ready diaper cake that works as both a centerpiece and a practical gift.
Diaper Cake FAQ
Can you make a diaper cake the night before?
Yes. You can make a diaper cake the night before a baby shower as long as it is stored flat and handled carefully when moved. Many people prefer this timing to reduce setup stress.
What size diapers are best?
Newborn and size 1 diapers are most commonly used because they are practical for parents and fit well when forming uniform tiers.
Do you roll or stand diapers?
Both methods work. Rolled diapers give more control and a tighter shape, while standing diapers are faster and can create a fuller look.
Is a diaper cake a gift or decoration?
A diaper cake works as both a practical gift and a decorative centerpiece, which is why it is commonly used at baby showers.


About Jan | Contact | Baby Nursery Ideas (Blog) | Site Map | Privacy Policy | Disclosure Policy | Disclaimer | Affiliate Disclosure | Earnings Disclosure | Facebook | Pinterest
I am a participant in the Amazon Services LLC Associates Program, an affiliate advertising program designed to provide a means for us to earn fees by linking to Amazon. As an Amazon Associate I earn from qualifying purchases.
Copyright © 2006-2026. All Rights Reserved.