How to Get a Clear Baby Footprint for Crafts and Keepsakes
By Jan Bay
This guide focuses on how to get a clear baby footprint for crafts and keepsakes. The clearest baby footprints usually come from a quick, prepared printing session, not from pressing harder or trying over and over. Set up the paper and cleanup supplies first, support the ankle, lower the heel before the toes and lift the foot straight up so you have a clean print ready to use in a craft or keepsake.
Explore More Baby Footprint and Keepsake Ideas
Baby Footprint Crafts and Keepsakes
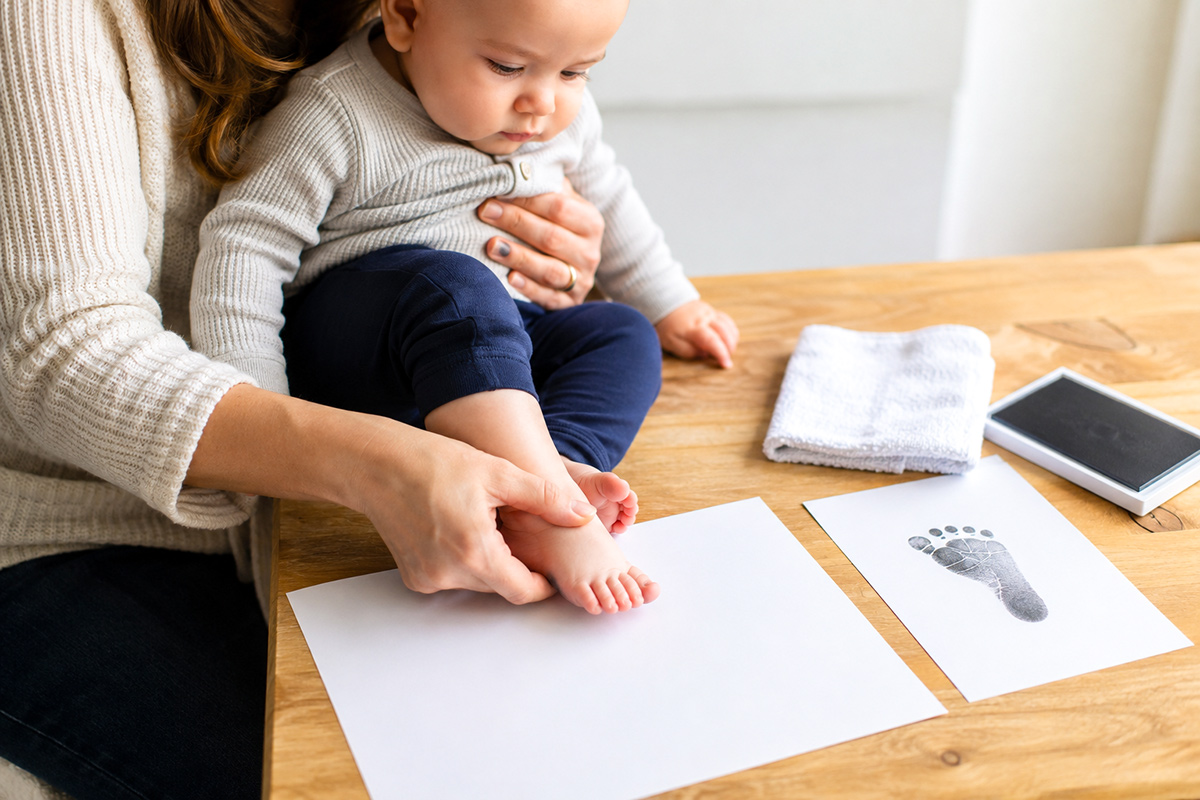
Before choosing a kit, check whether it uses a clean-touch printing system, how many impressions it allows, the size of the printing area and whether the included paper or card will fit the keepsake you plan to make.
Jump to:
Choose the Best Time to Take the Footprint
How to Get a Clear Baby Footprint
How to Avoid Smears and Curled Toes
Choose Paint, Ink or a Clean-Touch Pad
What You Need Before You Take a Baby Footprint
Get everything within reach before you uncover the baby's foot. A footprint can take only a few seconds when the paper, printing material and cleanup supplies are ready. If you have to stop to find a washcloth or another sheet of paper, those relaxed little toes may decide the session is over.
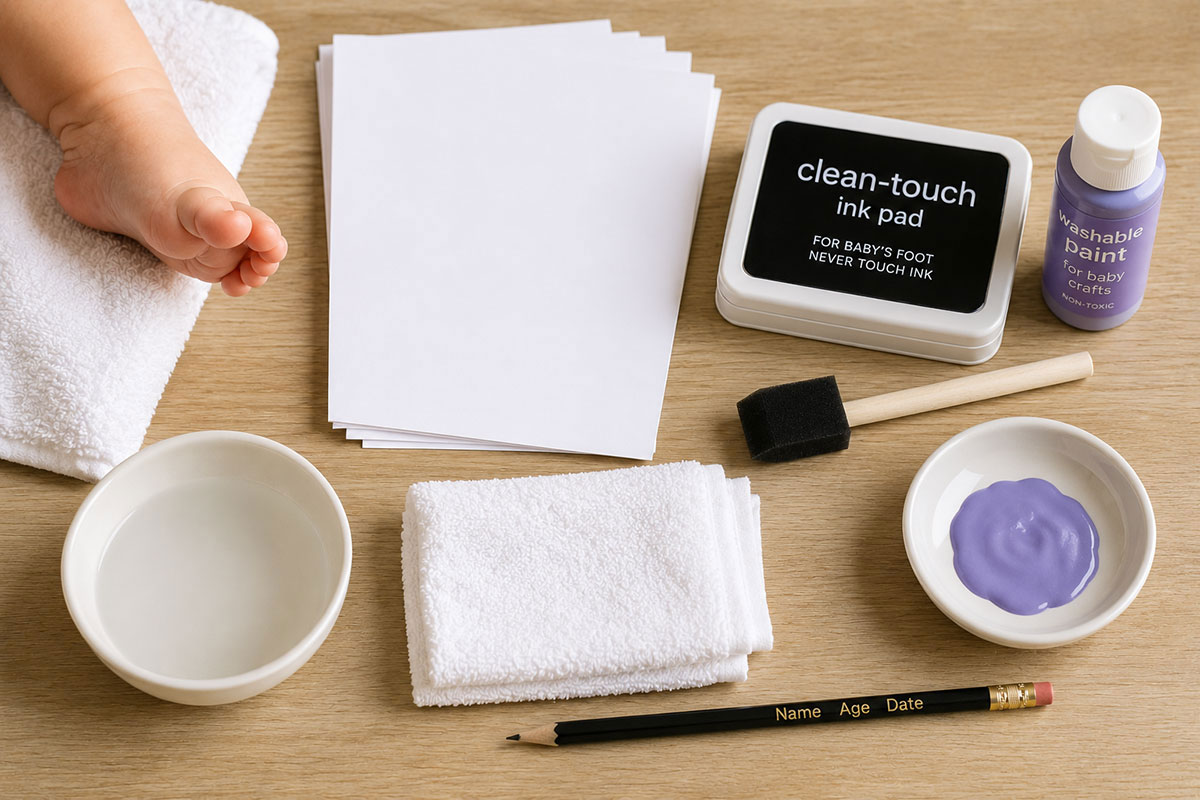
For a paper footprint, gather:
- Smooth heavyweight paper or cardstock
- Several extra sheets for additional attempts
- A firm board, tray or other flat surface to support the paper
- A clean-touch baby footprint ink system or a product specifically labeled for the way you plan to use it
- A foam brush if you are applying an appropriate paint to the foot
- A damp washcloth
- Mild soap and water for cleanup when needed
- A clean towel
- A pencil for writing the baby's name, age and date on the back of the finished print
If you plan to use paint, choose the product before you set up the printing area. My guide to paint for baby crafts explains what to look for on the label and why ordinary household or decorative craft paint is not automatically a good choice for contact with a baby's skin.
Do not rely on the word "non-toxic" alone when choosing an art material. Read the manufacturer's intended-use directions and warnings. The U.S. Consumer Product Safety Commission information about art materials explains federal labeling requirements and why the product label matters.
I would also prepare more paper than I expect to use. A baby footprint does not have to be perfectly symmetrical to be worth keeping, but having several sheets ready lets you make another print without turning a sweet little keepsake project into a lengthy production.
Choose the Best Time to Take the Footprint
Timing matters because a tense, kicking foot is difficult to lower onto paper without movement. Choose a moment when the baby is fed, comfortable and settled. There is no prize for finishing the footprint on a particular day. If the baby is fussy, hungry or determined to curl every toe, try again later.
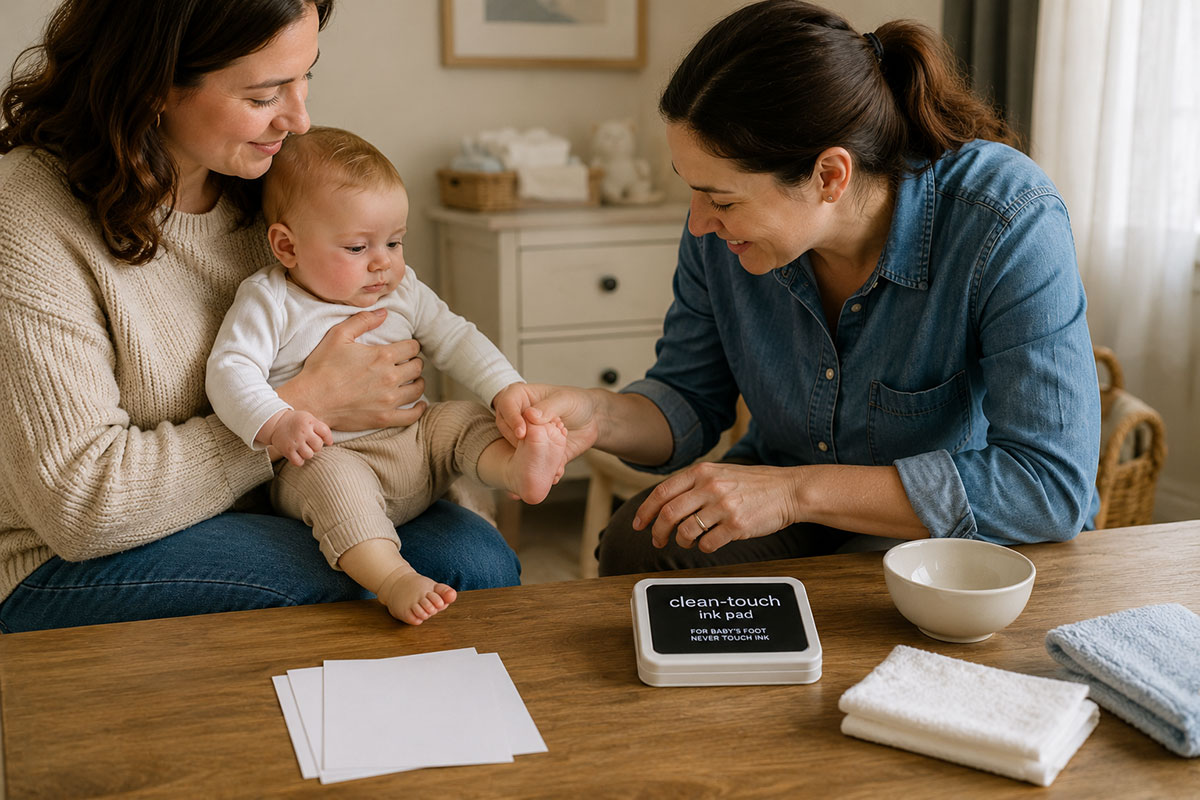
For a young baby, it can help to have two adults involved. One person can hold and support the baby while the other manages the foot and paper. That keeps the printing area simple and lets each person concentrate on one job.
Do not try to make the print while balancing the paper on your lap or holding it in the air. Put the paper on a firm surface where it cannot bend away from the foot. If the sheet slides easily, secure the corners to a larger board before you begin.
Clothing can stay on. You only need access to one bare foot at a time. Rolling a pant leg up and keeping the rest of the baby dressed also makes cleanup easier because there is less nearby fabric to brush against wet paint or ink.
Take a moment to look at the foot before adding anything to it. Make sure the sole is clean and dry. If the toes are tightly curled, wait a little rather than pulling them straight. The goal is to record the baby's footprint, not force the foot into the shape of a rubber stamp.
How to Get a Clear Baby Footprint for Crafts and Keepsakes
The easiest way to improve a baby footprint is to control the amount of printing material and the movement of the foot. Too much paint can fill the tiny lines in the sole. Too much movement can turn recognizable toes into a blur.
- Prepare the paper first. Put a clean sheet on a firm, flat surface. Have the next sheet close by in case you want another attempt.
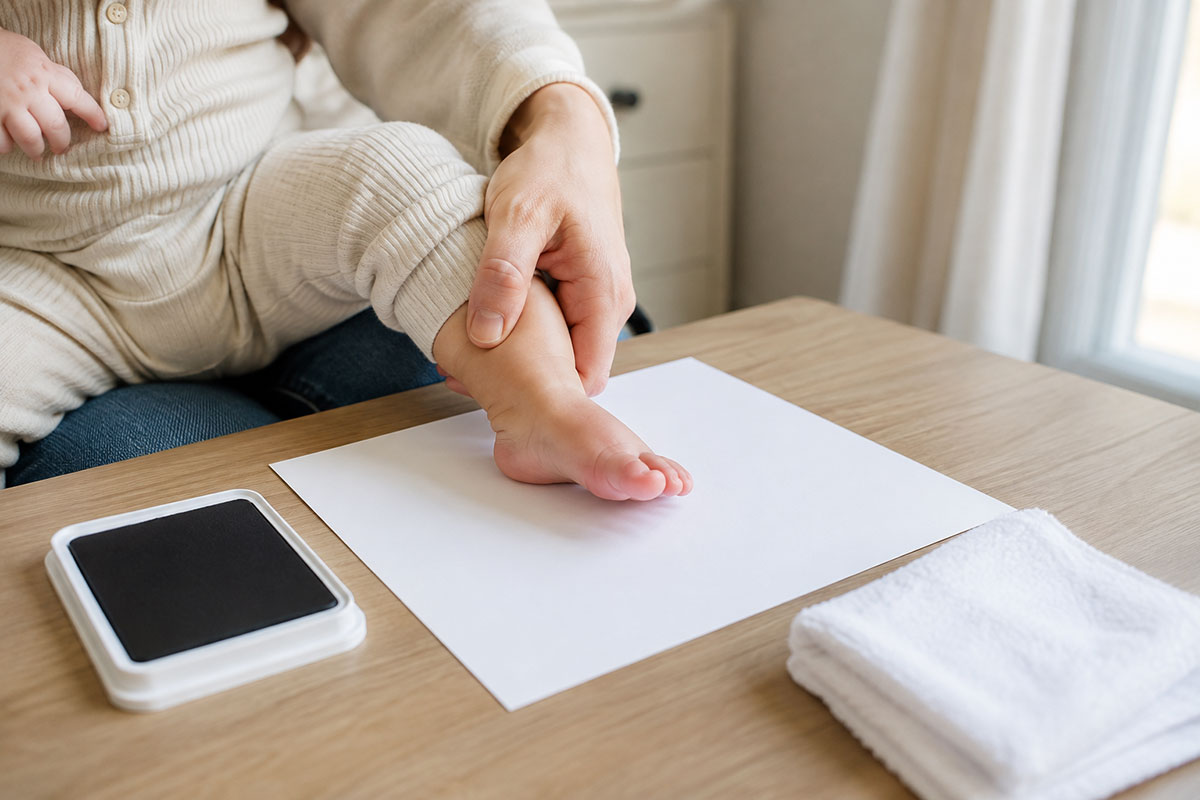
- Support the ankle. Hold the baby's lower leg and ankle securely without squeezing. Keep your grip far enough from the sole that your fingers do not touch the wet printing surface.
- Apply a thin, even layer. If you are using an appropriate paint, spread a small amount across the sole with a foam brush. Cover the heel, ball of the foot and toes without leaving thick puddles between them. If you are using a clean-touch ink system, follow its directions instead of adding ink to the baby's skin.
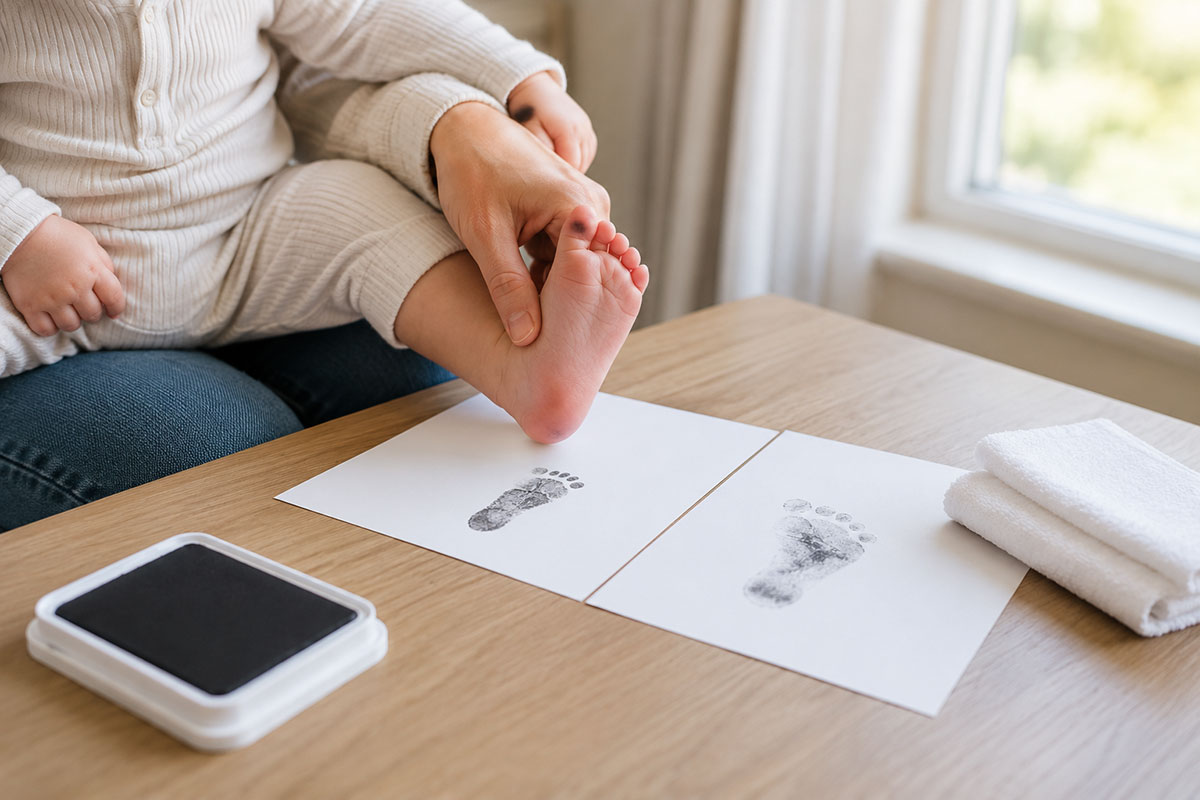
- Bring the heel down first. Lower the heel onto the paper, then gently roll the rest of the sole forward until the ball of the foot and toes make contact. Keep the motion controlled rather than pressing the whole foot down in one quick movement.
- Give the toes a brief chance to touch. If one toe is curled, do not pry it flat. A light touch at the end of the print is enough. A slightly imperfect little toe still records the baby's real foot.
- Lift the foot straight away. Raise the foot without sliding it sideways or dragging the toes across the paper. This is one of the simplest ways to prevent a second blurred edge around the print.
- Set the print aside. Put it somewhere flat where hands, sleeves and the next sheet of paper cannot touch it.
- Clean the foot promptly. Follow the product directions for removing the material, then dry the foot before putting socks or clothing back in place.
Another option for a young baby: If positioning the baby over a flat surface feels awkward, bring the paper to the foot instead. Keep the baby securely supported, support the ankle in a natural position, and have a second adult bring a firm-backed sheet gently against the heel, sole and toes before lifting it straight away. Do not twist the ankle or bend the leg just to make the sole face the paper.
Look at the first print before immediately making another one. You are looking for a recognizable heel, the main shape of the sole and enough toe detail to make the footprint clearly the baby's. Tiny gaps are not necessarily a failure.
A footprint with a small missing spot can be more appealing than one that has been repeatedly pressed, painted and corrected until it no longer looks natural.
How to Avoid Smears, Missing Heels and Curled Toes
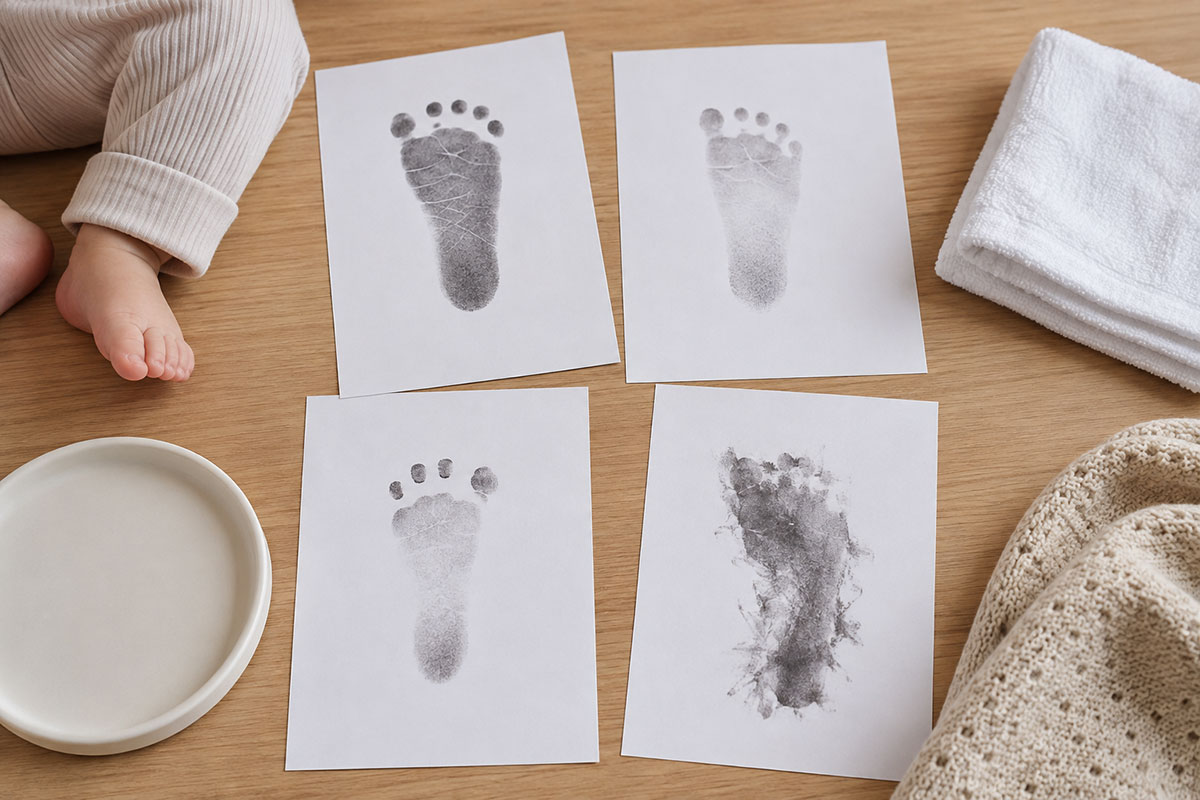
A blurred footprint is usually caused by movement, too much paint or a foot that slides as it meets the paper. Pressing harder rarely fixes any of those problems. A controlled touch and a clean lift matter more than pressure.
If the footprint smears sideways: Check the paper first. It should stay flat and still while the foot touches it. Then concentrate on lifting the foot straight up instead of pulling it back toward you.
If the heel is missing: Start the next print with definite heel contact before lowering the rest of the sole. Babies have soft, rounded heels, so the paper needs to meet that curve before you move toward the toes.
If only the heel and toes print: The middle of the foot may not have made enough contact. Do not push down hard on the arch. Instead, use a gentle rolling motion from heel toward toes so the paper can meet the shape of the sole naturally.
If the toes turn into one solid blob: Use less paint or ink. Thick material collects around tiny toes and fills the spaces between them. A thin coating gives the individual toe shapes a better chance to appear.
If one or two toes do not print: Do not automatically redo the footprint. Look at the entire print first. Babies curl and spread their toes, and a keepsake does not have to look like a perfectly carved stamp to be successful.
If all of the toes curl under: Stop rather than trying to straighten them with your fingers. Give the baby time to relax and try another sheet later. A relaxed foot is easier to print than a foot that is being held in a position it does not want to keep.
There is also no need to keep adding paint between every attempt. If the first coating is still even and has not dried, another sheet may be all you need. Extra layers can make the next print less detailed rather than more detailed.
Troubleshooting a Baby Footprint Before You Start Over
Before you discard a print, decide what you actually need it for. A footprint that is not suitable for a crisp framed display may still be perfect for a handmade card, a small clay keepsake reference or a craft where the outline matters more than every line in the sole.
Use this quick check before making another attempt:
- Clear overall foot shape: Keep it if the heel, sole and toes are easy to recognize.
- Small blank area: Often acceptable. It can simply be part of the way the foot contacted the paper.
- One curled toe: Usually worth keeping if the rest of the footprint is clear.
- Double outline: Make another print if the foot visibly shifted and created two competing shapes.
- Large paint blob: Reduce the amount of paint before trying again.
- Missing half of the sole: Check your heel-to-toe motion and the firmness of the surface under the paper.
- Footprint too faint: Check whether the coating reached the entire sole before adding more material.
Make only a few thoughtful attempts at one sitting. Once the baby becomes restless, the chance of getting a clean print drops quickly because the foot is moving more. Put the project away and return to it later rather than turning the process into a contest with a wiggling foot.
If you want both feet, finish and clean one foot before starting the other. That keeps wet material away from clothing, hands and the finished sheet.
For a matched pair, mark the backs of the papers with left and right as soon as they are dry enough to handle. Newborn footprints can look surprisingly similar once they are separated from the baby.
Should You Use Paint, Ink or a Clean-Touch Footprint Pad?
The best choice depends on what you want to make and how much direct contact you want between the baby's skin and the printing material.
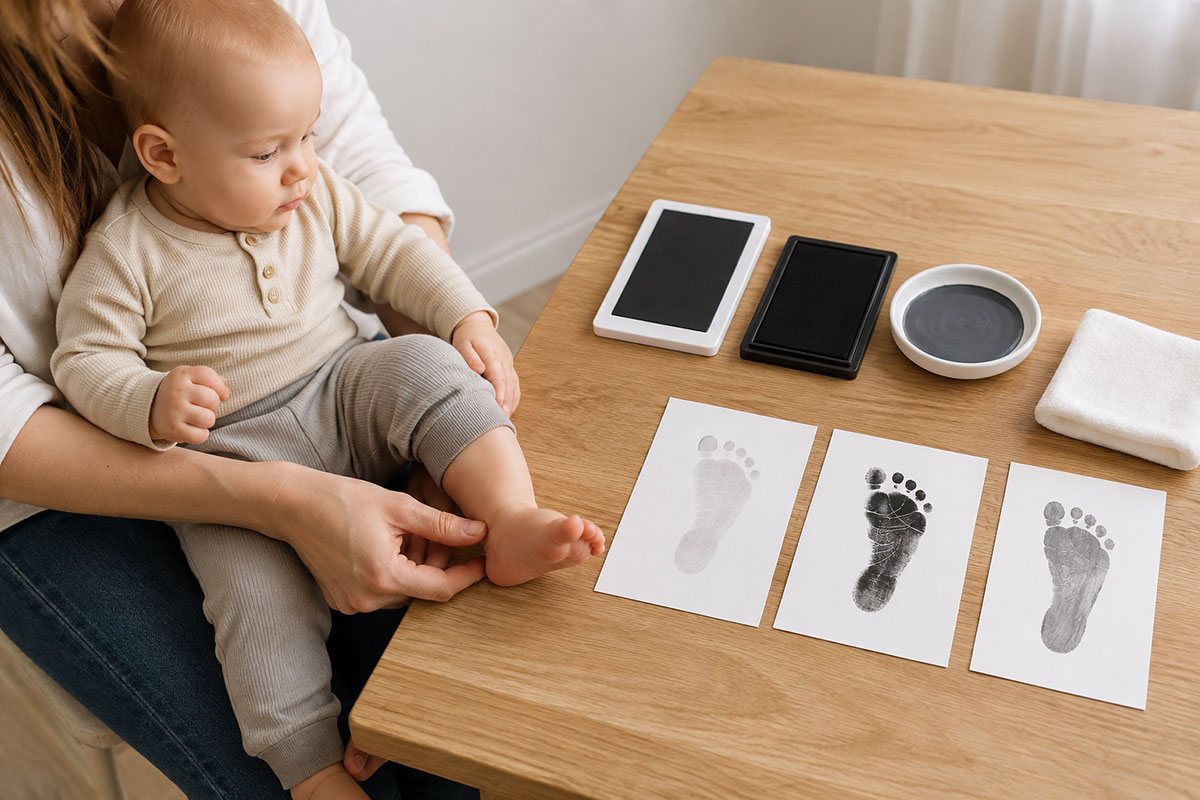
Clean-touch footprint pads are convenient when your goal is a paper print and you prefer to keep ink off the baby's foot. The foot presses against a film or printing surface rather than directly into an exposed ink pad. Follow the kit directions carefully because the printing side and baby side are not interchangeable.
Paint gives you more freedom with color and can be useful when the footprint itself will become part of a craft. Use only a product appropriate for the intended use, read its directions and warnings, and remove it from the skin promptly after printing. My guide to choosing paint for baby crafts goes into that decision in more detail.
Traditional ink can make a crisp impression, but do not assume every stamp pad is intended for skin contact. Check the product directions before using it on a baby. If you are still choosing the printing method, compare baby footprint ink pads, inkless print kits and stamps before you begin.
I prefer to separate the decision about how to capture the footprint from the decision about how the finished keepsake should look. You can make a clean black footprint first, scan it and later use the shape in a colorful project. That approach also gives you a master copy that does not have to be recreated every time you want to make another gift.
Save the Best Baby Footprint for Crafts and Keepsakes
Once you have a footprint you like, protect the original before you start cutting, painting around it or turning it into a gift.
Let the print dry completely on a flat surface. Then write the baby's name, age and the date on the back in pencil or another method appropriate for the paper. Keeping that information with the original matters more than trying to remember it later.
Next, make a good digital copy. Photograph the footprint straight from above in even light or scan it at a high resolution. Keep an untouched copy before cropping, changing color or removing the background.
That simple digital master gives you options. You can print another copy for grandparents, resize it for a small frame, use the outline in nursery art or make a second keepsake without putting the baby's foot through another printing session.
If you are ready to turn the print into something made to keep, browse my baby footprint crafts and keepsake ideas. The projects there focus on what to make with the footprint after you have successfully captured it.
You can also pair a footprint with a handprint. The baby handprint crafts page has ideas for using the baby's hand shape without making this footprint guide wander away from its job.
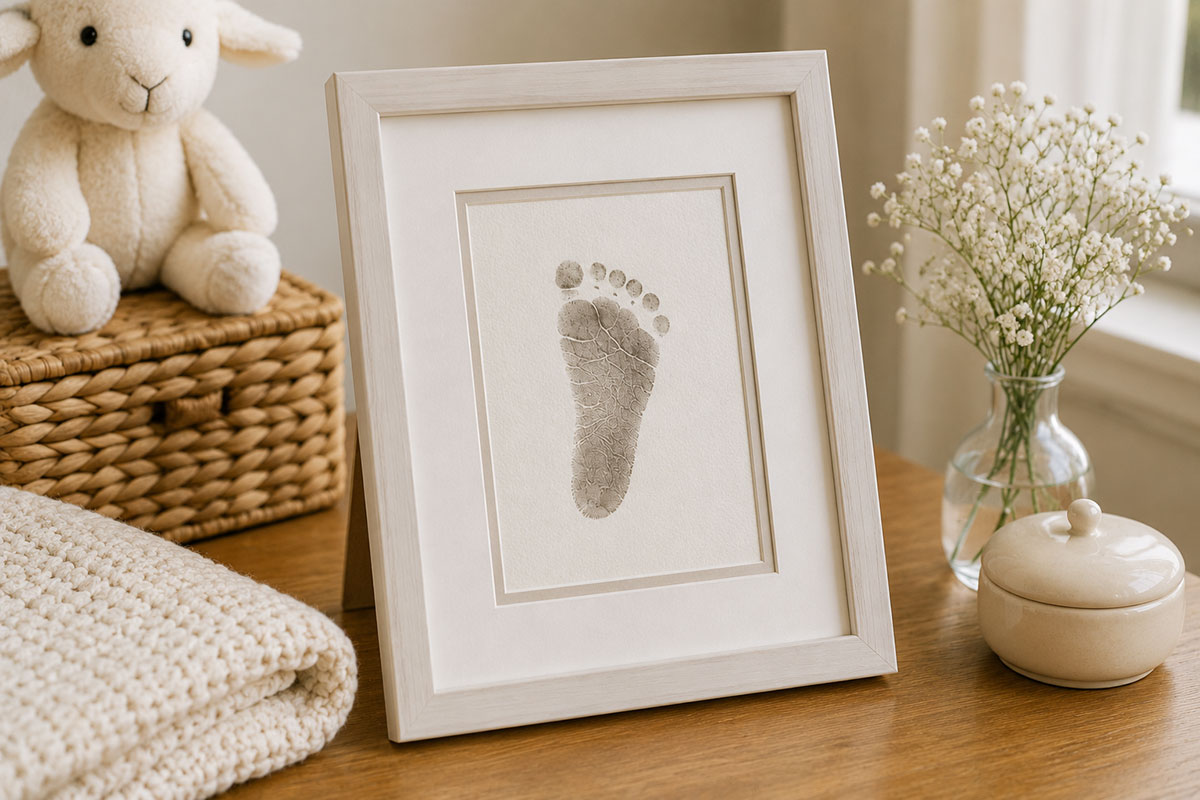
For a more traditional display, baby hand and footprint frames give you a simple way to keep the original print, a photograph and identifying details together.
Frequently Asked Questions About Making Baby Footprints
How do I get a newborn to uncurl their toes for a footprint?
Do not force the toes open. Wait for a settled moment and support the ankle while you lower the heel first. If the toes stay tightly curled, try again later.
Why does my baby's footprint keep smearing?
The foot may be sliding during contact or during the lift. Keep the paper on a firm surface, lower the foot with a controlled heel-to-toe motion and lift it straight away from the paper.
How much paint should I put on a baby's foot?
Use only a thin, even coating. Thick paint can collect between the toes and hide the small details that make the print recognizable.
Do I need every toe to show?
No. If the overall footprint is clear, one partially printed or curled toe can still make a lovely keepsake. The print is a record of a real baby's foot, not a commercial stamp.
Should I press down on the foot to make the print darker?
Avoid heavy pressure. First check the amount of printing material and whether the whole sole is making contact. A controlled rolling motion is more useful than pushing hard.
Can I make several copies of the same baby footprint?
Yes. Once the original is dry, scan or photograph it and save an untouched digital copy. You can then resize and reproduce the footprint for different crafts without taking another physical print.
What should I do if none of the footprints look good?
Stop for the day. Clean the baby's foot and try again at another settled time. Fresh paper, a thinner coating and a baby who is not kicking can change the result considerably.
A clear baby footprint does not need to be flawless. Capture the heel, the shape of the sole and those tiny toes as they really are. Once you have that, you have something worth saving.


When you click on links to various merchants on this site and make a purchase, this may result in this site earning a commission. This does not affect the price you pay.

UBGI Gold Standard 2026
Reviewed under the site's
editorial checklist.
About Jan | Contact | Baby Nursery Ideas (Blog) | Site Map | Privacy Policy | Disclosure Policy | Disclaimer | Affiliate Disclosure | Earnings Disclosure | Facebook | Pinterest
I am a participant in the Amazon Services LLC Associates Program, an affiliate advertising program designed to provide a means for us to earn fees by linking to Amazon. As an Amazon Associate I earn from qualifying purchases.
Copyright © 2006-2026. All Rights Reserved.