Free Printable Horse Stencil for Crafts and Painting
By Jan Bay
This free printable horse stencil gives you one clean side-profile horse design that can be resized and used to decorate wooden signs, furniture, storage boxes, wall accents and other craft projects. The simple silhouette makes the horse easy to paint. Too many tiny details in a pattern do little more than make the stencil unnecessarily difficult to cut or paint. After the basic shape is dry, you can always add little touches by hand with a paint brush.
Explore More Free Printable Stencils
Free Printable Stencil Patterns
Helpful Stencil Supply
Reusable stencil material is useful if you want to transfer the printed horse pattern to something sturdier than paper before cutting and painting.
Jump to:
Free Printable Horse Stencil
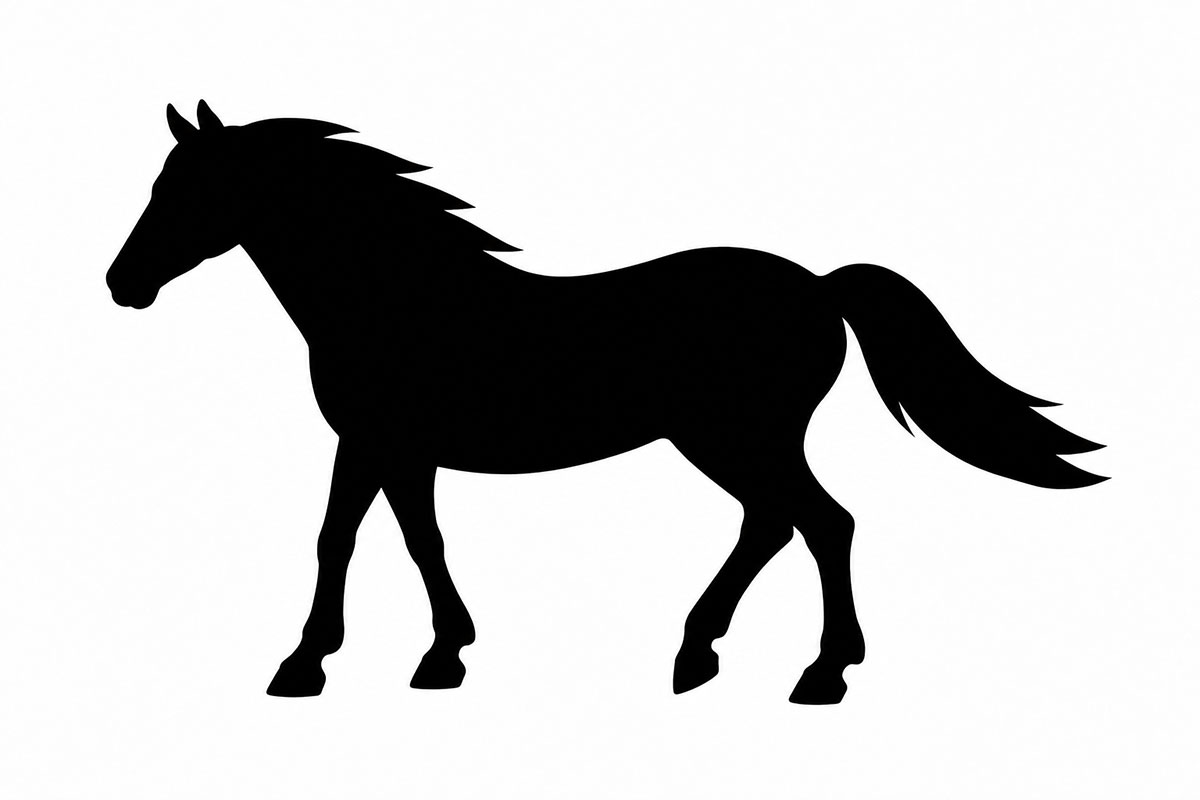
The JPG preview below shows the exact horse stencil pattern used on this page.
Download the Free Printable Horse Stencil PDF
Horse Stencil Sizes
At 100 percent, the horse measures approximately 7.8 inches wide by 4.7 inches tall. That's a useful size for a wooden sign, dresser panel or medium storage box without having to piece several sheets of paper together.
You don't have to use it at that size. The shape can be reduced for smaller craft projects or enlarged when you want the horse to take up more of a wall panel or piece of furniture.
| Print Size | Approximate Horse Size | Good For |
|---|---|---|
| 50% | 3.9 × 2.35 inches | Small signs, boxes and craft projects |
| 75% | 5.85 × 3.5 inches | Storage boxes and smaller furniture details |
| 100% | 7.8 × 4.7 inches | Signs, dresser panels and wall accents |
| 150% | 11.7 × 7.05 inches | Larger signs and furniture panels |
| 200% | 15.6 × 9.4 inches | Large wall panels and oversized projects |
The 150 and 200 percent sizes will normally need to be printed across more than one sheet of standard letter-size paper. For a small version, I wouldn't go much below 50 percent without looking closely at the legs, ears and tail first. Those are the parts that get fiddly when the horse gets very small.
How to Print and Resize the Horse Stencil
Start with the PDF and print at 100 percent or Actual Size if you want the original dimensions. Don't choose Fit to Page for the first print because your printer may quietly shrink the design to allow for its own margins.
The printable includes a 1-inch calibration square. At 100 percent, that square should measure 1 inch after printing. If it doesn't, check your print settings before cutting anything.
If you deliberately reduce the PDF, the calibration square will reduce with it. At 75 percent it should measure about 3/4 inch, and at 50 percent it should measure about 1/2 inch. That's an easy way to check that your printer actually used the percentage you selected.
If you're using Adobe Acrobat Reader, Adobe explains percentage scaling and multi-page Poster printing in its PDF printing instructions. Poster printing is handy when you want a horse larger than one sheet of paper can hold.
For a tiled version, print the enlarged stencil, trim the page margins where needed and tape the sheets together before transferring the horse to your stencil material. Line up the horse itself rather than trusting the outside edges of the paper. Home printers don't all place an image on the sheet exactly the same way.
If you're decorating something with a fixed space, measure that space first. A horse that looks perfect on an 8-inch sign may feel lost on a 30-inch furniture panel. Decide how much room you want around the horse, then choose the print percentage.
How to Cut the Horse Stencil
The black horse shape is the part you'll cut away. The white area around it stays and becomes the actual stencil.
You can use heavy paper for a one-time project, but reusable stencil film makes more sense if you plan to paint the horse more than once. Place the printed pattern under clear stencil material and trace the outline, or transfer the design by whatever method works with the material you're using.
Put the stencil material on a proper cutting mat before you begin. Use a sharp craft blade and turn the stencil material as you work instead of twisting your hand into awkward angles.
I would start with the broad back, belly and neck areas and save the narrow legs, ears and tail for later. Those little sections are much easier to control after most of the larger outline has already been cut.
Take your time around the ankles. Don't pull on a partly cut leg to see whether it's loose. Finish the cut first. Tugging on a narrow section can tear the stencil material farther than you intended.
The ears and muzzle need the same sort of care. Short cuts are easier to control there than trying to sweep the blade around the whole curve in one motion.
The tail was kept fairly solid on purpose. A lot of thin flying strands may look pretty in a drawing, but they make a reusable stencil harder to cut and much harder to paint cleanly.
Once the horse shape lifts out, look around the opening for any small spots that are still attached. Trim those rather than pulling them loose. You want a clean edge before paint ever touches the stencil.
How to Paint With the Horse Stencil
Secure the stencil so it can't slide while you're painting. Low-tack tape works for many projects, and temporary stencil adhesive can help on larger flat surfaces if it's suitable for the finish underneath.
Use less paint than you think you'll need. Too much paint is what usually creeps under the edge and blurs the legs, muzzle and tail.
If you're using a stencil brush, load the brush and then remove most of the excess paint on scrap paper before touching the project. With a foam applicator, use light up-and-down taps instead of dragging the foam across the opening.
Work from the outside edge of the horse toward the center where you can. That keeps you from pushing paint under the cut edge.
Pay special attention around the narrow leg openings. Several light passes are better than one wet coat there.
Lift the stencil carefully instead of peeling it sideways across the fresh paint. Then leave the basic horse shape alone until it's dry.
After that, you can add whatever small details you want by hand. A little mane definition, an eye, a few tail lines or a touch of shading can give the horse more character without forcing all of those details into the stencil itself.
Horse Stencil Project Ideas
A wooden sign is probably the easiest place to start. Paint the board first, let that coat dry, then stencil the horse in a contrasting color. You can leave it at that or add a name, border or other lettering afterward. Keeping those extras separate from the horse stencil gives you a lot more freedom with the finished sign.
A storage box is another good use for the medium-size horse. Center one horse on the front, or repeat a smaller version along a long box if you want more of a pattern.
For a dresser, I'd keep it simple. One horse on a drawer front or side panel can be enough. Covering every drawer with the same horse starts looking busy pretty quickly.
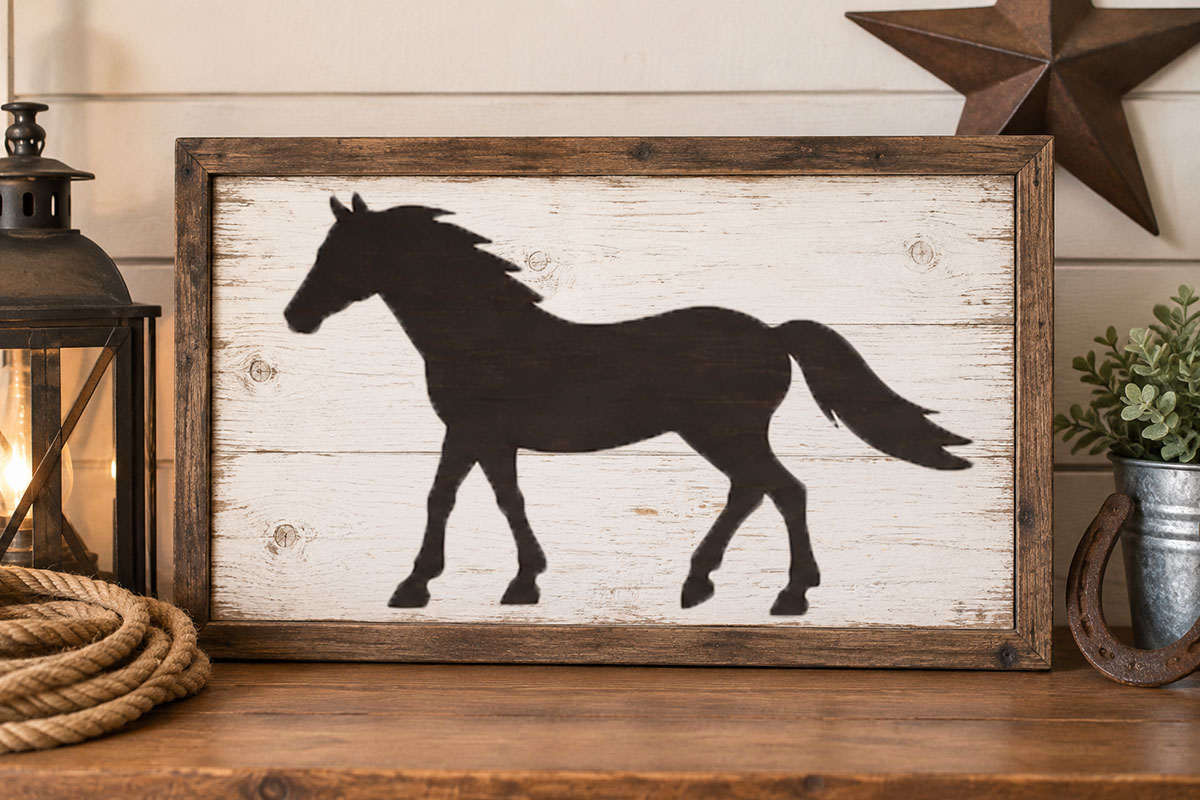
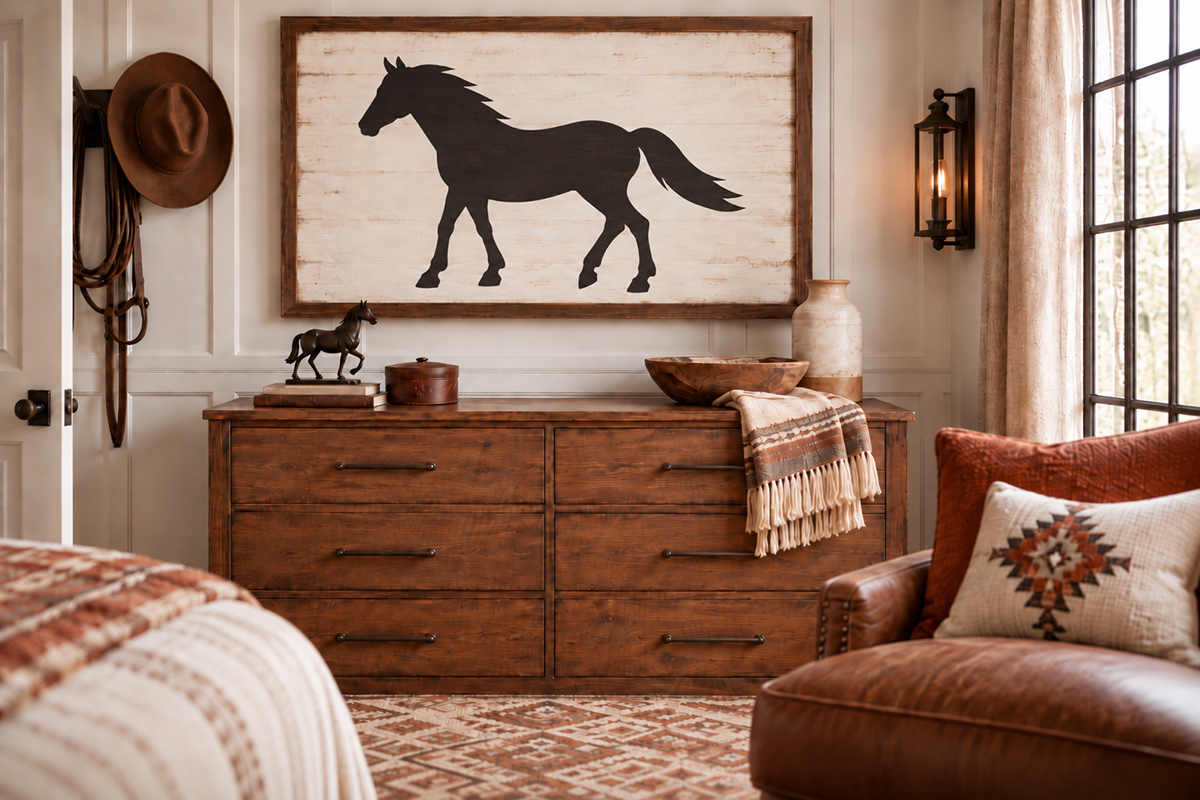
A larger version can also work on a wall panel rather than directly on the wall. That's a nice option if you want something you can move later. If you're planning a larger painted wall project, my wall stenciling ideas cover that subject in more detail.
The same horse also fits naturally into a western baby room without turning this page into a lesson on decorating one. If that's the direction you're working toward, my horse nursery theme ideas have the room decorating side covered.
Horse Stencil Tips Before You Start Painting
Cut the narrow areas last. The legs, ankles, ears and tail are easier to handle while the rest of the stencil sheet is still firm.
Don't chase every tiny detail. If a little curve in the mane or tail is giving you trouble, simplify it. You can paint that detail by hand later.
Check the surface before committing. A smooth board, box or furniture panel will usually give you a cleaner edge than rough unfinished wood. If the surface is very textured, expect the painted edge to look a little less crisp.
Keep the paint fairly dry. A stencil brush or foam applicator should look lightly loaded, not wet. You can always add another light coat.
Watch the legs while you lift the stencil. Lift straight up and don't drag a narrow opening through the fresh paint.
Practice on scrap material first if the finished piece matters. You don't need to use the whole horse. Even a quick test of one leg and part of the body will tell you whether your paint is too wet or the stencil needs to be held down more firmly.
Let hand-painted details stay hand painted. An eye, a few mane strokes or another small accent doesn't need its own complicated cutout. That's exactly the kind of detail a small paint brush handles better.
More Free Printable Stencils
If you want another shape for a craft project, visit my free printable stencil patterns page. That's the main collection and the easiest place to see the different designs together.
You can also print my free leaf stencils, butterfly stencil or flower stencils when one horse isn't quite enough to keep the paint brushes busy.


When you click on links to various merchants on this site and make a purchase, this may result in this site earning a commission. This does not affect the price you pay.

UBGI Gold Standard 2026
Reviewed under the site's
editorial checklist.
About Jan | Contact | Baby Nursery Ideas (Blog) | Site Map | Privacy Policy | Disclosure Policy | Disclaimer | Affiliate Disclosure | Earnings Disclosure | Facebook | Pinterest
I am a participant in the Amazon Services LLC Associates Program, an affiliate advertising program designed to provide a means for us to earn fees by linking to Amazon. As an Amazon Associate I earn from qualifying purchases.
Copyright © 2006-2026. All Rights Reserved.