By Jan Bay
Free Printable Rose Stencil for Crafts and Painting
This free printable rose stencil pattern has a simple petal design with leaves that works for painted signs, boxes, furniture accents, craft projects and decorative wall details. Print or resize the rose to suit your project, transfer it to stencil material and cut the inner petal openings before working around the larger outside shapes.
Explore More Free Printable Stencils
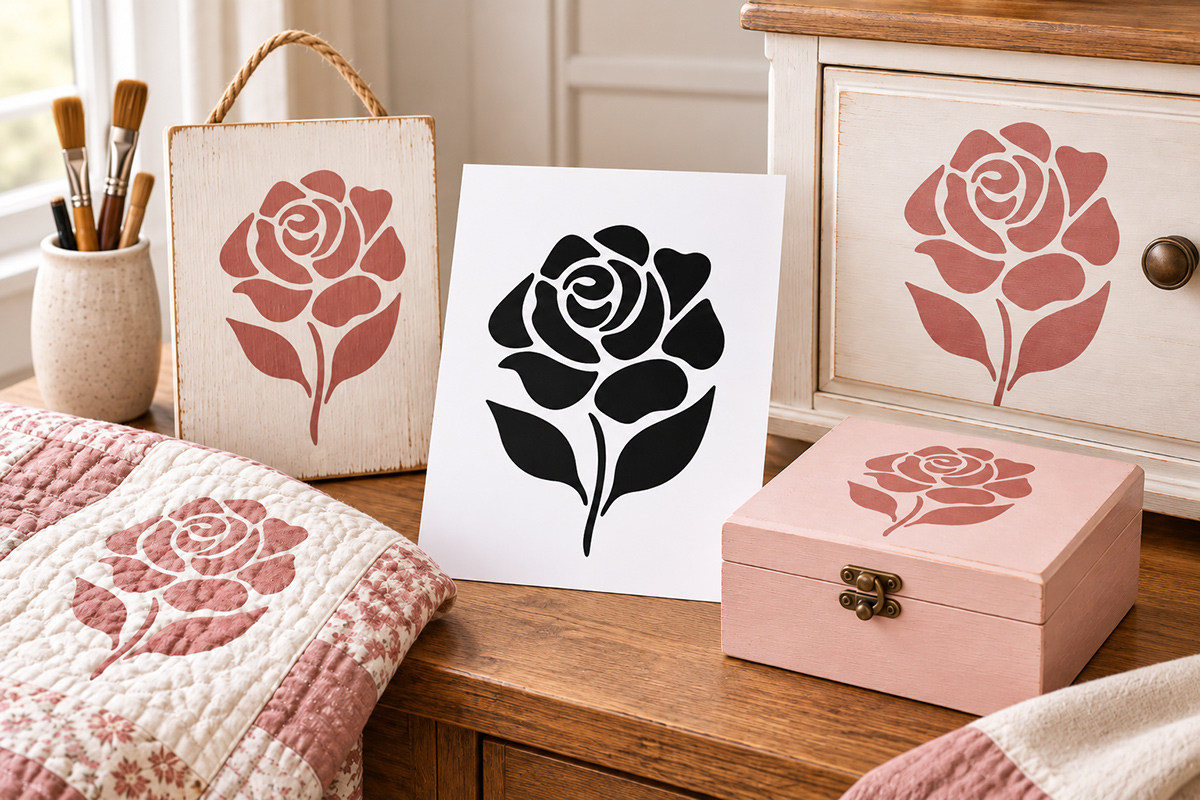
Reusable Stencil Sheets for Crafts and Painting
On This Page
Printable Rose Stencil
Here’s the rose stencil itself. The petals are bold enough to read clearly without filling the design with tiny cuts, and the stem and leaves keep the flower useful for more than one kind of project. You can use it on wood signs, painted boxes, furniture panels, fabric projects and other adult crafts.
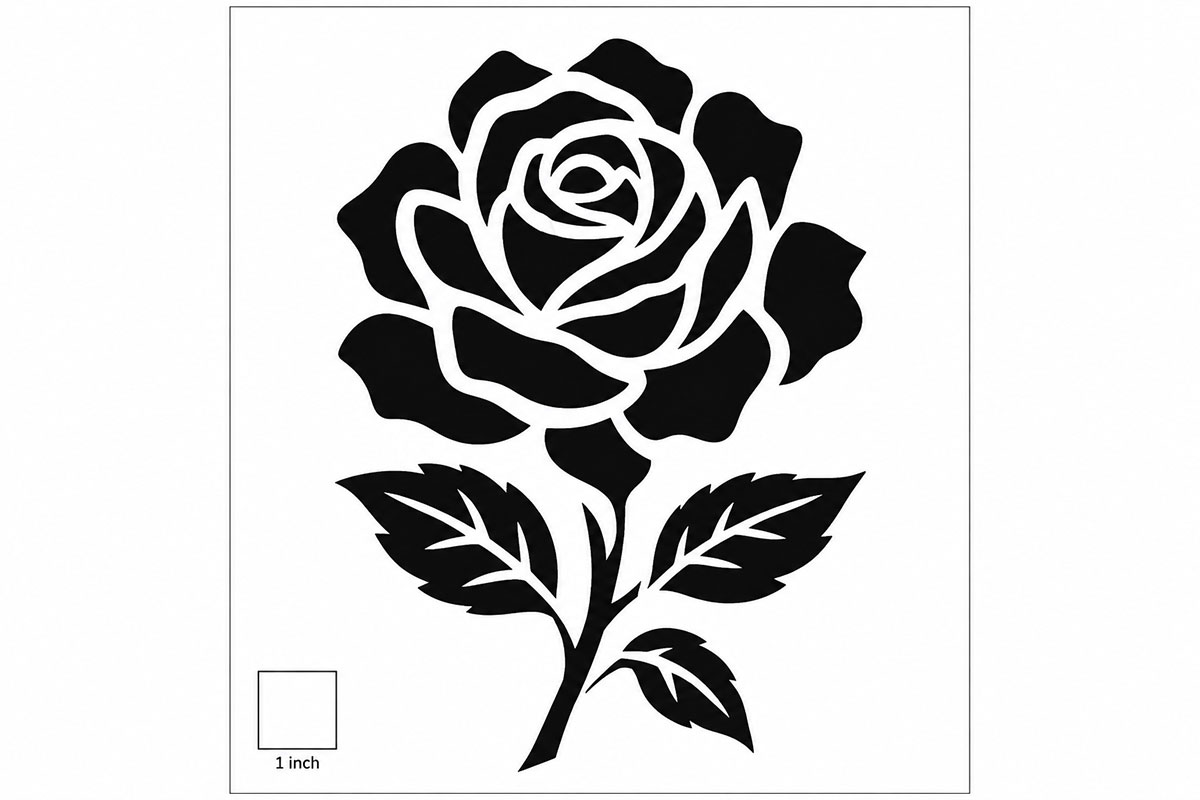
I’d print one plain-paper copy first and hold it against the project before cutting your stencil material. That quick check tells you whether the flower needs to be larger or smaller and saves wasting a sheet of stencil film.
Download the Free Rose Stencil
Open the printable PDF and print it at the size that works for your project. You can also adjust the print percentage if you want a smaller craft stencil or a larger design for furniture and wall accents.
Rose Stencil Sizes
The full-size printable is meant to give you one useful rose design that you can resize instead of making you download several nearly identical files. At 100 percent, the finished rose is expected to measure about 6 inches wide by 7 1/2 inches tall. That size works nicely on a wood sign, storage box, cabinet panel or framed craft piece.
For a smaller project, print the page at 75 percent for a rose about 4 1/2 inches wide by 5 5/8 inches tall. At 50 percent, it comes down to about 3 inches wide by 3 3/4 inches tall, which is much easier to fit on a small box, fabric square or narrow furniture detail.
If you want a large rose stencil for a furniture panel or wall project, enlarge the design beyond 100 percent and print it across more than one sheet if necessary. I would enlarge this design before I would add extra petals or decorative flourishes. The simple shape is what keeps it usable as a stencil.
The printable includes a 1-inch calibration square. If that square measures exactly 1 inch after printing, you'll know the page printed at the intended scale.
How to Print and Resize the Rose Stencil
Print a plain-paper copy before you use stencil film. Put that paper against the sign, drawer, box or fabric piece and look at the proportion from a few feet away. A rose that looks large on a sheet of paper can look surprisingly small in the middle of a wide furniture panel.
For the original size, choose Actual Size or 100 percent in your printer settings rather than automatically fitting the page. If you want another size, change the print percentage. Adobe Acrobat also lets you enter a percentage under Custom Scale. You can see the current options in Adobe's instructions for scaling PDF pages for printing.
If you're enlarging the rose beyond what will fit on one sheet, use your PDF program's poster or tiled-printing option if available. Tape the printed sections together first, then transfer the complete rose to your stencil material. Don't try to line up separate pieces of stencil film directly on the project. That's asking for a crooked flower.
After resizing, check the petal openings before you cut. A very small version can make some of the narrow spaces harder to manage. If you reduce the rose substantially, leaving out one tiny interior opening is better than weakening an important bridge.
How to Cut a Rose Stencil
On this design, cut away the black areas and keep the white areas intact. The white sections between the petals act as the bridges that hold the stencil together.
Secure the printed pattern over your stencil material so it can't shift. Start with the small interior petal shapes near the center of the rose. Then work outward through the larger petals before cutting the leaves and stem. Save the outside edges for last.
A sharp craft blade gives you much better control on the tight petal curves than trying to force a dull blade around them. Turn the stencil material as you work instead of twisting your wrist into awkward angles.
Pay particular attention to the narrow white spaces between petals. Don't cut across one just because two black sections come close together. Those little connections are doing an important job.
The leaves are simpler, but support the film with your free hand while cutting around the pointed ends. The stem is another place where I'd work slowly. A clean, slightly wider stem will survive repeated positioning better than a very thin decorative one.
How to Paint with the Rose Stencil
Position the stencil and hold the edges flat with low-tack tape or another temporary method that's suitable for the surface you're decorating. The petal area matters most. If those inner sections lift while you're painting, the rose can lose its definition.
Use less paint than you think you need. Load a stencil brush or small foam applicator, then remove the excess before touching the project. Build the color with light applications instead of trying to make the rose solid in one heavy coat.
Work straight down through the openings rather than brushing a wet load of paint sideways toward the stencil edges. Around the center petals, I'd use several light passes. That's where closely spaced shapes are most likely to lose their clean separation if too much paint collects at once.
Lift the stencil carefully rather than dragging it across the fresh design. Let the painted rose dry according to the directions for the paint you're using before adding another color, protective finish or neighboring motif.
On fabric, choose a paint made for fabric and follow its directions for drying and heat setting. On painted furniture or sealed wood, make sure the new paint is compatible with the existing surface before committing to the whole piece.
Rose Stencil Project Ideas
You don't have to use a rose stencil only for wall decorating. The same design can look completely different depending on its size, placement and paint color.
- Wood signs: Center one medium rose on a small sign or place it toward one corner and leave the rest of the board plain.
- Furniture: Use a larger rose on the center of a drawer front, cabinet door or painted furniture panel.
- Storage and keepsake boxes: Reduce the design and stencil the lid rather than covering every side.
- Fabric projects: Use the rose as a painting or tracing template on a quilt block, fabric panel, tote or other adult craft project.
- Canvas and framed panels: A single rose can stand on its own without adding a whole border of flowers.
- Wall accents: Enlarge the design for an individual floral accent or repeat it with plenty of open space between the roses.
I prefer using one rose where it can actually be seen instead of repeating it until the petals turn into a busy pattern. On a dresser, for example, one rose on the center drawer can be enough. On a box, the lid may be all you need.
If you're decorating a baby's room, you can carry the same flower beyond the craft project. My rose theme nursery ideas show ways to use roses as part of the room design, while these rose wall decal ideas give you another option when you want the floral look without painting the stencil directly on the wall.
If you want to mix this rose with other shapes, my free printable leaf stencils give you separate foliage options without changing the rose itself. You can also browse the flower stencils for simpler floral shapes or visit my free printable stencil patterns collection for more designs.
Rose Stencil Tips and Troubleshooting
The paint is bleeding under the petals.
There's probably too much paint on the brush or applicator. Blot off more paint and build the color gradually. Also check that the stencil is lying flat around the center of the rose.
The inner petals look muddy.
Let each light application do its job before adding more. Closely spaced petals don't need a heavy coat to show up. Too much paint can visually join shapes that should stay separate.
A bridge starts to tear while cutting.
Stop cutting from that direction. Turn the stencil material and approach the curve from the other side rather than pulling a narrow bridge toward the blade.
The small rose is difficult to cut.
You've probably reduced it beyond the point where every little opening is practical. Enlarge it slightly or simplify one of the smallest interior cuts. Don't sacrifice the main bridges just to preserve a tiny detail.
The rose looks too small on the finished project.
Print the paper pattern again at a larger percentage before cutting another stencil. This is exactly why I like checking the paper copy against the project first.
The design looks too busy when repeated.
Use fewer roses and give them more open space. This stencil has enough petal detail to work as a single focal motif, so you don't need to cover the entire surface.
Once you've settled on the size, keep your paper master even after the stencil is cut. If the film becomes damaged later, you'll still have the original rose pattern ready to print again.


When you click on links to various merchants on this site and make a purchase, this may result in this site earning a commission. This does not affect the price you pay.

UBGI Gold Standard 2026
Reviewed under the site's
editorial checklist.
About Jan | Contact | Baby Nursery Ideas (Blog) | Site Map | Privacy Policy | Disclosure Policy | Disclaimer | Affiliate Disclosure | Earnings Disclosure | Facebook | Pinterest
I am a participant in the Amazon Services LLC Associates Program, an affiliate advertising program designed to provide a means for us to earn fees by linking to Amazon. As an Amazon Associate I earn from qualifying purchases.
Copyright © 2006-2026. All Rights Reserved.