Free Bandana Bib Pattern in 3 Baby Sizes
By Jan Bay
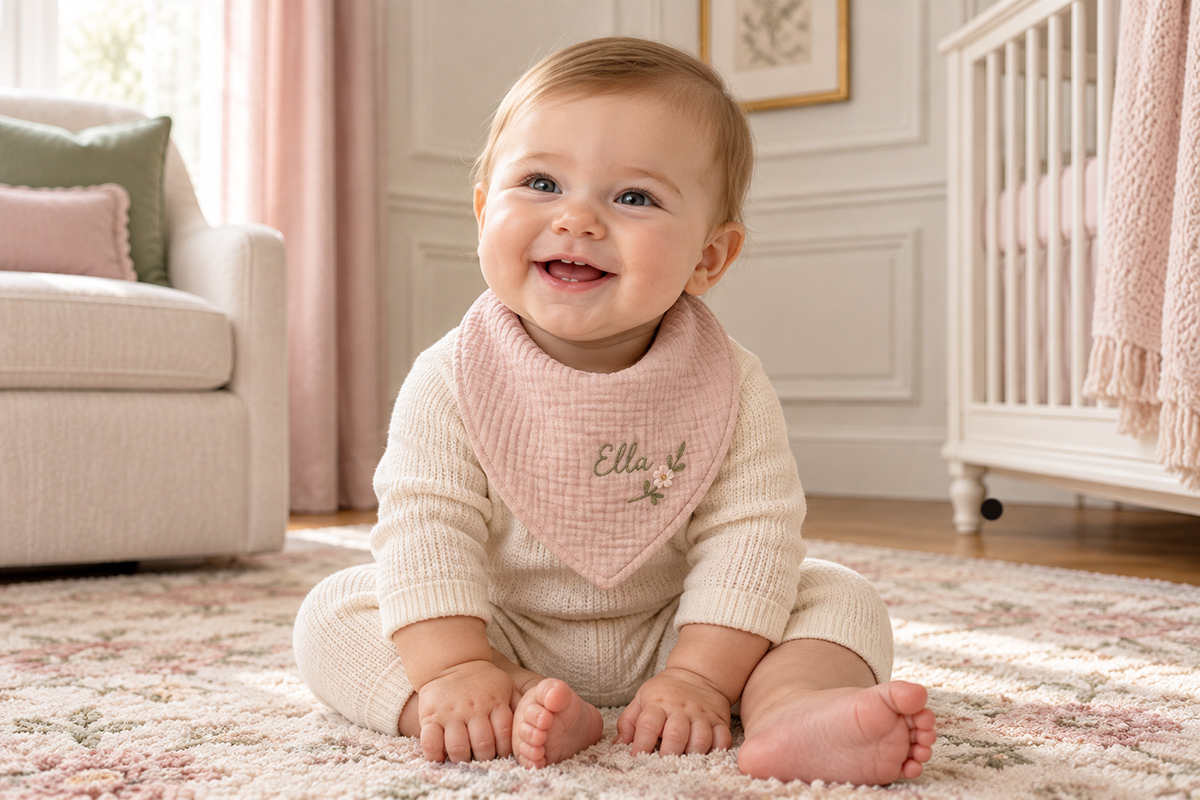
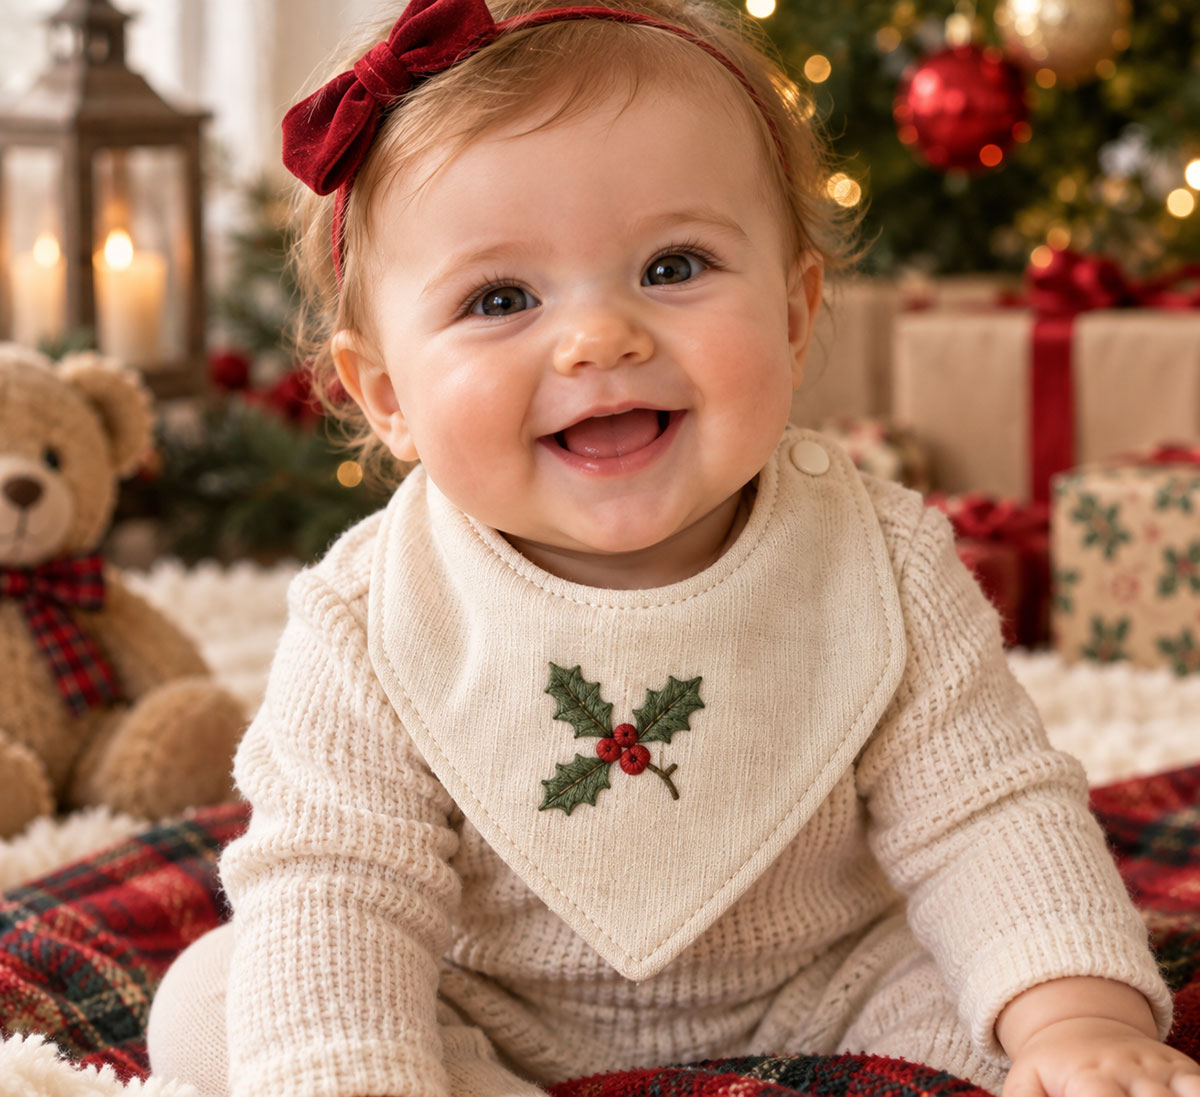
This free bandana bib pattern gives you three baby sizes to sew in soft, absorbent fabrics to catch those inevitable dribbles. The bib features a pointed shape, adjustable snap closure and a roomy front just waiting to be personalized with baby's name, a cute saying or a small hand embroidery design. Make it reversible, keep it simple in a favorite fabric or decorate the open center area with hand or machine embroidery to make it special.
Explore More Baby Bibs and Handmade Baby Projects
Helpful Sewing Supply
Plastic Snap Fastener Kit for Baby Bibs
A snap kit with setting tools makes it easy to add the adjustable closure used in this bandana bib pattern.
Jump to:
Bandana Bib Sizes and Measurements
Add Hand or Machine Embroidery
Bandana Bib Pattern Sizes and Measurements
I wanted this bandana bib pattern to be useful for more than a few months, so there are three separate sizes instead of one pattern that you have to guess how to enlarge. The shapes are independently graded, which means the neckline, front depth and overall coverage change along with the width.
The age ranges are a starting point rather than a promise of fit. Babies vary quite a bit, and fabric thickness changes the finished neck opening too. If you're sewing for a particular baby, I'd compare the measurements with a bib that already fits comfortably before cutting your good fabric.
| Size | Approx. Age | Finished Width | Front Depth | Embroidery Area |
|---|---|---|---|---|
| 1 | 0–6 months | 9 inches | 4 inches | 3 × 1 1/2 inches |
| 2 | 6–12 months | 10 inches | 4 1/2 inches | 3 1/2 × 1 3/4 inches |
| 3 | 12–24 months | 11 inches | 5 inches | 4 × 2 inches |
Each size also has two snap positions. That gives you a little adjustment without making the neck tabs unusually long or changing the clean bandana shape.
The front is deliberately a little broader than some very narrow kerchief bibs. I prefer that here because you get better coverage and a useful flat area for a name, monogram or small embroidery design without turning the bib into a regular rounded drool bib.
The embroidery rectangles printed on the pattern are placement guides only. Don't cut them out. Keep your design inside the marked area so the stitches stay away from the neckline, seam allowance and lower point.
One important note: these dimensions come from the drafted pattern. The pattern has been checked digitally for scale and geometry, but the three age ranges have not been physically fit-tested on babies. Treat the age labels as a guide and check the finished neck opening before use.
Fabric and Supplies for the Bandana Bib
You don't need much fabric for one bib, which makes this a good project for smaller cuts you already have. For the easiest first version, I'd use quilting cotton for the front and cotton flannel for the back. They're both easy to handle, press and topstitch.
You can also use double gauze, cotton lawn or another lightweight woven cotton for the front. For the backing, soft flannel, thin cotton terry, absorbent woven cotton or another layer of double gauze will work. I'd skip thick terry because the curved edges and snap tabs can get bulky fast.
For one bib you'll need:
- 1/2 yard front fabric, 42 inches wide or wider
- 1/2 yard backing fabric, 42 inches wide or wider
- Matching sewing thread
- 1 stud and 2 sockets with compatible caps for the adjustable snap closure
- Snap-setting tool that matches your hardware
- Small scraps of lightweight woven interfacing if your fabric needs reinforcement behind the snaps
- Washable fabric marker
- Pins or sewing clips
- Fabric scissors
- Iron and ironing surface
That 1/2-yard allowance gives you room for prewashing, shrinkage and comfortable pattern placement. If you're making all three sizes, 1/2 yard of the front fabric and 1/2 yard of backing can still be enough if the usable prewashed fabric measures at least 33 × 12 inches. Give yourself more if you're matching a large print.
Prewash, dry and press the fabrics the same way you plan to care for the finished bib. That's especially worth doing with double gauze and flannel because you don't want the two layers deciding to shrink differently after you've sewn everything together.
Add Hand or Machine Embroidery Before You Sew
This is the part that makes this particular bib pattern a little different. I left a real working area on the front for a name, monogram, little saying or small embroidery design instead of squeezing the decoration into whatever space happened to be left over.
Do the embroidery before you sew the front and backing together. Start with a piece of front fabric larger than the final cutting rectangle. Trace the bib outline, centerline and embroidery area with a removable fabric marker, then stitch your design while the fabric is still easy to hoop and handle.
The marked embroidery box is a placement guide, not a cutting line. Its upper edge sits about 0.55 inch below the finished neckline at center front. Keeping the design inside that box helps protect it from the seam allowance, the lower point and the areas that curve most when the bib is worn.
The suggested embroidery areas are:
- Size 1: 3 × 1 1/2 inches
- Size 2: 3 1/2 × 1 3/4 inches
- Size 3: 4 × 2 inches
Small names, cowboy boots, cowboy hats, flowers, hearts, leaves, acorns and simple woodland motifs all fit naturally here. If you're looking for designs to use, browse my free hand embroidery patterns. Some of the small motifs can also give you ideas for turning a favorite design into an embroidered appliqué.
Keep the stitching fairly soft and flat. A heavily packed design can pull the fabric inward and make the front of the bib stiff. Stabilizer can help with lightweight fabric or a denser design, but you don't automatically need it for every little motif.
After the embroidery is finished, press carefully from the back, lay the paper pattern over the fabric again and check the dimensions before cutting. Dense stitching can draw fabric in slightly. Reposition the pattern if necessary so the motif stays centered.
Download the Free Bandana Bib Sewing Pattern
The pattern includes three separately drafted baby sizes, a 3/8-inch seam allowance, embroidery placement guides, snap markings and a 2-inch turning opening. Print at 100% or Actual Size. Do not use Fit to Page, Shrink to Fit or any automatic scaling setting.
Print the calibration page first and measure the 1-inch square before printing the rest. The 5 cm calibration line gives you a second check. If either measurement is off, fix the printer setting before you cut fabric.
Free Baby Bandana Bib Pattern Downloads
Complete Bandana Bib Pattern and Instructions PDF
Includes the sewing instructions plus US Letter pattern pages.
US Letter Printable Pattern
Use this version if you're printing on standard 8 1/2 × 11 inch paper.
A4 Printable Pattern
Use this version for A4 paper.
Full-Size Bandana Bib Pattern
Large-format master pattern with one full-size page for each size.
Bandana Bib Dimension Reference
A handy size and measurement reference for all three bibs.
Three-Size Outline Comparison
Reference sheet showing all three finished silhouettes at the same scale. This sheet is for comparison only, not for cutting.
Each printable size uses four tiled sheets arranged A1 and A2 on the top row, with B1 and B2 underneath. The adjoining sheets overlap by 1/2 inch. Match the registration marks and duplicate pattern lines before taping the pages together.
You only need to print the size you're making. No need to print twelve pattern sheets just to sew one bib.
Cut the Bib Pieces
Each size uses one full pattern piece. There isn't a separate front, back, neckband or binding piece to keep track of.
Cut:
- 1 complete bib from the front fabric
- 1 complete bib from the backing fabric
The 3/8-inch seam allowance is already included in the outside cutting line, so don't add another seam allowance.
Place the grain arrow parallel with the fabric selvage. Transfer the snap marks, turning-opening marks and embroidery centerline before you remove the paper pattern.
If your front fabric is thin or loosely woven, add a small scrap of woven interfacing behind the snap areas. You only need enough to support the hardware. There's no reason to interface the entire bib.
If you've embroidered the front, cut that piece last. Lay the paper pattern back over the finished embroidery and make sure the design is centered before you cut around the outside line.
How to Sew the Bandana Bib
The actual sewing is straightforward. You're making a lined bib, turning it right side out and topstitching the edge. Keep the curves smooth and don't rush the lower point.
1. Layer the fabrics.
Place the front and backing right sides together. Match the center front, neckline, tabs and outside edges. Pin or clip the layers without stretching double gauze if you're using it.
2. Mark the turning opening.
The pattern shows a 2-inch opening along one side. Leave that section unsewn. Keeping the opening on the side makes the bottom point and snap tabs much easier to finish neatly.
3. Sew around the bib.
Use a 3/8-inch seam allowance and a normal straight stitch of about 2 to 2.5 mm. Start at one turning-opening mark, backstitch, sew around the bib and stop at the second mark. Backstitch again.
4. Clip and trim the curves.
Clip into the concave neckline seam allowance about every 1/2 inch, stopping short of the stitching. Remove small wedges of excess fabric from the rounded outside curves and tabs. If your fabrics are bulky, trim those allowances to about 1/4 inch.
Trim some of the excess fabric around the lower point too, but don't get too close to the seam. You need enough fabric left there for the point to hold its shape.
5. Turn the bib right side out.
Pull the bib through the 2-inch opening. Use a blunt turning tool to ease out the tabs and lower point. Don't jab the point with scissors or anything sharp.
6. Press.
Roll the seam gently between your fingers so it sits right at the edge, then press. Fold the raw edges of the turning opening inward by 3/8 inch so they line up with the finished side seam.
7. Topstitch.
Topstitch about 1/8 inch from the finished edge all the way around the bib. This closes the turning opening at the same time and gives the bib a clean finished edge.
If you're using double gauze, don't pull it along as you sew. Let the feed dogs move it. Stretching it at the machine is an easy way to turn a smooth bib edge into a wavy one.
Add the Adjustable Snap Closure
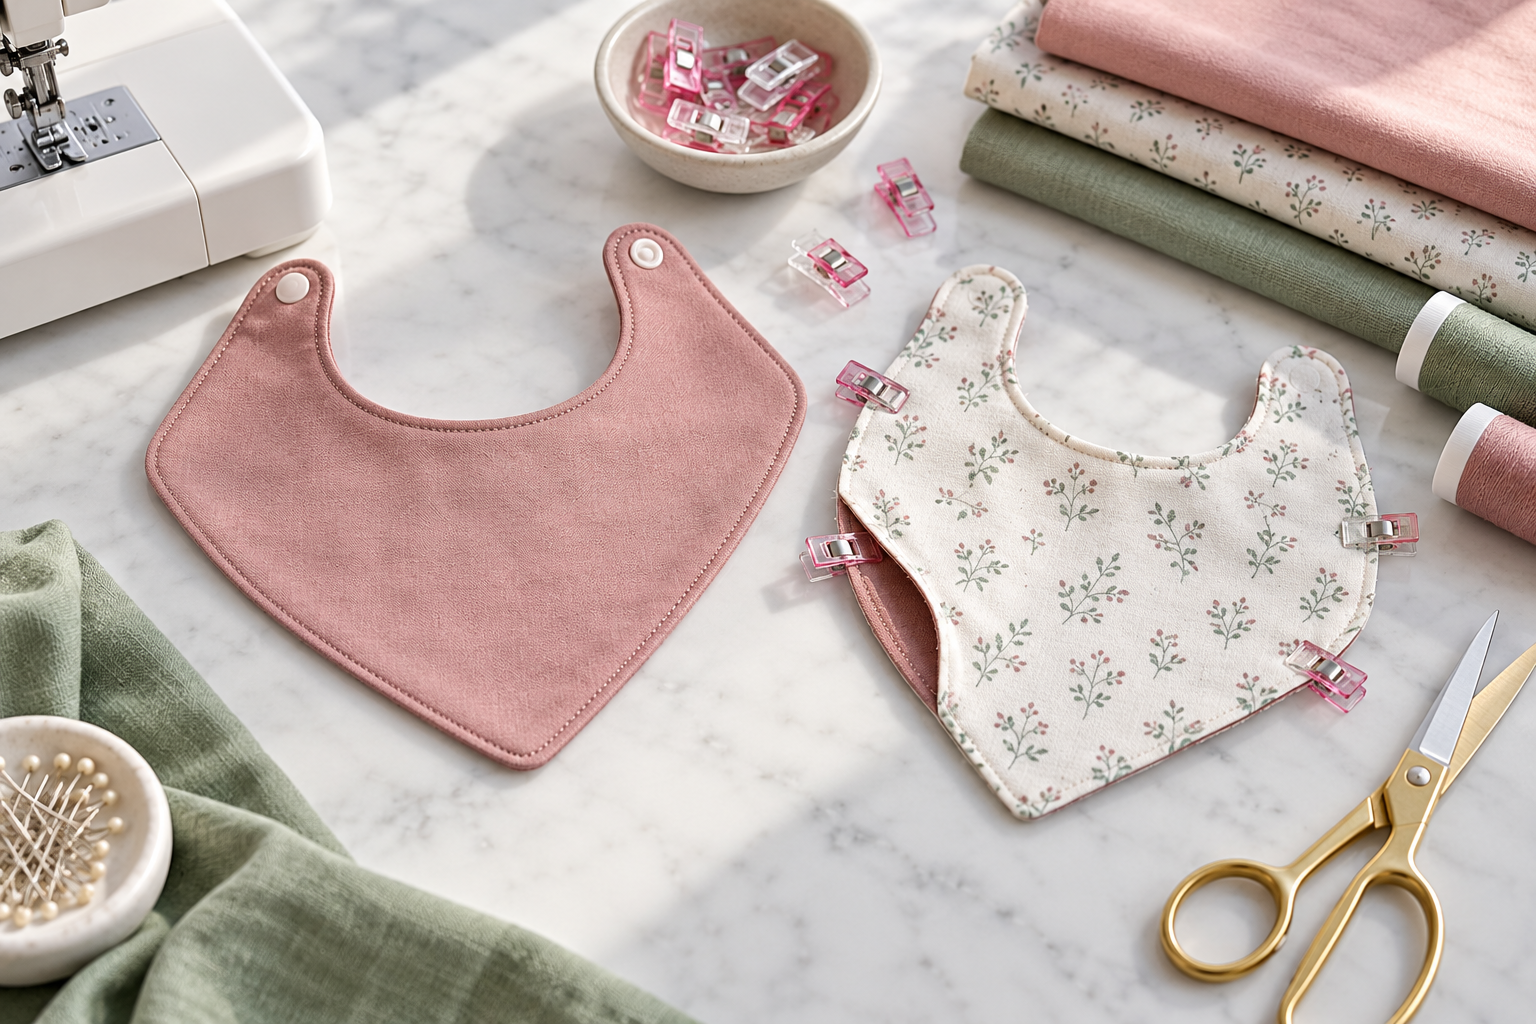
Install the snaps after the bib has been turned, pressed and topstitched.
The pattern marks one male stud as M on the left tab and two female socket positions as F1 and F2 on the right tab. F1 gives the larger setting. F2 sits 3/4 inch closer to the bib body for the smaller setting.
Only one socket is snapped to the stud at a time.
Before you pierce the fabric, fold the tabs into their closed position and make sure the working faces of the snaps will meet. It's much easier to catch a backwards snap now than after you've pressed it permanently into place.
Follow the instructions that came with your particular snap tool. Hardware varies, and the setter should match the snaps you're using. After installation, open and close each setting several times and check that nothing rotates, lifts or feels loose.
KAMsnaps also recommends checking installed fasteners carefully because loose snap components can become small-part hazards. You can read their snap safety warnings here.
Don't add decorative buttons, beads, charms or other detachable pieces to a baby bib. If you're decorating the front, stitched embroidery is the cleaner choice.
Using and Caring for the Finished Bib
Wash the finished bib before regular use and check the seams, embroidery and snaps again afterward. Fabric can behave differently after its first wash, especially if you've mixed double gauze, flannel or terry.
Before the first use, make sure all pins, clips and temporary fabric markings have been removed. Inspect the bib before each use and stop using it if a snap loosens, stitching comes apart or the fabric tears around the hardware.
A bib isn't sleepwear. Remove it for naps and bedtime, and use it only while the baby is directly supervised.
If you make the bib reversible, either fabric can face outward. The snap tabs simply overlap in the opposite direction when you flip the bib over.
Ideas for Personalizing Your Bandana Bib
You can stop with a pretty fabric and call it finished. That's plenty.
If you want to personalize it, though, the open center front is where this pattern really earns its keep. A small name, initial, cowboy hat, flower, leaf, acorn or simple stitched animal can change the look without making the bib stiff or fussy.
I would keep the motif modest rather than filling every inch of the marked rectangle. Leaving some fabric around the stitching keeps the bandana shape visible and gives the design room to breathe.
You can also use the same idea with machine embroidery. Just stay inside the marked personalization area and avoid designs so dense that they turn the front into a rigid panel.
For more little motifs to adapt, see the free hand embroidery patterns. If you'd rather crochet the decoration separately, the crochet animal appliqué patterns give you another direction, although I'd keep anything added to a baby bib flat, securely attached and free of detachable pieces.
And if you're comparing different kinds of bibs, head back to the baby bib patterns and ideas page or take a look at the free crochet baby bib pattern.
Bandana Bib Pattern Questions
Is the seam allowance included?
Yes. The outside cutting line already includes a 3/8-inch seam allowance.
Can I make the bib from double gauze?
Yes. Double gauze works for either the front or backing. Handle it gently while sewing so the edges don't stretch out of shape.
Do I need interfacing?
Not for the whole bib. Use small pieces behind the snap areas if your fabric is thin, loosely woven or needs extra support for the hardware.
Can I embroider the bib after sewing it together?
I wouldn't. Embroider the front fabric first. That keeps the back of the stitches hidden between the two bib layers and makes hooping much easier.
Which file should I print?
Use the US Letter PDF for standard 8 1/2 × 11 inch paper or the A4 PDF for A4 paper. The complete pattern PDF also includes the instructions and US Letter pattern pages.
Why are there two snap positions?
They give each bib a little room for adjustment without requiring long ties or oversized neck tabs.
Are the age ranges exact?
No. They're approximate size labels based on the drafted dimensions. Check the finished neck opening and fit comfortably rather than choosing a tighter snap simply because of the age printed on the pattern.
When you click on links to various merchants on this site and make a purchase, this may result in this site earning a commission. This does not affect the price you pay.

UBGI Gold Standard 2026
Reviewed under the site's
editorial checklist.
Photos, decorating ideas, party setups and reader submissions are shared for inspiration unless a page is specifically presented as a pattern, tutorial, reference guide or step-by-step project. Follow the instructions, measurements, safety guidance and manufacturer directions provided for the particular project or product.
About Jan | Contact | Baby Nursery Ideas (Blog) | Site Map | Privacy Policy | Disclosure Policy | Disclaimer | Affiliate Disclosure | Earnings Disclosure | Facebook | Pinterest
I am a participant in the Amazon Services LLC Associates Program, an affiliate advertising program designed to provide a means for us to earn fees by linking to Amazon. As an Amazon Associate I earn from qualifying purchases.
Copyright © 2006-2026. All Rights Reserved.