Baby Crown Crochet Pattern (Free & Easy for Newborns)
Baby crown crochet pattern ideas are perfect for creating a sweet handmade accessory for newborn photos, first birthdays, and baby shower gifts, and this free baby crown crochet pattern walks you through an easy, beginner-friendly design that can be customized with different yarns, colors, and ties to suit your little one or special occasion.
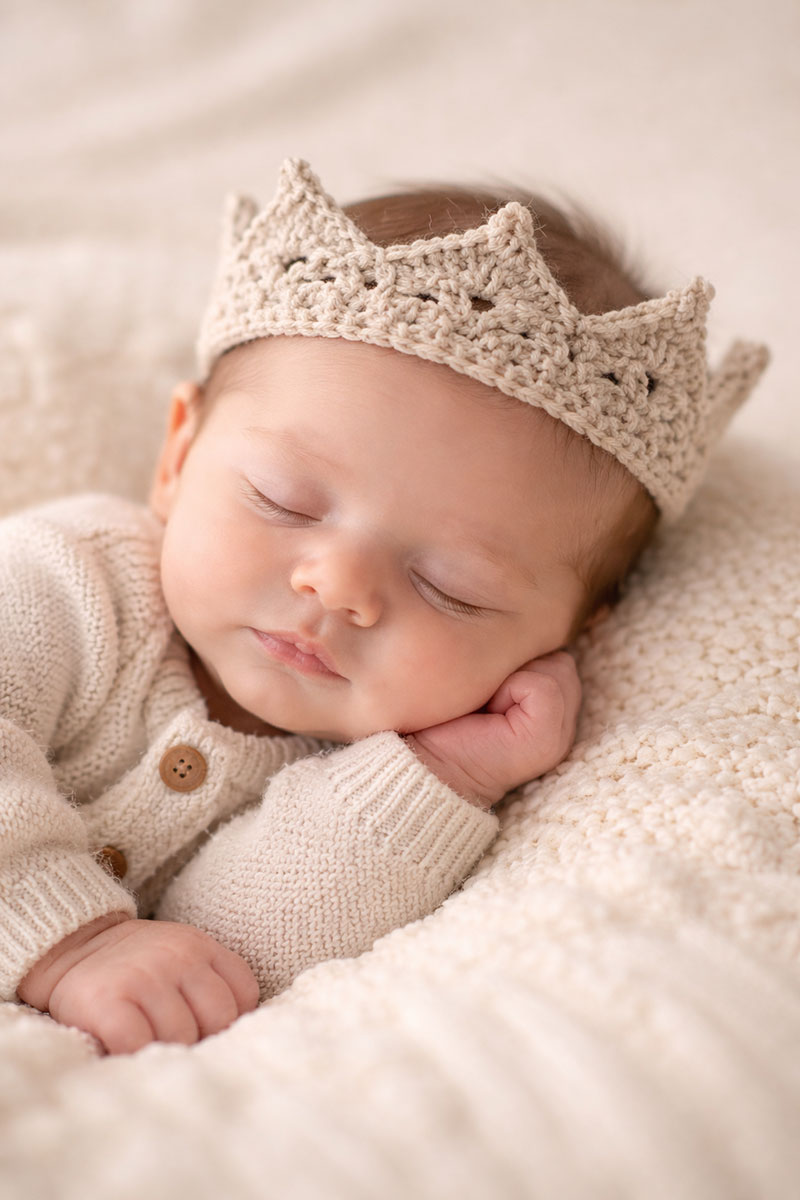 See my favorite yarn for this project
Baby Crown Crochet Pattern (Free & Easy)
If you’re searching for a baby crown crochet pattern that looks sweet in newborn photos (and still works for a first birthday), this is the simple, classic version I come back to again and again. I designed it to be soft, flexible, and fast to finish — with clean “points” that photograph well and an adjustable tie so you can size it for a tiny newborn, a wiggly 6–12 month old, or a toddler who insists on wearing it all day. If you love handmade photo props, you might also enjoy browsing my free baby knitting patterns page for more cozy, heirloom-style ideas.
For additional handmade accessories and coordinating projects, the free baby crochet patterns collection includes more simple, photo-friendly designs.
Before we jump in, one quick safety note: this crown is intended as a supervised accessory for photos or short wear only (not for sleep). If you’re setting up a nursery or doing a “pretty corner” for pictures, my baby nursery ideas page has lots of room styling inspiration you can pull into your photo setup.
Materials & Tools
This baby crown crochet pattern is designed for soft yarn and a comfortable fit. Here’s what I recommend (and what tends to photograph best):
- Yarn: soft DK or worsted weight in cotton or a cotton blend (cream, soft gold, blush, or sage are beautiful)
- Hook: 4.0 mm (G/6) for DK, or 5.0 mm (H/8) for worsted
- Notions: tapestry needle, small scissors
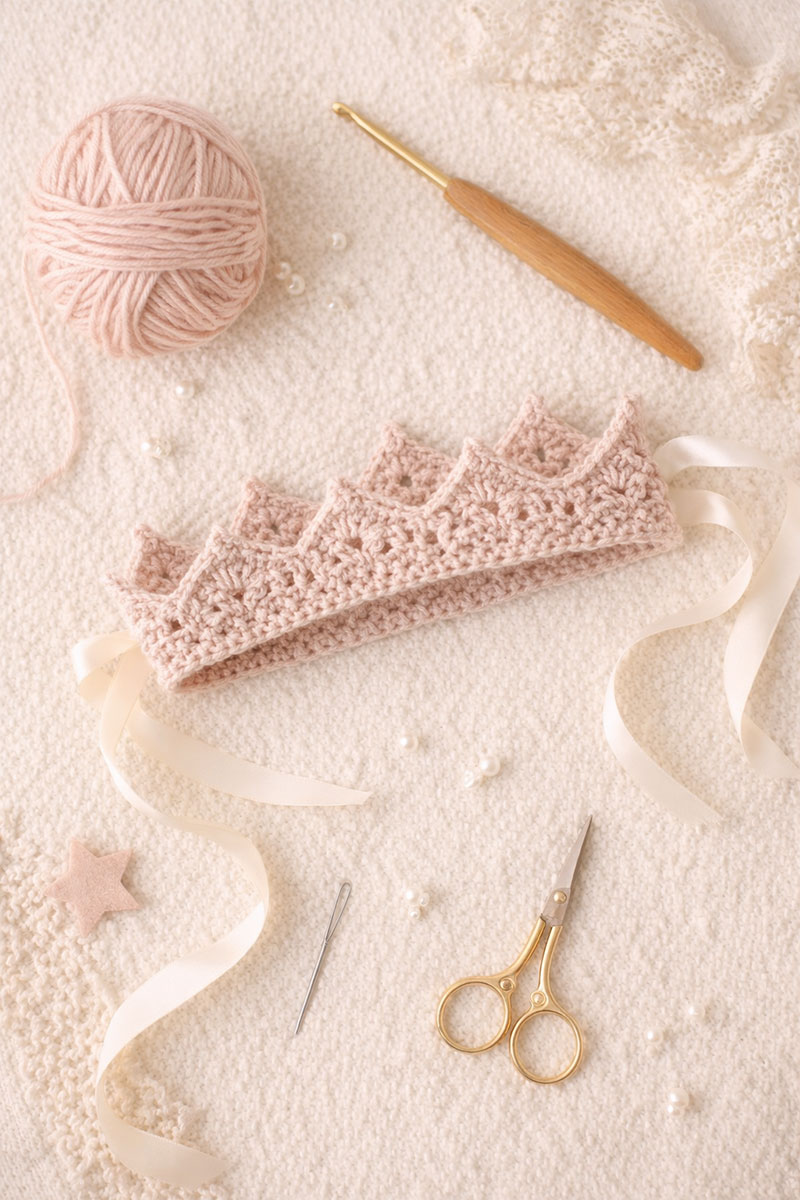
- Optional: satin ribbon ties, tiny faux pearls, or a single felt star accent (for photos only)
If you’re building a photo prop “kit” for birthdays and baby showers, I keep basic crochet supplies bookmarked on Amazon:
Go here to see crochet supplies on Amazon
Stitches & Abbreviations
This pattern uses basic stitches plus one easy decorative point. If you’re brand new to crochet, keep your tension relaxed — a slightly “handmade” look is part of the charm, and it photographs beautifully.
- ch = chain
- sl st = slip stitch
- sc = single crochet
- hdc = half double crochet
- dc = double crochet
- picot = ch 3, sl st into first ch (tiny bump/point)
How to Size This Crown (Newborn to Toddler)
One reason this baby crown crochet pattern works so well is that it’s adjustable. You can either size by head circumference or use the “ties” method so you don’t have to worry about perfection.
- Newborn: foundation length about 12–13 inches (not including ties)
- 3–6 months: about 14–15 inches
- 6–12 months: about 15–16 inches
- Toddler: about 16–18 inches
If you want extra peace of mind for nursery safety overall, this CPSC guidance page is a solid reference (bookmark-worthy): CPSC crib safety information.
Free Baby Crown Crochet Pattern
Skill level: Beginner-friendly (easy + repetitive).
Fit: Adjustable tie-back crown.
Notes: Work in rows. The “points” are created with a simple repeat.
Foundation: ch 46 for newborn (add/subtract chains in multiples of 4 for larger sizes).
Tip: If you’re unsure, chain a little long, then test around the baby’s head (or a teddy bear) and adjust before Row 1.
Row 1: sc in 2nd ch from hook and in each ch across. ch 1, turn.
Row 2: sc in first 2 sts. *hdc in next st, dc in next 2 sts, hdc in next st, sc in next 2 sts* repeat from * across. ch 1, turn.
Row 3 (forming the crown points): sc in first 2 sts. *dc in next st, ch 3, sl st into first ch (picot made), dc in next st, sc in next 2 sts* repeat from * across. ch 1, turn.
Row 4 (soften and stabilize): sc in each st across, placing 1 sc in each dc and 1 sc into the picot “bump” space so the top edge lays neatly. ch 1, turn.
Row 5 (optional edging for a polished look): sl st across or sc across (your choice), then fasten off and weave in ends.
Ties: Join yarn at one bottom corner. ch 35–45 (longer for toddler), sl st back down the chain if you want a thicker tie, then fasten off. Repeat on the other corner.
This crown looks especially pretty for “milestone moments” — baby’s first birthday, a cake smash photo shoot, or a baby shower gift basket. If you’re doing a nursery theme photo moment, you may also like my baby mobiles guide (it’s full of styling inspiration and gentle color ideas that photograph softly).


Crown, Notions and Supplies
See the recommended supplies for this project here

Easy Customizations (So It Looks “Boutique”)
Once you’ve crocheted one crown, it’s hard to stop — because the tiny details are what make it feel boutique. Here are my favorite upgrades that keep the crown soft and photo-friendly:
- Color story: cream + gold for classic, blush for spring, sage for woodland, soft gray for neutral nurseries
- Point style: replace the picot with ch 2 for a softer point, or add an extra dc on each side for taller peaks
- Finish: use ribbon ties instead of yarn ties for an elegant look (photos only; supervise)
- Simple embellishment: sew one tiny felt star to the center point, or a single pearl bead (again: photos only)
If you’re planning a gift basket, you can pair this crown with a coordinated baby mobile, a handmade lovey, or a soft swaddle. (That’s also why pattern pages can do so well for search: people aren’t just looking for one item — they’re building a whole “moment.”)
Crown Point Tips
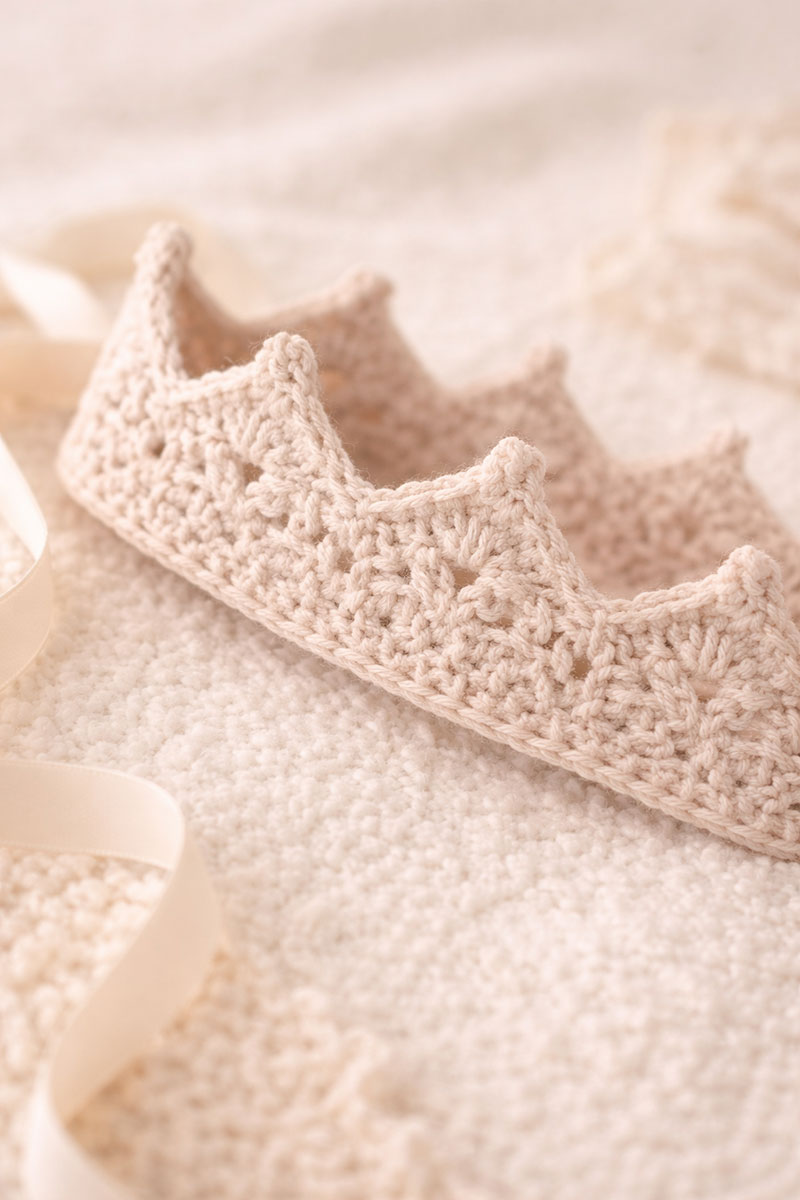
See my soft organic yarn recommendations here

Quick Photo Tips for Newborn Crowns
If you’re using this baby crown crochet pattern for newborn photos, the most important thing is comfort. Keep the crown loose, tie it gently, and never place it on a baby who’s sleeping or upset. The prettiest photos happen when the baby is calm and supported. A few practical tricks:
- Use soft daylight near a window (no harsh overhead lighting)
- Choose a simple backdrop: knit blanket, muslin, or a crib sheet in a solid tone
- Keep props minimal so the crown is the star
- Photograph from slightly above for a flattering “tiny crown” look
If you’re also setting up a nursery, my baby safety gear checklist is helpful for making sure the pretty space is also practical and protected.
FAQ
Can I sell crowns made from this pattern?
You’re welcome to use this pattern for personal projects and gifts. If you’re making items to sell, I recommend using the pattern as inspiration and adjusting details (stitch count, edging, point style) so your finished crown is uniquely yours.
What yarn is best for a newborn crown?
Soft cotton or a cotton blend is a great choice. Avoid scratchy novelty yarns for newborn skin, and skip anything that sheds. If you want extra softness, look for baby-safe cotton blends and keep the crown slightly loose.
How do I keep the points standing up?
The stabilizing single crochet row helps. If you want firmer points, use a slightly smaller hook or add a final slip-stitch edging across the top. For photos only, some makers lightly block the crown flat so the points look crisp.
More Nursery & Baby Ideas You May Love
- Baby nursery ideas (themes, styling, and cozy room inspiration)
- Baby mobiles (decor ideas + safety and style guidance)
- Free baby knitting patterns (more handmade projects)
- Baby gear (practical picks to pair with handmade gifts)
When you click on links to various merchants on this site and make a purchase, this may result in this site earning a commission. This does not affect the price you pay.

UBGI Gold Standard 2026
Verified for performance, SEO,
and accessibility compliance.
Photos, decorating ideas, party setups, and reader submissions are shared for inspiration only and are not intended as step-by-step decorating, construction, or DIY instructions.
About Jan | Contact | Baby Room Ideas (Blog) | Site Map | Privacy Policy | Disclaimer | Affiliate Disclosure | Earnings Disclosure
I am a participant in the Amazon Services LLC Associates Program, an affiliate advertising program designed to provide a means for us to earn fees by linking to Amazon.
Copyright © 2006-2026. All Rights Reserved.