Little Pumpkin Baby Shower Decorations for a Beautiful Fall Party
By Jan Bay
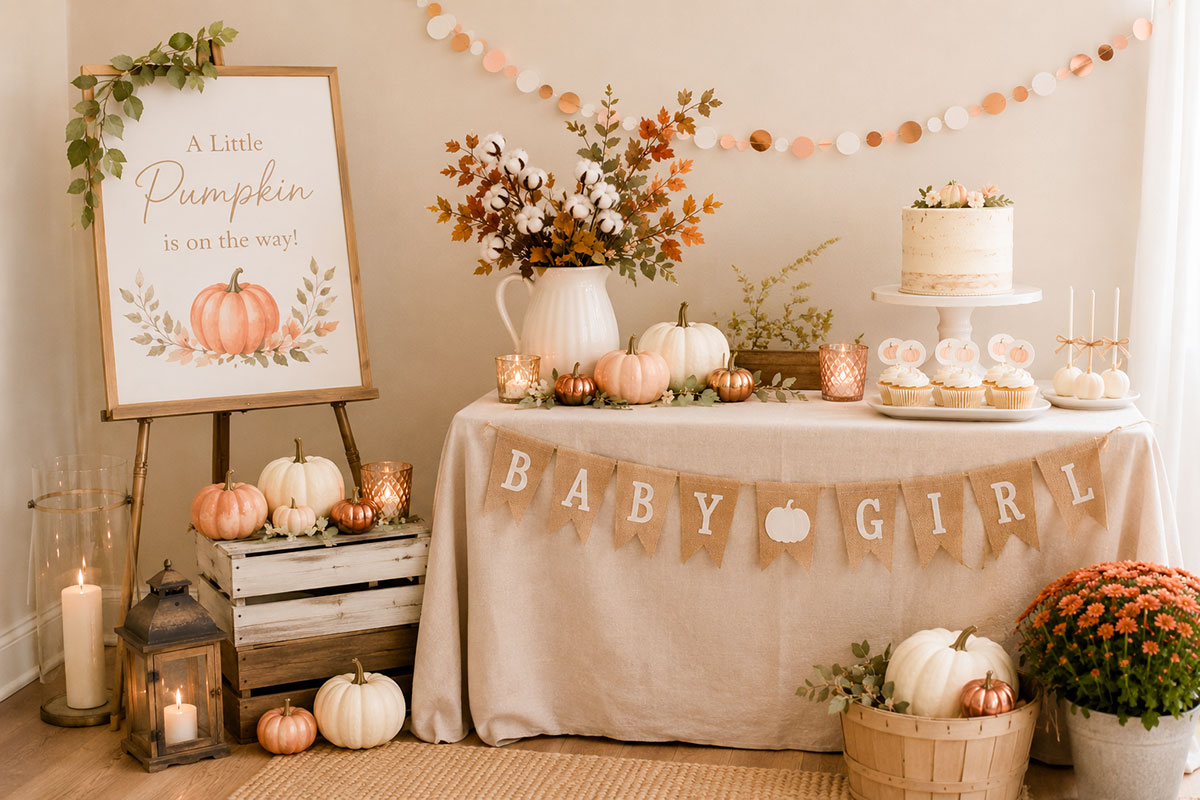
Pumpkin baby shower decorations are most attractive when the room is planned around three places: the entrance, the main backdrop or dessert table, and the guest tables. Use pumpkins in several sizes, keep centerpieces low, and repeat two main colors plus one accent so the party reads as a Little Pumpkin shower without drifting into Halloween.
This page covers the decorations only. Invitations, food, cake, favors and the complete theme are covered on the Little Pumpkin baby shower page linked in the box below.
Explore More Fall Baby Shower Ideas
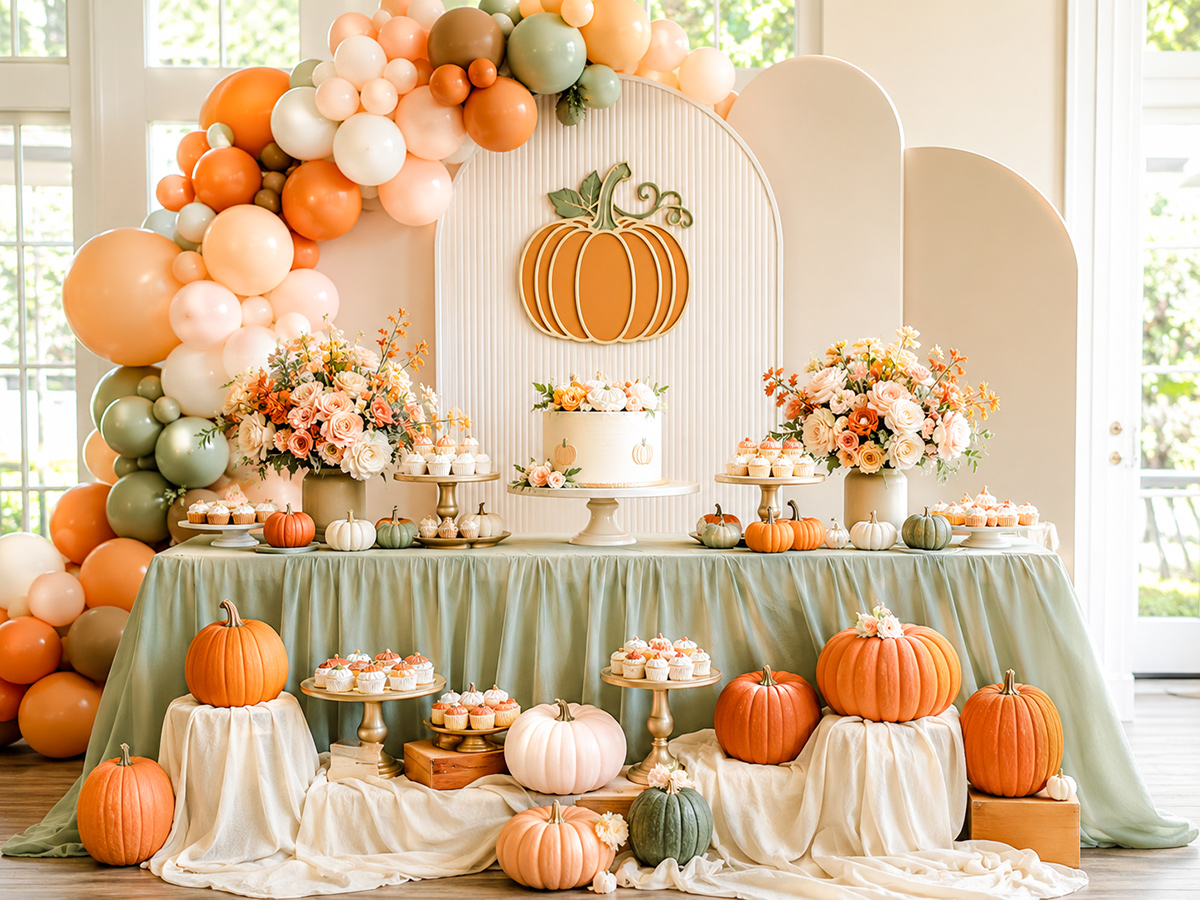
Faux Pumpkins for Fall Baby Shower Decorations
When comparing pumpkin sets, look for several sizes, stable flat bottoms and surfaces that can be painted if the colors need adjusting. Use the larger pumpkins at the entrance or backdrop and save the mini pumpkins for guest-table clusters and place cards.
Jump to a Section
Little Pumpkin Baby Shower Color Themes
A little pumpkin theme does not have to stay locked into orange, brown and burlap. The pumpkin shape supplies the fall personality, while the palette can be adjusted for a baby girl, baby boy or gender-neutral shower.
After years of working with baby shower layouts, I keep coming back to two main colors and one accent. More colors can be added, but then every napkin, balloon and pumpkin begins asking for attention. Let the backdrop, linens and largest pumpkins carry the main colors, then use the accent on smaller details.
Classic Orange and White Pumpkin Decorations
Orange and white create the most recognizable fall arrangement. Use orange pumpkins in several sizes, then add white pumpkins around the cake stand, food labels and table centerpieces. Dark green, navy or muted gold can be added in small amounts to give the setup more depth.
This palette fits especially well with the complete Little Pumpkin baby shower theme, where the invitations, food, cake and favors can carry the same look.
Pink Little Pumpkin Baby Shower
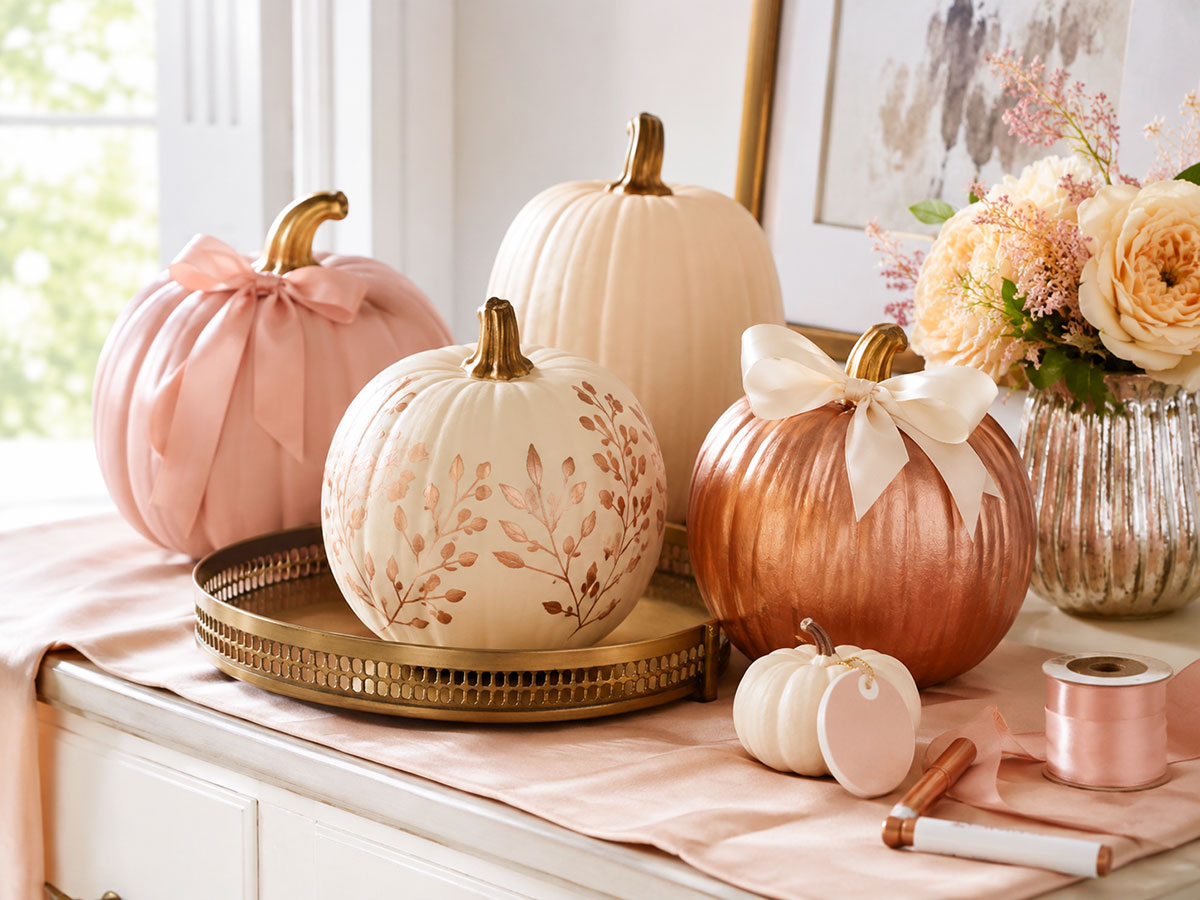
For a baby girl shower, combine blush pink, dusty rose and white pumpkins with a few copper or warm gold accents. Painted mini pumpkins look prettier when several shades are mixed instead of using one flat pink across the entire table.
Leave a few pumpkins white or natural orange so the fall theme remains visible. A room filled only with pink can begin to look like a general baby shower rather than a pumpkin celebration.
Blue Pumpkin Baby Shower Decorations
Blue pumpkin decorations can range from pale powder blue to deep navy. White pumpkins help the blue pieces stand out, while natural wood trays and warm amber details keep the arrangement connected to autumn.
Navy, dusty blue and white suit an indoor dinner shower. Pale blue, soft gray and white create a lighter look for a daytime brunch.
Neutral and Gender-Neutral Pumpkin Colors
White, muted green, soft terracotta and warm wood tones make a lovely gender-neutral combination. Add small touches of mustard, copper or black for contrast, but do not spread every fall color across every surface.
More seasonal palettes and decorating combinations are included on the fall baby shower decorations page. The broader baby shower decorations guide can also help with arranging tables, backdrops and focal areas throughout the room.
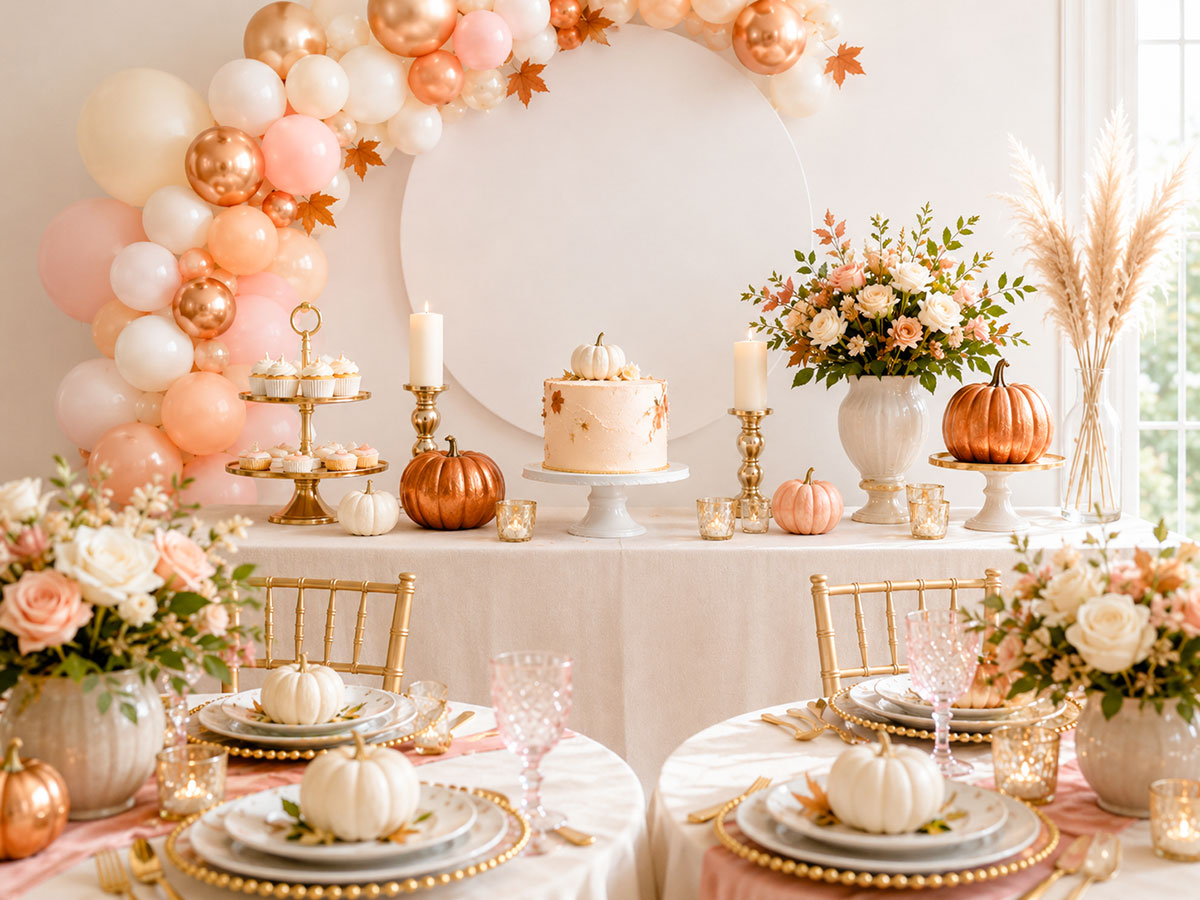
Pumpkin Entry and Welcome Decorations
The entrance should give guests a clear Little Pumpkin welcome without using every decoration before they reach the party. A small arrangement beside the door, on the porch or just inside the entry is enough to establish the theme.
Start with pumpkins in three different sizes rather than lining up several that are all alike. Place the largest pumpkin toward the back, add one medium pumpkin beside it and tuck two or three mini pumpkins near the front. A lantern, wood crate or folded fall-colored cloth can provide height without making the display look crowded.
Front Porch Pumpkin Decorations
For an outdoor shower, arrange faux or real pumpkins around the doorway and repeat one of the party colors in the ribbon, welcome sign or doormat. White pumpkins show up especially well against brick, dark siding and stained wood.
Keep the walking path open and place pumpkins where a guest carrying a gift will not need to step around them. Battery-operated lights can help define an evening entrance, but plain warm lights fit a baby shower better than flashing Halloween effects.
Indoor Welcome Table
An indoor entry table can hold the guest book, gift instructions or a framed shower message. Add a shallow bowl of mini pumpkins, one taller arrangement of branches or fall leaves, and a small stack of wrapped favor boxes if space permits.
The wording and colors used on the welcome sign can match the fall baby shower invitations. That small repetition connects the first invitation guests receive with the room they enter on shower day.
For more ways to carry the season through the gathering, see the fall baby shower ideas page.
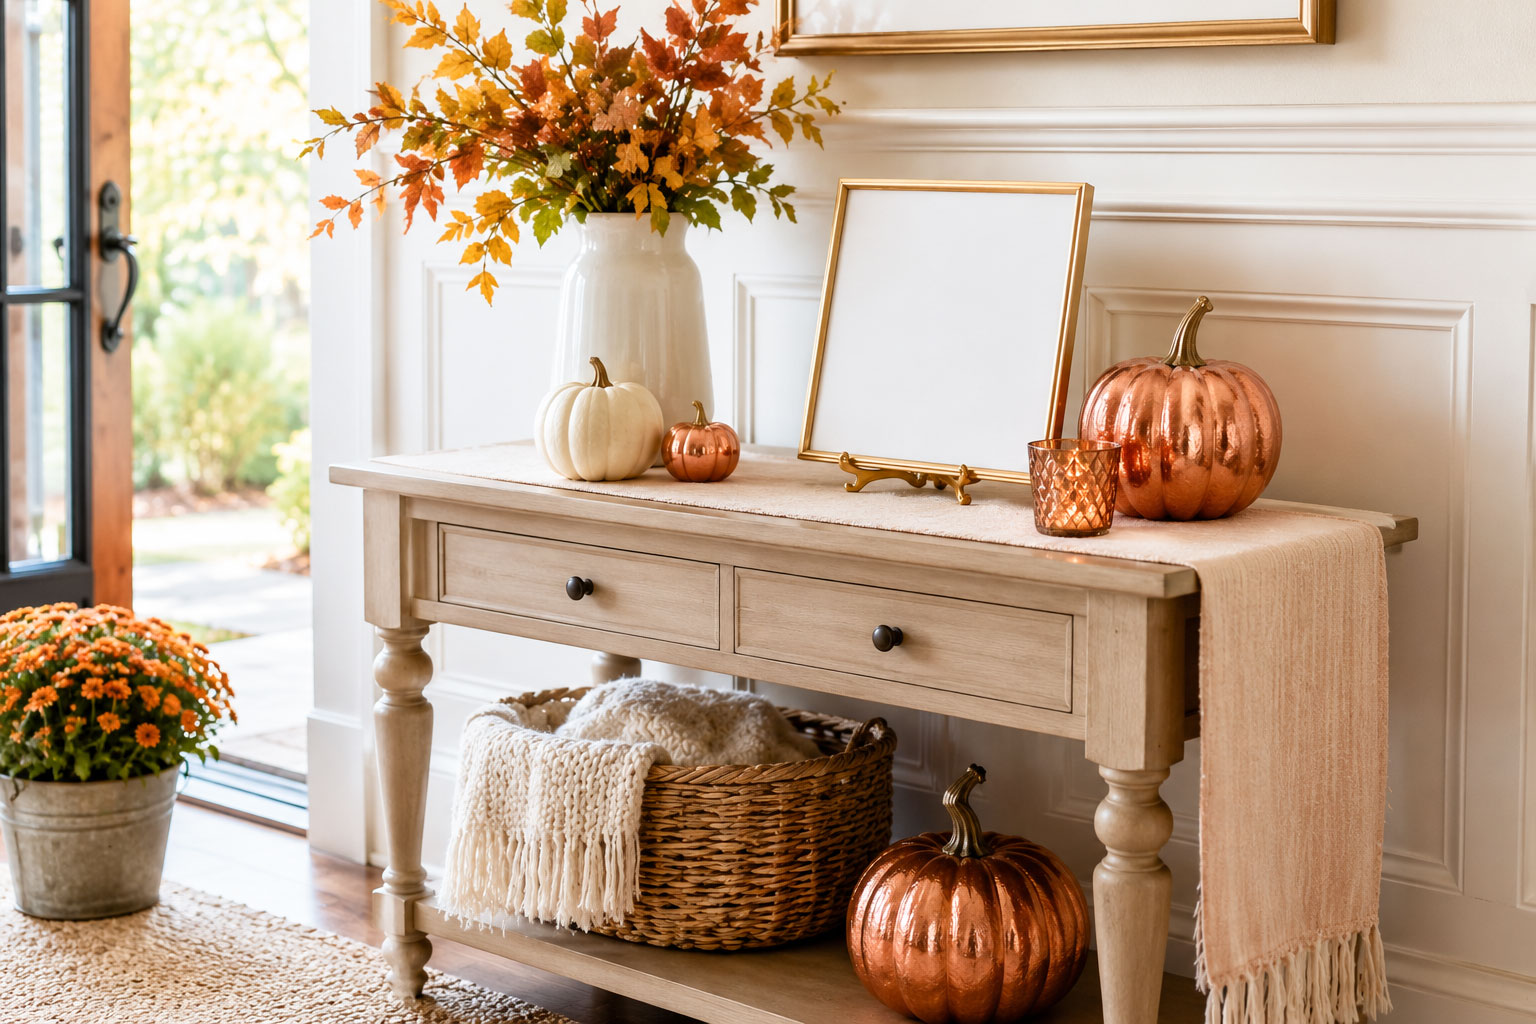
Little Pumpkin Baby Shower Backdrop Ideas
The backdrop is the best place to gather the pumpkin theme into one clear focal point. It can sit behind the cake table, gift table or the chair where the guest of honor will open presents. Choose one location rather than building several large displays that compete for attention.
A fabric panel, painted arch or plain wall can form the background. Add an off-center balloon garland in the party colors, then place pumpkins at floor level to connect the backdrop with the rest of the room. Mixing one taller pumpkin arrangement with smaller pumpkins keeps the bottom of the display from looking like a straight row.
Simple Pumpkin Backdrop for a Small Room
In a smaller space, use one wide fabric panel with a short balloon cluster across a top corner. Place a narrow table in front with the cake, two decorative pumpkins and a few serving pieces. Leaving part of the background open gives guests room to stand for photographs without hiding the decorations.
Layered Arch Backdrop
Two or three freestanding arches in different heights create a polished setup without requiring a heavily decorated wall. Cover the arches in complementary shades such as dusty blue and white, blush and terracotta, or orange and warm ivory. Arrange mini pumpkins on low risers near the base and repeat those colors on the dessert table.
Weight freestanding panels and balloon structures securely, especially when children will attend or the shower is held outdoors. Keep cords, weights and supports behind the display so the front remains tidy and the walking area stays clear.
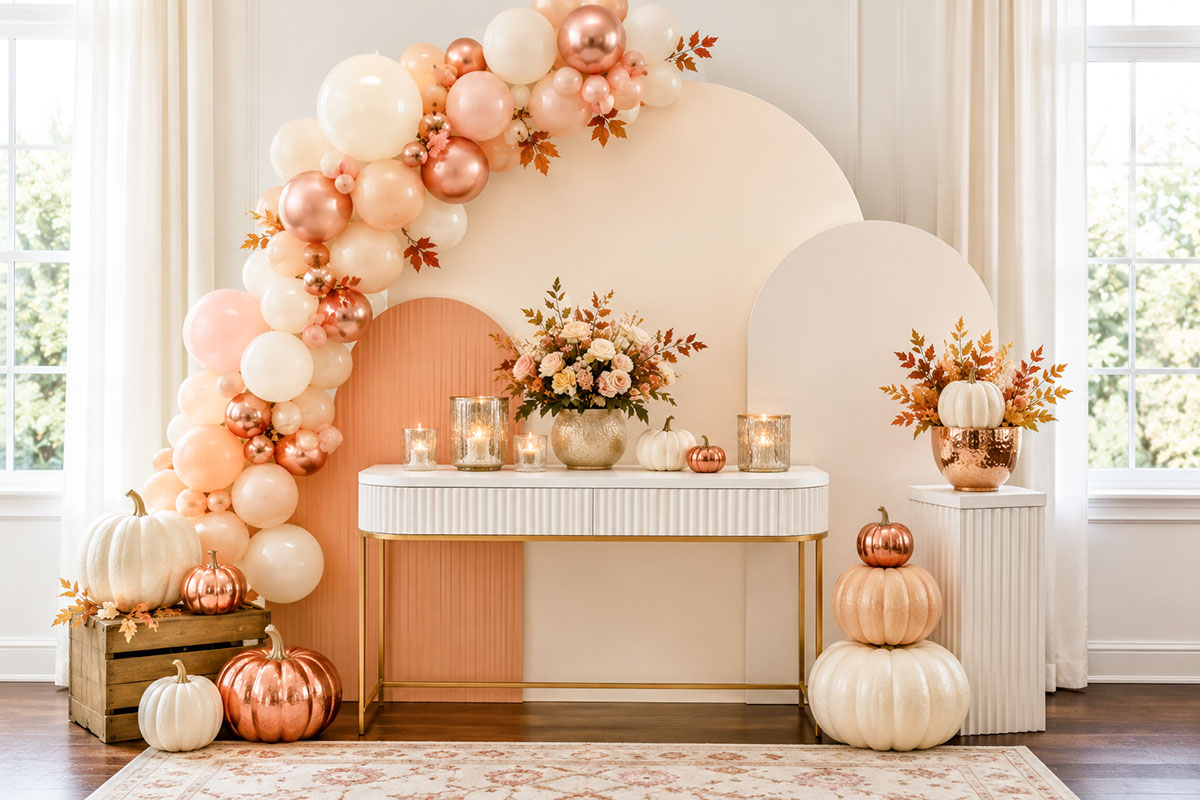
Pumpkin Baby Shower Table Decorations
The guest tables have one job before they have any decorating job: give people enough room to eat, set down a drink and visit comfortably. My rule is simple. If a guest has to move the centerpiece to make room for a glass, the centerpiece is too large.
Use a runner or coordinated placemats to carry the color plan, then arrange mini pumpkins in low groups with open space between them. Mixing two or three sizes gives the table shape without building a solid line of decorations from one end to the other.
Decorating Long Tables
For a long rectangular table, create a narrow trail through the center. Alternate small pumpkins with candleholders, low risers or folded fabric. Repeat the arrangement in short sections instead of trying to make every inch identical.
Leave breaks where shared platters, water pitchers or serving bowls can be placed. Decorations are easier to appreciate when guests are not reaching through them to serve dinner.
Decorating Round Tables
A round table needs one compact centerpiece rather than decorations circling the entire edge. Place three pumpkins at slightly different heights on a shallow tray, cake stand or low wood slice. Add name cards or a small table number nearby instead of adding more objects to the centerpiece.
Little Pumpkin Place Settings
A mini pumpkin at each place setting can double as a name marker. Tie on a simple paper tag, or write the guest’s name on a removable label so the pumpkin can be taken home afterward.
Keep napkins, plates and drinking glasses fairly simple when the centerpiece has several colors. If the decorations are mostly white or neutral, patterned napkins or colored glassware can bring in a little more personality.
Small take-home pumpkins can also be coordinated with the ideas on the fall baby shower favors page. An item at each place feels more intentional when it still has a purpose after the meal.
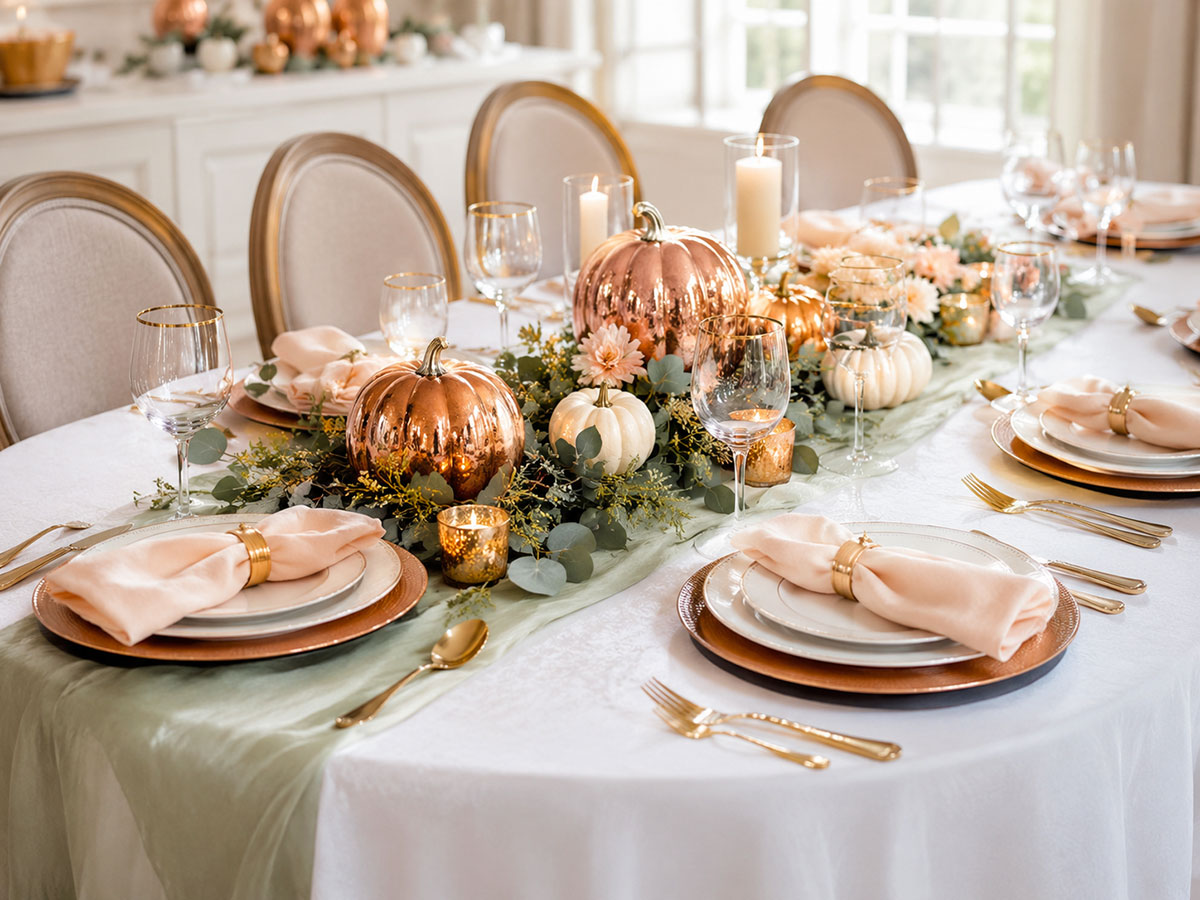
Mini Pumpkin Centerpiece Ideas
I would choose the centerpiece by table shape before choosing the pumpkins. A centerpiece that looks lovely on a long banquet table may take over a small round table before the plates are added.
- Small round table: Place three mini pumpkins on a shallow tray with one low candleholder or compact floral arrangement.
- Long rectangular table: Use two or three separate pumpkin clusters with generous open space between them.
- Place-card centerpiece: Give each guest one tagged mini pumpkin and skip the larger central arrangement.
- Dessert or favor table: Group five pumpkins in mixed sizes toward one side rather than spreading them across the entire front edge.
White and natural orange pumpkins create the clearest fall look. Blush, copper, sage or painted pumpkins can be added when they repeat colors already used in the linens or backdrop.
Keep painted surfaces away from uncovered food and allow every finish to dry fully before the pumpkins are moved onto the tables.
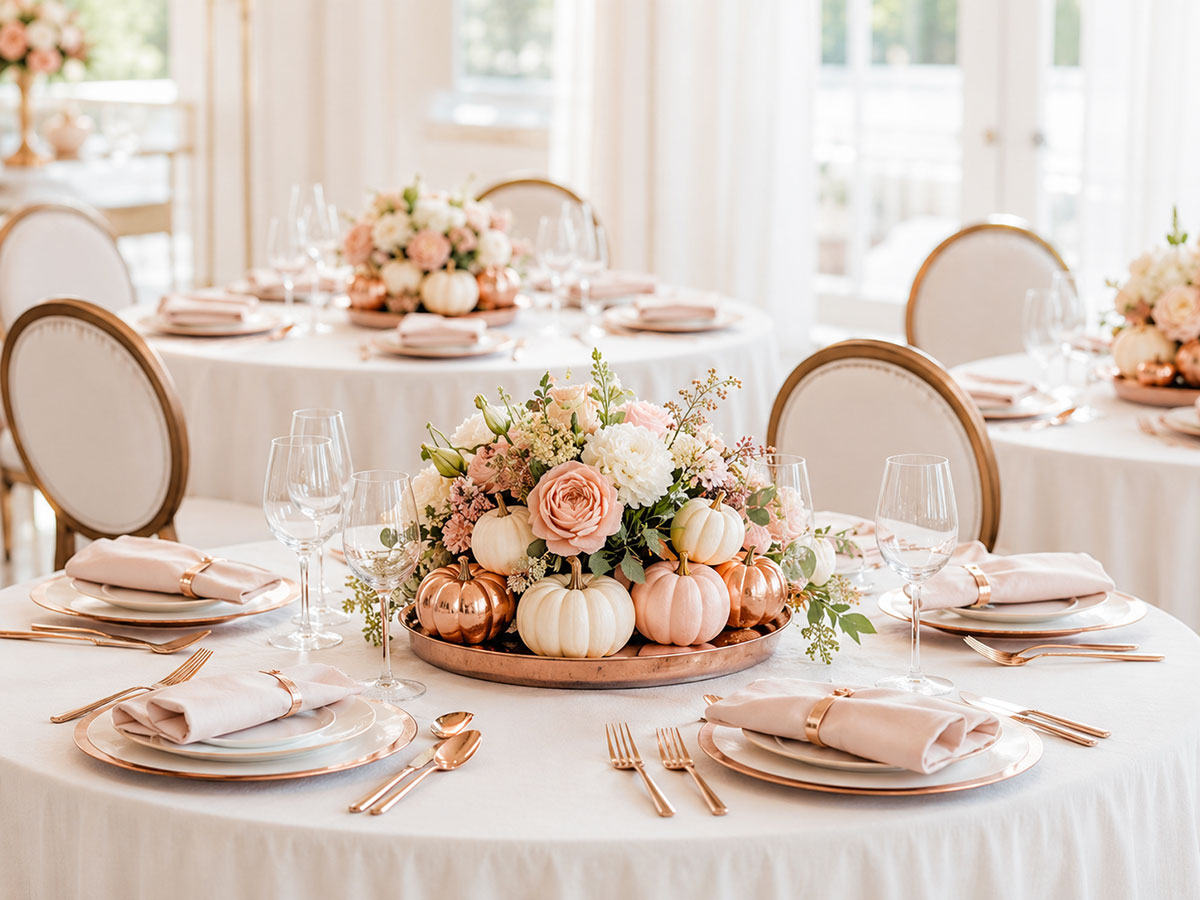
Pumpkin Baby Shower Dessert Table Ideas
The dessert table can be festive without covering every serving piece with pumpkins. Let the cake or main dessert stay at the center, then use a few well-placed pumpkin decorations to frame it.
Set the tallest item near the back of the table and arrange shorter trays toward the front. Cake stands, wood risers and sturdy boxes covered with fabric can create different levels, which makes even a small selection of treats look more complete.
Decorating Around the Cake
Place two or three pumpkins near the cake stand rather than making a full pumpkin border. One medium pumpkin on one side and a small cluster on the other will keep the arrangement balanced without looking too perfect.
A white cake looks lovely against orange, terracotta, blush or dusty blue decorations. When the cake already has detailed piping or a pumpkin topper, keep the surrounding pumpkins plain. The cake does not need to fight its way out of the decorations.
Adding Pumpkin-Themed Desserts
Pumpkin-shaped cookies, cupcakes with small pumpkin toppers and caramel treats can carry the theme without requiring every dessert to contain pumpkin flavor. Label anything made with pumpkin spice, nuts or other common allergens so guests can choose easily.
Small framed labels are also a simple way to repeat the colors and lettering used on the fall baby shower invitations.
Keeping the Serving Area Practical
Leave open space at the front of each platter so guests can reach the food without moving decorations. Keep loose leaves, glitter and painted pumpkins away from uncovered desserts. Napkins, forks and plates should be placed at one end of the table rather than tucked behind the display.
A table filled with cookies, cake and fruit already has plenty going on. It does not need another row of pumpkins along the front edge.
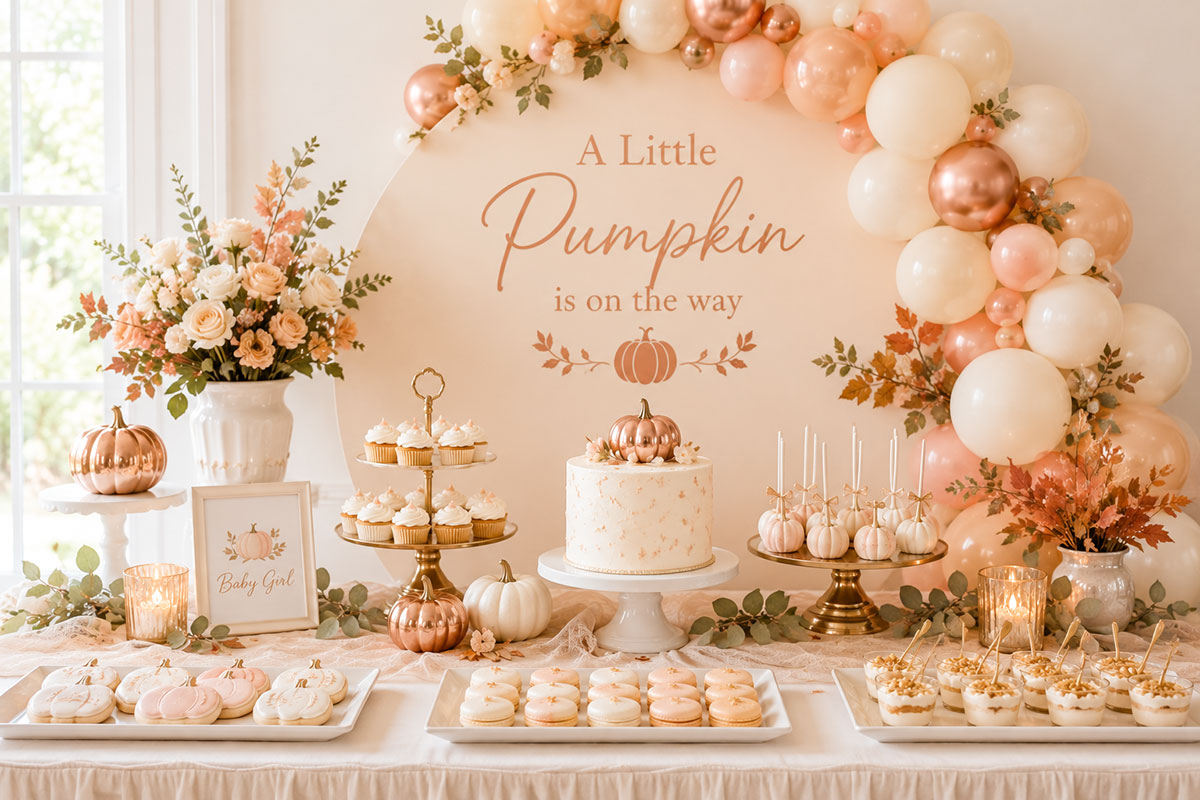
Stacked Pumpkin Decorations for Height and Color
Stacked pumpkins add height without taking up as much floor or table space as a wide arrangement. They work beside a welcome sign, at the base of a backdrop, near the gift table or in an empty corner that needs a little color.
Choose pumpkins with fairly flat tops and bottoms so each layer sits securely. A large pumpkin belongs at the base, followed by a medium pumpkin and one smaller pumpkin on top. Two pumpkins often look just as finished as three, especially on a tabletop or narrow pedestal.
Freestanding Pumpkin Stacks
For a floor display, place the stack on a sturdy wood crate, low stool or wide decorative container. Add one or two mini pumpkins around the base so the arrangement feels connected to the room rather than standing by itself.
Keep tall stacks away from doorways and busy walkways. Faux pumpkins are lighter and easier to secure when the display will be near children, gifts or chairs that may be moved during the shower.
Pink, Blue and White Stacked Pumpkins
Painted pumpkins can turn a traditional fall stack into a baby shower decoration that matches the rest of the party. Try white with blush and terracotta for a baby girl shower, or white with dusty blue and navy for a baby boy shower. A gender-neutral stack can combine white, muted green and natural orange.
Repeat the palest color in more than one layer. This keeps the stack from looking like three unrelated pumpkins piled together.
Decorating a Pumpkin Stack
A narrow ribbon, small paper tag or simple wooden sign can be added between the layers. Avoid covering the stack with bows, loose leaves and several different messages. The layered pumpkin shape is already decorative.
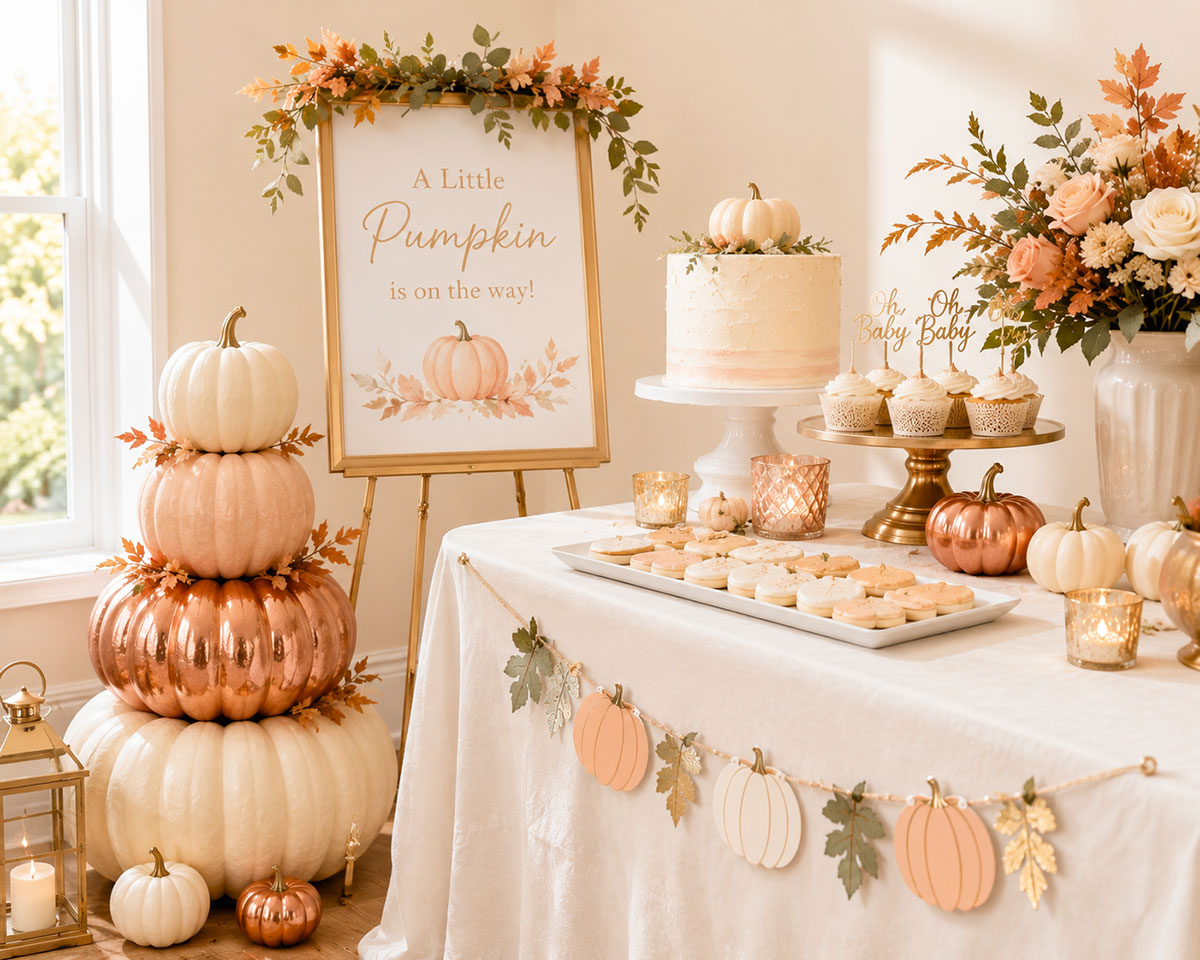
No-Carve Pumpkin Decorating Ideas for a Baby Shower
No-carve pumpkins can be prepared ahead and fit a baby shower more naturally than carved faces. Paint, ribbon, removable lettering and paper tags are enough to connect them to the party colors.
Choose one treatment for each pumpkin. A pumpkin does not need a bow, a saying, metallic paint and a glittered stem all at once. Wipe the surface clean, allow it to dry fully and use faux pumpkins when the decorating must be completed several days ahead.
Painted Pumpkins in the Party Colors
Use paint labeled for the pumpkin’s surface and test it on the underside first. Apply two thin coats rather than one heavy coat, then leave a few pumpkins natural so the arrangement still feels connected to fall.
A painted stem can add a small metallic detail, but the pumpkin does not need glitter from top to bottom. A little brushed copper, bronze or gold on the stem is enough to catch the light.
Little Pumpkin Lettering and Messages
Add a short message such as “Little Pumpkin,” “Welcome Baby” or the baby’s last name to one medium pumpkin. Removable vinyl letters, letter stickers or a paint pen can create clean lettering without carving into the shell.
Use one message pumpkin as part of the welcome display or dessert table. Repeating sayings on every pumpkin makes the decorations feel more like a collection of signs than a coordinated arrangement.
Ribbon, Bows and Paper Details
Tie a narrow velvet or grosgrain ribbon around the stem of a mini pumpkin for a quick place-setting decoration. Small cardstock leaves can hold guest names, table numbers or a brief thank-you message.
Choose ribbon that repeats a color already used in the linens, invitations or backdrop. The fall baby shower invitation ideas can provide an easy starting point for matching lettering and colors.
Decorating Faux Pumpkins for Future Use
Faux pumpkins can be repainted and reused for another fall gathering or seasonal display. Removable decorations are helpful when you want to change the color scheme later. Ribbon, paper tags and vinyl lettering can often be replaced without damaging the pumpkin.
Budget-Friendly Pumpkin Baby Shower Decorations
Spend the decorating money where guests and the camera will look first. I would finish the main backdrop or dessert table before buying another handful of pumpkins for a far corner. The entrance and guest tables can then borrow the same colors through mini pumpkins, fabric and serving pieces already on hand.
Choose Decorations That Can Do Two Jobs
Mini pumpkins can serve as centerpiece decorations, place cards and take-home favors. Cake stands can raise pumpkins before dessert is served and hold food later. Wood crates can support a welcome display, create height behind the dessert table or collect gifts and cards.
When a decoration has a second purpose, fewer pieces are needed and there is less to store after the shower.
Decorate the Areas Guests Notice First
Put the fullest decorations near the entrance and the main food or cake table. Guest tables only need a small centerpiece and coordinated place settings. Corners that are not used for photographs, gifts, food or seating do not need their own pumpkin display.
A limited decorating plan often looks neater than spreading a few unrelated pieces around the entire room.
Mix Real and Faux Pumpkins
Use real mini pumpkins where guests will see them up close and larger faux pumpkins where height or color matters more. Faux pumpkins can be painted to match the shower and reused for fall decorating later.
Check local grocery stores and farm markets for small pumpkins sold in bags or by the basket. Their natural differences in shape and color can make a centerpiece more interesting without adding extra accessories.
Use Fabric Instead of Buying More Table Decorations
A length of washable fabric can become a table runner, backdrop layer or covering for sturdy boxes used as dessert risers. Look for solid cotton, velvet or textured fabric in one of the party colors rather than material printed with large seasonal designs.
The same fabric can be cut into narrow ribbons for favor tags or tied around a few pumpkin stems. That small repetition helps separate tables feel as though they belong to the same party.
Keep Favors Simple
A mini pumpkin with a thank-you tag is already a fitting favor. There is no need to add another packaged gift unless it serves a purpose for the guests. More inexpensive take-home options are included with these fall baby shower favor ideas.
For decorations that can be adapted to other themes and seasons, browse the complete baby shower decorations guide.
Pumpkin Baby Shower Decorations FAQ
What decorations are needed for a Little Pumpkin baby shower?
Plan one small welcome display, one main backdrop or dessert table, and low decorations for the guest tables. Add a separate favor or gift-table arrangement only when that area needs help carrying the theme.
How many pumpkins are needed?
Three mini pumpkins are enough for a small round table. A long table can hold two or three separate clusters, while two or three pumpkins around the cake are generally enough for the dessert table. Count the planned display areas rather than buying one large quantity without deciding where the pumpkins will go.
Are real or faux pumpkins better?
Real mini pumpkins bring natural variation to close-up table arrangements. Faux pumpkins are easier to paint, prepare early and use in stacked or elevated displays. A combination of both is practical when the finishes and colors coordinate.
How early can the decorations be prepared?
Faux pumpkins, signs, backdrops and table accessories can be prepared several weeks ahead. Buy real pumpkins closer to the shower and avoid pieces with bruises, punctures or damaged skin. Penn State Extension’s pumpkin storage guidance explains why damaged pumpkins do not keep as well.
How do I keep the decorations from looking like Halloween?
Skip carved faces, cobwebs, flashing lights and black-and-orange novelty decorations. Use plain or painted pumpkins, a controlled color palette, tailored table settings and the familiar “Little Pumpkin” wording.
Can mini pumpkins be used as favors?
Yes. Attach a guest’s name or a short thank-you message with a paper tag and ribbon. The pumpkin can serve as a place card during the shower and go home afterward.
My last check is always from the doorway. If the entrance, main table and guest tables read as one celebration, stop decorating. The room does not need a pumpkin on every remaining surface.
For invitations, food, cakes, favors and the rest of the celebration, continue with the complete Little Pumpkin baby shower guide.
When you click on links to various merchants on this site and make a purchase, this may result in this site earning a commission. This does not affect the price you pay.

UBGI Gold Standard 2026
Reviewed under the site's
editorial checklist.
Photos, decorating ideas, party setups and reader submissions are shared for inspiration unless a page is specifically presented as a pattern, tutorial, reference guide or step-by-step project. Follow the instructions, measurements, safety guidance and manufacturer directions provided for the particular project or product.
About Jan | Contact | Baby Nursery Ideas (Blog) | Site Map | Privacy Policy | Disclosure Policy | Disclaimer | Affiliate Disclosure | Earnings Disclosure | Facebook | Pinterest
I am a participant in the Amazon Services LLC Associates Program, an affiliate advertising program designed to provide a means for us to earn fees by linking to Amazon. As an Amazon Associate I earn from qualifying purchases.
Copyright © 2006-2026. All Rights Reserved.