Easy Ribbed Crochet Baby Blanket Pattern You Can Make in Four Hours
By Jan Bay
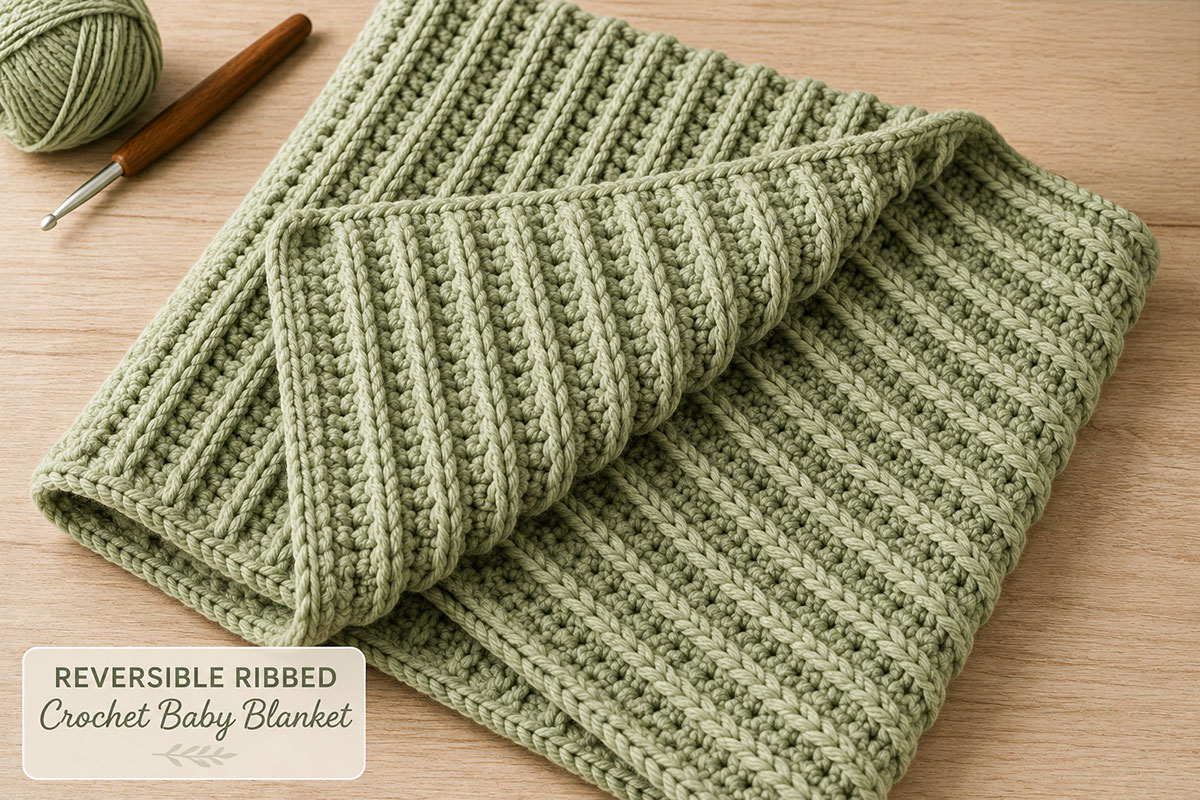
This easy ribbed crochet baby blanket pattern uses bulky yarn and alternating post stitches to create deep vertical columns that look far more involved than they are. Once the first rows are established, the pattern settles into a comfortable two-stitch rhythm that you can work during a quiet evening, while watching television or while waiting through a long practice.
Explore More Free Crochet Baby Patterns
Free Crochet Baby Blanket Patterns
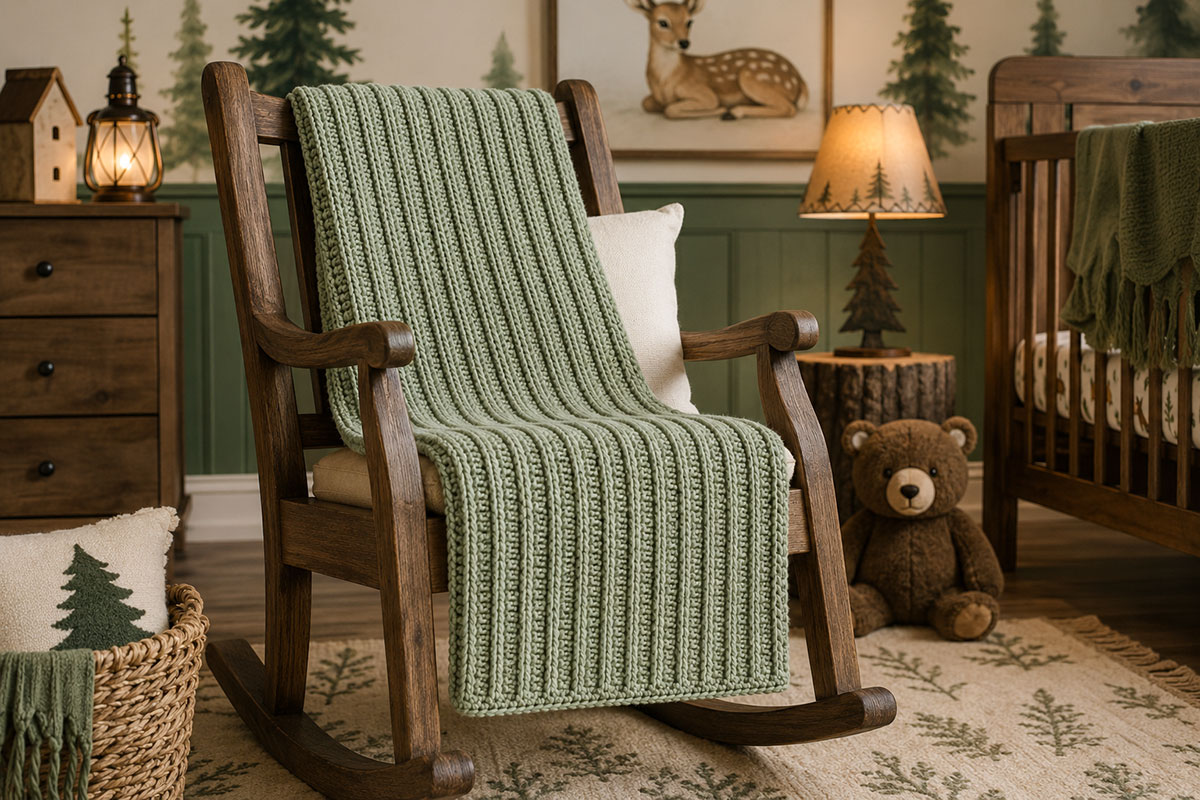
Bulky Yarn for the Ribbed Blanket
Jump to the Easy Ribbed Crochet Baby Blanket Pattern
- Pattern at a Glance
- Can You Crochet It in Four Hours?
- Why It Is an Easy Evening Project
- Yarn, Hook and Supplies
- Finished Baby Blanket Size
- Gauge
- Stitches and Abbreviations
- How to Crochet the Vertical Ribbed Stitch
- Easy Ribbed Crochet Baby Blanket Instructions
- Optional Blanket Border
- How to Change the Blanket Size
- Finishing and Care
- Frequently Asked Questions
Easy Ribbed Crochet Baby Blanket Pattern at a Glance
Project Details
Skill level: Confident beginner
Estimated crochet time: About four hours for an experienced crocheter
Finished size: Approximately 30 by 36 inches before the optional border
Yarn: Approximately 750 yards of size 5 bulky yarn
Hook: 8 mm crochet hook, or the size needed to match gauge
Main stitches: Double crochet, front-post double crochet and back-post double crochet
Pattern repeat: Alternating front-post and back-post stitches
Construction: Worked back and forth in rows from the bottom edge
The raised columns give this blanket a tailored, knit-look finish without asking you to follow a chart or change colors. After the foundation row is complete, the stitches settle into a steady rhythm that is easy to recognize by sight.
The finished fabric has an attractive texture on both sides. It is not identical front and back, but neither side looks unfinished.
A baby blanket can be simple and still look carefully made.
Can You Crochet the Ribbed Baby Blanket in Four Hours?
Four hours is a reasonable estimate for a crocheter who already knows double crochet and can work comfortably around stitch posts. The bulky yarn builds the fabric quickly, while the 30 by 36-inch dimensions keep the project manageable.
A beginner may need five or six hours, particularly when learning to move the hook around the front and back of each post. The first few rows are the slowest. Once the columns become easy to see, the work tends to move much faster.
The estimate refers to active crochet time. It does not include making the gauge swatch, shopping for yarn, winding skeins, taking breaks or blocking the finished blanket.
Before You Start the Clock
Make the swatch, read through the post-stitch instructions and place your supplies beside you. Starting with the correct gauge is far more useful than racing through a blanket that ends up several inches too narrow.
Why the Ribbed Blanket Is an Easy Evening Project
The stitch sequence requires some attention during the first two textured rows. After that, the raised and recessed columns show you where the hook belongs without constant reference to the written instructions.
Mark the first and last stitch of each row. Those two little markers do a great deal of work because they prevent the side edges from quietly losing stitches while your attention is on a movie or conversation.
The blanket is also easy to stop between rows. Secure the working loop with a locking marker, tuck the project into a roomy bag and continue when you have another stretch of free time.
The early rows travel well for appointments, practices or an afternoon at the ball field. As the blanket grows, the bulky fabric becomes more comfortable to manage at home.
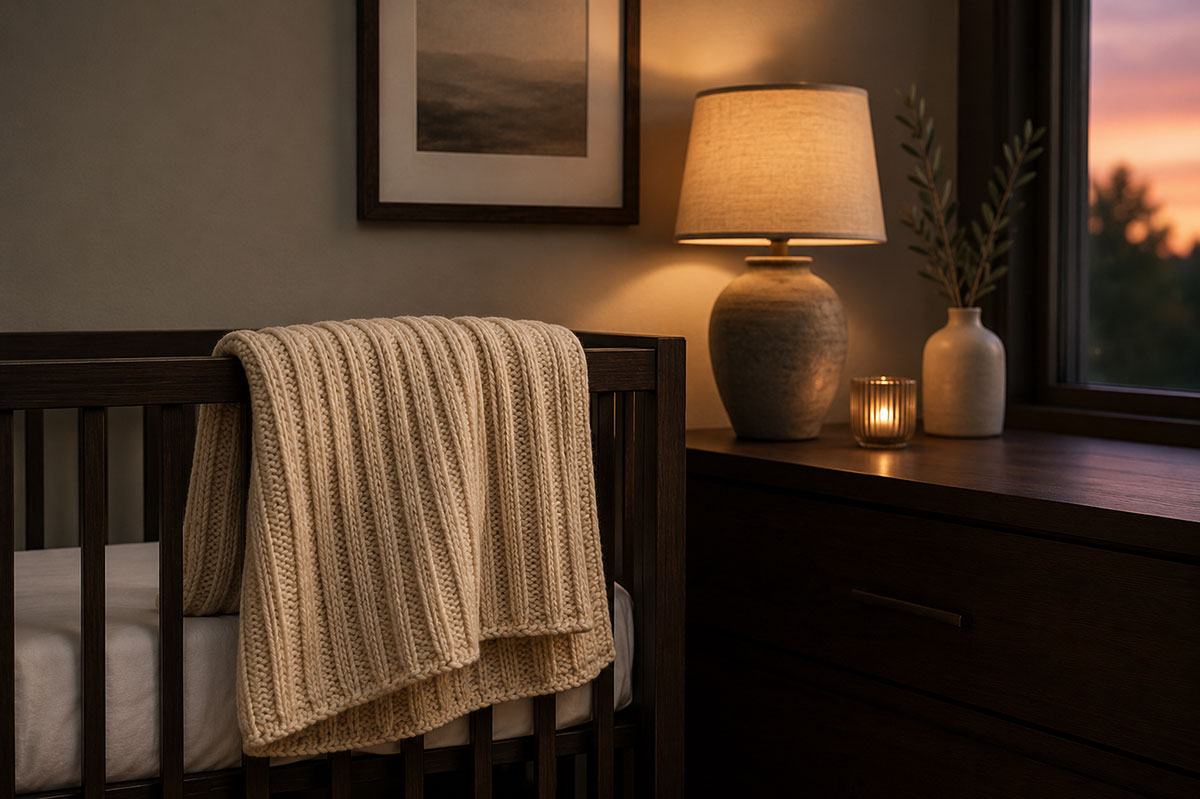
Yarn, Hook and Supplies for the Ribbed Baby Blanket
- Approximately 750 yards of size 5 bulky yarn
- 8 mm crochet hook, or the hook size needed to match gauge
- Optional 9 mm hook for a loose foundation chain
- Two locking stitch markers
- Large-eye yarn needle
- Scissors
- Flexible measuring tape
Purchase 750 to 800 yards if you plan to add the border. The extra amount also gives you room for a longer gauge swatch or a few additional rows.
Check the yardage printed on the label rather than buying by skein count alone. One bulky yarn may contain 100 yards per skein while another contains more than twice that amount.
Joining a new skein: Begin a new skein at a side edge whenever practical. Work the final double crochet of the row until two loops remain on the hook. Yarn over with the new yarn and pull it through the final two loops. Leave an 8-inch tail from both yarns. If more body rows remain, chain 2 and turn with the new yarn. If this is the final body row, do not chain 2 or turn; follow the final-row fastening-off or border directions instead. Use the same method when changing colors for stripes.
A smooth acrylic, acrylic-wool blend or washable wool blend will show the post-stitch columns clearly. Plush chenille can be used, but the fuzzy surface may hide the stitch placement and make the vertical pattern less distinct.
The Craft Yarn Council places yarn marked with the number 5 in the bulky category. Its standard yarn weight system can help when the yarn label uses a category name rather than a number.
Choose a medium or rich color that allows the shadows between the ribs to remain visible. Plum, terracotta, dusty teal, raspberry, warm green and muted coral would all give the blanket character without relying on stripes.
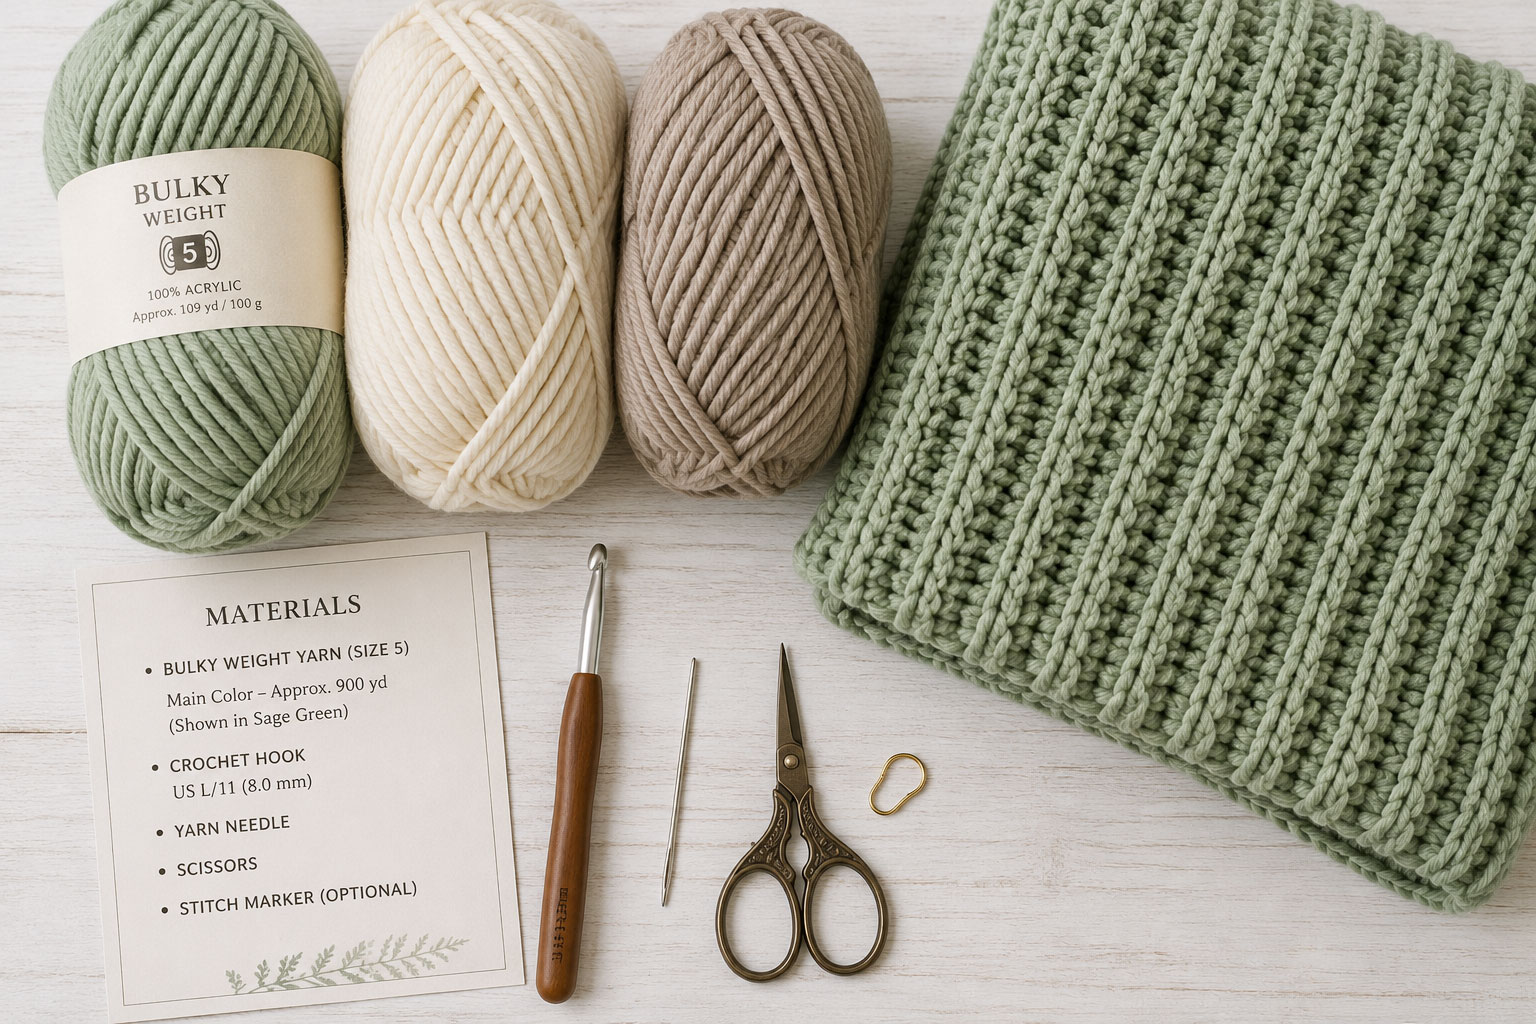
Finished Ribbed Baby Blanket Size
The sample blanket measures approximately 30 inches wide by 36 inches long before the optional border. The border may add about half an inch to each side, depending on your yarn and tension.
Measure the blanket while it is resting flat. Do not pull the ribs open while measuring because the fabric has natural side-to-side stretch.
The 30 by 36-inch size provides enough surface area to look like a substantial handmade gift without turning a four-hour project into a weekend-long blanket.
Use it during supervised cuddling, stroller outings or floor time. It also makes an attractive nursery accent when it is folded away from the infant sleep space.
The baby blanket guide explains common sizes, uses and safety considerations if you are deciding whether to make the baby, stroller or receiving size.
Gauge for the Vertical Ribbed Stitch
Gauge: 7 stitches and 4 rows measure approximately 4 inches in the alternating post-stitch pattern.
Gauge swatch: Chain 15. Double crochet in the fourth chain from the hook and in each remaining chain across for 12 double crochets. Chain 2 and turn. Double crochet in the first stitch, alternate one front-post double crochet and one back-post double crochet across the next 10 stitches, then double crochet in the final stitch for 12 stitches total. Chain 2 and turn.
For Rows 3 through 6, double crochet in the first stitch, work each of the next 10 posts according to how it appears from the side facing you, and double crochet in the final stitch. Chain 2 and turn after Rows 3 through 5 only.
Measure 7 consecutive stitches across the center of the completed swatch and measure 4 complete textured rows vertically. Both measurements should be approximately 4 inches. Do not stretch the ribs while measuring.
If more than 7 stitches fit within 4 inches, your stitches are too small. Change to a larger hook.
If fewer than 7 stitches fit within 4 inches, your stitches are too large. Change to a smaller hook.
Gauge affects more than the final width. A tight post stitch uses additional yarn and takes longer to complete. A very loose stitch may produce wide spaces between the raised columns.
Measure the blanket again after completing four textured rows. That early check gives you a much better picture of the finished width than the foundation chain alone.
Stitches and Abbreviations Used in the Pattern
This pattern uses standard United States crochet terminology.
- ch: chain
- dc: double crochet
- FPdc: front-post double crochet
- BPdc: back-post double crochet
- sc: single crochet
- sl st: slip stitch
- st: stitch
- sts: stitches
Double crochet: Yarn over, insert the hook into the indicated stitch, yarn over and draw up a loop. Yarn over and pull through two loops. Yarn over again and pull through the final two loops.
Front-post double crochet: Yarn over. Insert the hook from front to back and then back to front around the post of the indicated stitch. The post should rest in front of the hook. Yarn over, draw the loop around the post and complete the double crochet.
Back-post double crochet: Yarn over. Insert the hook from back to front and then front to back around the post of the indicated stitch. The post should rest behind the hook. Yarn over, draw the loop around the post and complete the double crochet.
It may help to see how the hook moves around the upright stitch posts before beginning the blanket. This demonstration of front-post and back-post ribbing provides a visual example. Use it for help with stitch placement, then follow the turning-chain, edge-stitch and stitch-count directions in this blanket pattern.
Turning chain: Chain 2 at the end of each body row except the final row. The turning chain does not count as a stitch.
How to Crochet the Vertical Ribbed Stitch
Post stitches are worked around the upright body of a stitch rather than beneath the two loops at its top.
A front-post double crochet pulls the post toward you and creates a raised column. A back-post double crochet pushes the post away from you and creates the recessed channel beside it.
Alternating the two stitches across the row forms the first set of ribs. On every following row, work around each post according to the way it appears from the side facing you.
- Work a regular double crochet in the first edge stitch.
- Look at the next post rather than the loops at the top.
- Work a front-post double crochet when the post appears raised toward you.
- Work a back-post double crochet when the post appears recessed away from you.
- Continue across the interior stitches.
- Work a regular double crochet in the final edge stitch.
- Count 52 total stitches before chaining 2 and turning.
The two regular edge stitches provide a stable place to begin and end each row. They also make it easier to add the optional border later.
Do not force the hook through the fabric. Guide it through the open space beside the post and around the other side. The movement becomes much smoother once the first textured rows have been completed.
Easy Ribbed Crochet Baby Blanket Pattern Instructions
Foundation chain: Chain 55 loosely.
If your foundation chain tends to tighten, use the optional 9 mm hook for the chain only. Change back to the 8 mm hook before beginning Row 1.
Row 1: Double crochet in the fourth chain from the hook. Double crochet in each remaining chain across. You should have 52 double crochet stitches. The three skipped foundation chains do not count as a stitch. Chain 2 and turn.
Row 2: Double crochet in the first stitch. Across the next 50 stitches, alternate one front-post double crochet around the next stitch and one back-post double crochet around the following stitch, ending with a back-post double crochet. Double crochet in the final stitch. You should have 52 stitches. Chain 2 and turn.
Row 3: Double crochet in the first stitch. Work around each of the next 50 posts according to the way it appears from the side facing you. Work a front-post double crochet around every raised post and a back-post double crochet around every recessed post. Double crochet in the final stitch. You should have 52 stitches. Chain 2 and turn.
Rows 4 through 36: Repeat Row 3, maintaining 52 stitches. On Row 36, or on whichever row gives the desired finished length, work through the final double crochet, then omit the final chain 2 and turn.
After completing Row 36, the blanket should measure approximately 36 inches long. Add or remove rows as needed to reach your preferred length.
Count the stitches at least every four rows. The vertical columns may still look correct for a while after an edge stitch has been missed, so the count offers an earlier warning.
Do not fasten off if you plan to add the optional border. Otherwise, cut the yarn with an 8-inch tail and pull it through the final loop.
The Textured Row in Plain Language
Work one regular double crochet at each edge. Across the middle, work around every raised post from the front and every recessed post from the back.
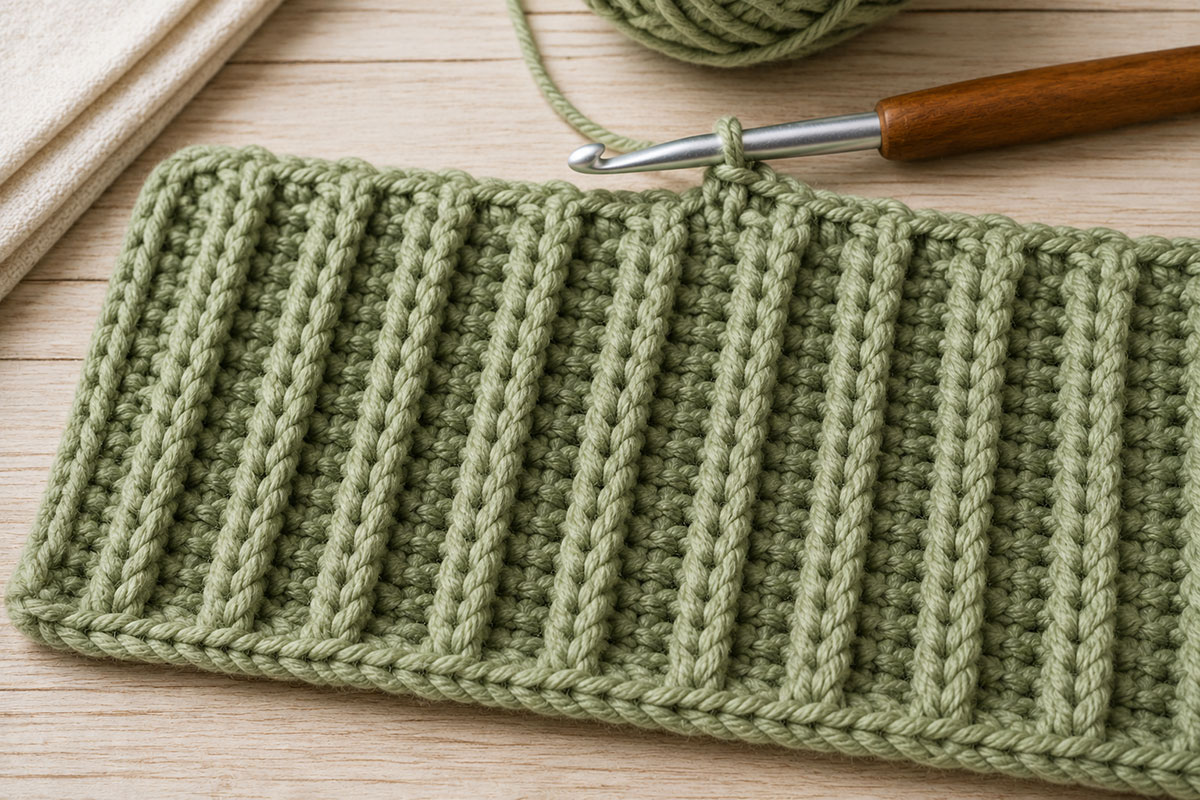
Optional Single-Crochet Border
The blanket does not require a border. The vertical ribs already create a defined design, and the regular double crochet stitches provide stable side edges.
Add the border when you want a framed finish or need to smooth small differences along the row ends.
Border round: Chain 1 and turn. The chain 1 does not count as a stitch. Work one single crochet in each stitch across until one stitch remains. For the 52-stitch baby blanket, this means working across the first 51 stitches. Work 3 single crochet stitches in the final stitch to form the first corner. These are the 3 complete corner stitches, not 3 additional stitches after first working a single crochet into that stitch.
Work down the side edge, beginning with approximately 2 single crochet stitches around each double crochet row end. Count the stitches placed along this side so you can work the same number along the opposite side. Adjust the spacing evenly if the border begins to ripple or pull.
At the foundation edge, work 3 single crochet stitches into the foundation loop at the base of the first corner Row 1 double crochet. Work one single crochet into the foundation loop at the base of each Row 1 double crochet across until one corner double crochet remains. For the 52-stitch baby blanket, this means working 50 single crochets between the two corner groups. Work 3 single crochet stitches into the foundation loop at the base of the final corner double crochet. Do not work into the three skipped starting chains.
Work up the remaining side edge, using the same number of single crochet stitches used along the first side.
When you reach the top edge, work 2 additional single crochet stitches in the same stitch that contains the first single crochet of the round. This gives the final corner 3 single crochet stitches total. Join to the first single crochet with a slip stitch.
Fasten off, leaving an 8-inch tail for weaving.
Use the same yarn and color when you want the ribs to remain the main feature. A contrasting border creates a sharper frame but also makes small differences in corner placement easier to see.
How to Change the Ribbed Blanket Size
The pattern needs an even number of finished stitches. Two stitches form the regular side edges, leaving an even number of interior stitches for the front-post and back-post pairs.
Add 3 chains to the desired finished stitch count when making the foundation chain.
| Blanket Size | Approximate Dimensions | Foundation Chain | Finished Stitches | Approximate Rows |
|---|---|---|---|---|
| Small lovey | 18 by 18 inches | 35 | 32 | 18 |
| Baby blanket | 30 by 36 inches | 55 | 52 | 36 |
| Stroller blanket | 30 by 40 inches | 55 | 52 | 40 |
| Receiving blanket | 36 by 36 inches | 67 | 64 | 36 |
| Small throw | 45 by 55 inches | 81 | 78 | 55 |
The chart is based on the stated gauge. Make the foundation chain and complete several rows before deciding whether the width is right for your yarn.
The larger versions require more yarn and considerably more than four hours. Purchase the full amount before beginning so you are less likely to encounter a dye-lot change halfway through the blanket.
Browse the free crochet baby blanket patterns for additional projects with different yarn weights, shapes and textures.
Finishing, Washing and Caring for the Blanket
Because both sides have a finished texture, choose the side you prefer as the back and keep the joins and woven yarn tails on that side. Thread each tail through a large-eye needle and weave it through several stitches, changing direction at least once before trimming the excess.
A post-stitch blanket has deep channels that can hide the tails neatly. Avoid leaving the end only inside a single raised column because it may work free as the fabric stretches.
Wash and dry the blanket according to the instructions on the yarn label. Two yarns in the same weight category can contain completely different fibers and require different care.
Wash the completed blanket before giving it as a gift. Reshape the ribs while the blanket is damp and allow it to dry completely before folding.
Inspect the blanket from time to time for pulled loops, damaged yarn or loose ends. Set it aside for repair when any part of the fabric has opened.
Infant Sleep Safety
Do not place a loose handmade blanket in an infant’s crib, bassinet or play yard. The U.S. Consumer Product Safety Commission recommends a firm, flat infant sleep surface with a fitted sheet and no added blankets, pillows or other soft items. Review the current CPSC safe sleep information before using or gifting baby bedding.
Use the blanket for supervised cuddling, floor time, stroller outings or nursery display away from the occupied crib.
The baby blanket guide includes more information about blanket types, practical uses and infant sleep considerations.
Frequently Asked Questions
Can a beginner make this ribbed crochet blanket?
Yes, although it is best suited to a beginner who already knows double crochet. Practice the front-post and back-post stitches on a small swatch before beginning the full blanket.
Why do my ribs look horizontal instead of vertical?
Make sure the hook is passing around the upright post of each stitch. Working through the top loops creates ordinary rows rather than raised vertical columns.
How do I know whether to use a front-post or back-post stitch?
Look at the fabric from the side facing you. Work a front-post double crochet around a post that stands forward. Work a back-post double crochet around a post that sits behind the raised columns.
Why is the blanket becoming narrower?
The first or last stitch may be missing. Keep a marker in both edge stitches and count 52 stitches every few rows. The chain-2 turning chain does not count as a stitch.
Why are the side edges uneven?
Keep the turning chain relaxed and place the first regular double crochet in the first actual stitch. The final regular double crochet belongs in the last stitch rather than in the turning chain.
Can I use size 6 super bulky yarn?
You can, but the blanket will be larger, heavier and require a different starting chain. Make a swatch and calculate the number of stitches needed for a 30-inch width before beginning.
Can the blanket be made with stripes?
Yes. Wide stripes allow the ribbed columns to remain visible and create fewer yarn ends. Change colors at the end of a row so each new shade begins at the side edge.
Is the blanket truly reversible?
Both sides have a finished ribbed texture, although they are not exact copies of each other. Choose the side you prefer when folding or photographing the blanket.
Does the pattern require a border?
No. The regular double crochet edge stitches give the blanket a clean outline. The optional border is useful when you want a framed finish or need to smooth the spacing along the row ends.
Is four hours a guaranteed completion time?
No. Four hours is an estimate for an experienced crocheter who matches the stated gauge. Learning the post stitches, using a smaller hook or taking frequent breaks will add time.
Can the blanket be left in a baby’s crib?
No loose blanket should be placed in an infant’s sleep space. Reserve the blanket for supervised use and follow current infant safe-sleep guidance.
Where can I find more baby crochet projects?
Visit the free baby crochet patterns page for blankets, loveys, nursery decorations and handmade gift ideas.
When you click on links to various merchants on this site and make a purchase, this may result in this site earning a commission. This does not affect the price you pay.

UBGI Gold Standard 2026
Reviewed under the site's
editorial checklist.
Photos, decorating ideas, party setups and reader submissions are shared for inspiration unless a page is specifically presented as a pattern, tutorial, reference guide or step-by-step project. Follow the instructions, measurements, safety guidance and manufacturer directions provided for the particular project or product.
About Jan | Contact | Baby Nursery Ideas (Blog) | Site Map | Privacy Policy | Disclosure Policy | Disclaimer | Affiliate Disclosure | Earnings Disclosure | Facebook | Pinterest
I am a participant in the Amazon Services LLC Associates Program, an affiliate advertising program designed to provide a means for us to earn fees by linking to Amazon. As an Amazon Associate I earn from qualifying purchases.
Copyright © 2006-2026. All Rights Reserved.