Free Crochet Frog Lovey Pattern (Long Leggy Baby Snuggler)
This free crochet frog lovey pattern has long floppy legs that drape and wiggle, making them easy for little hands to hold. It won’t stay perfectly posed, and that’s exactly why I like it.
This crochet frog lovey pattern is a step-by-step guide for making a soft baby snuggler with a frog head, lightly stuffed body, and long floppy legs designed for easy grip.
More soft baby loveys to make next:
Highland Cow Snuggler Lovey (the unexpected favorite) Elephant Lovey Pattern (the easy one that always works) Lamb Lovey Pattern (for a calmer nursery gift) Owl Baby Lovey Pattern (when you want more personality) Browse All Free Baby Patterns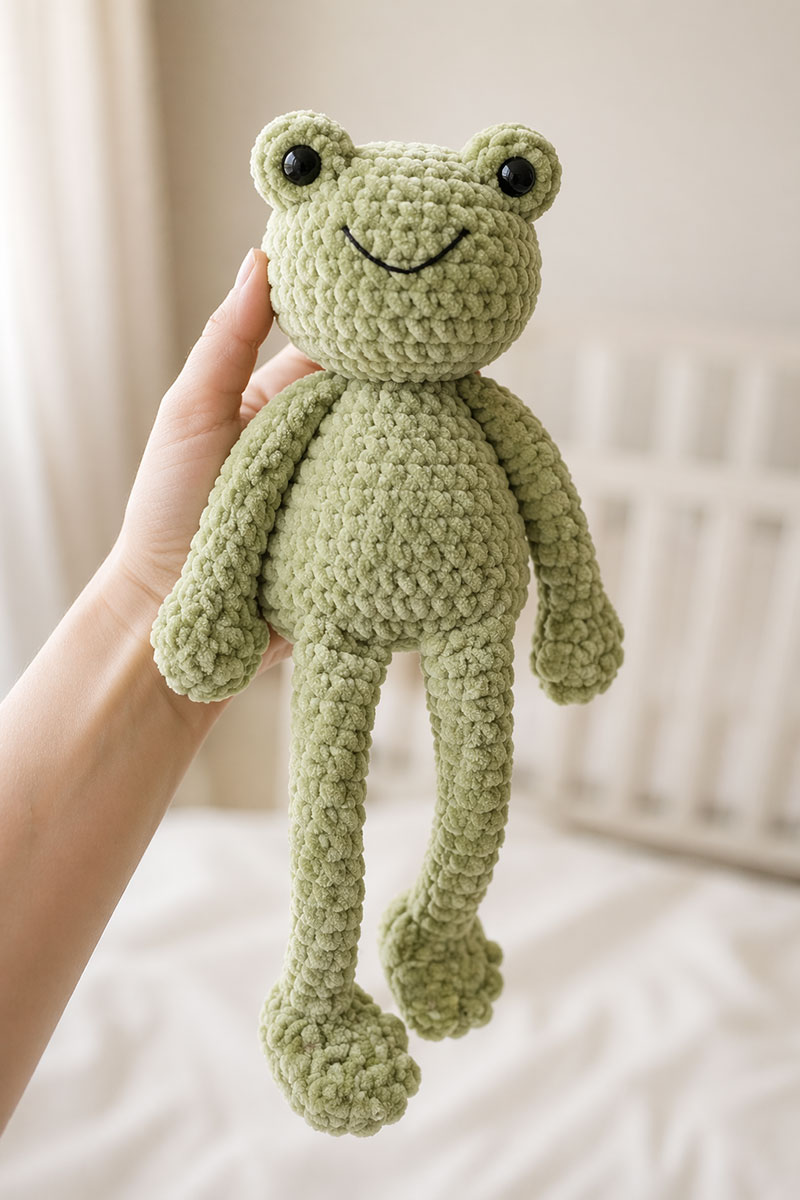
Jump to what you need:
Materials Abbreviations Frog Head Body Legs and Arms Assembly Beginner QuestionsCrochet Frog Lovey Pattern Step by Step (Beginner Friendly)
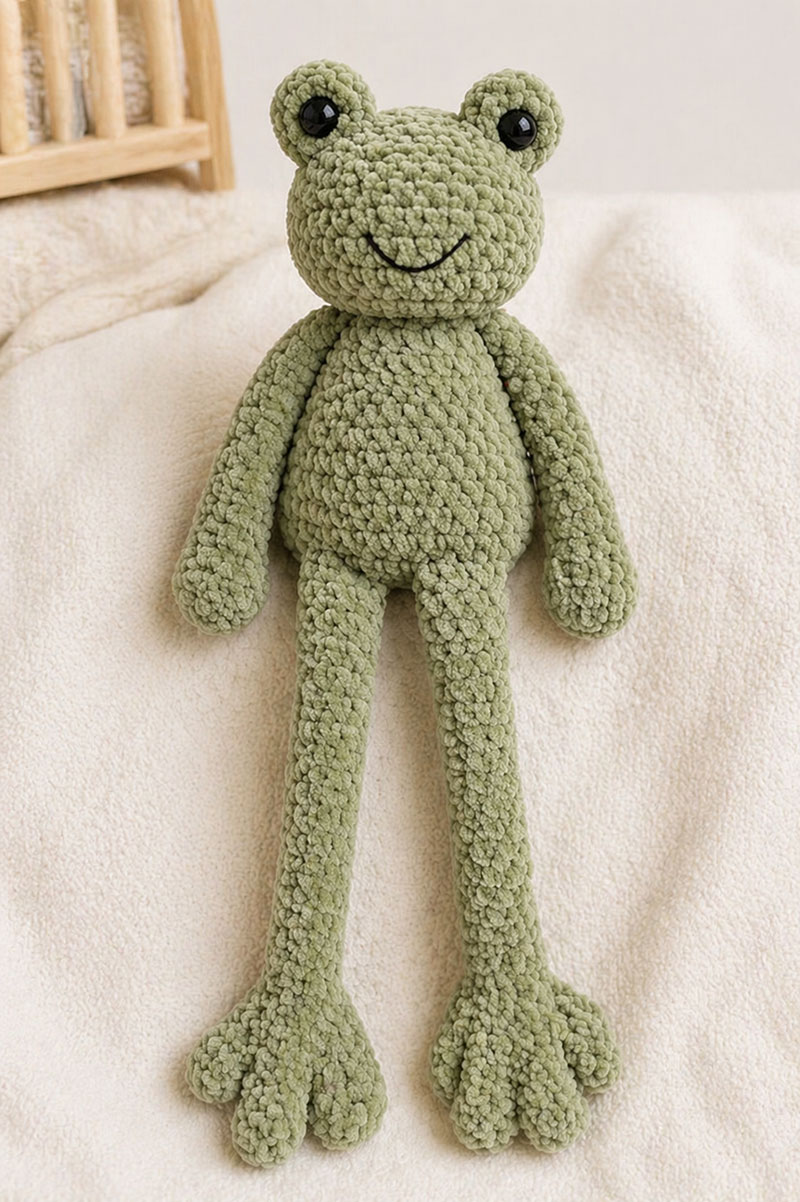
A crochet frog lovey is a small baby snuggler with a frog head, a lightly stuffed body, and long floppy legs that are easy for little hands to hold. This version follows the exact shape shown above, with a rounded head, soft flexible body, and long legs that hang naturally.
Everything is written so you can follow it line by line without guessing. If something looks off, stop and count your stitches before moving forward.
Materials for This Crochet Frog Lovey
- Sage green chenille yarn, size 6 bulky, about 120 to 150 yards
- 6.0 mm crochet hook
- Yarn needle
- Polyester fiberfill for the head and body
- Black yarn for embroidered eyes and mouth
- Stitch marker
- Scissors
For a baby lovey, embroidered eyes are the safer choice because they avoid small plastic parts that could loosen with use.
The U.S. Consumer Product Safety Commission safe sleep guidance explains that loose items should not be placed in a crib with a sleeping baby.
This frog lovey is not for sleep use.
Abbreviations and Basic Terms
- sc = single crochet
- inc = increase (2 single crochet in the same stitch)
- dec = decrease (single crochet 2 stitches together)
- st = stitch
- sl st = slip stitch
- ch = chain
- hdc = half double crochet
If you do not know how to make a magic ring, you can chain 2 and work into the first chain.
Gauge and Tension
Your stitches should feel firm but not tight. When you look at the fabric, you should not see large holes. If stuffing shows through, go down one hook size.
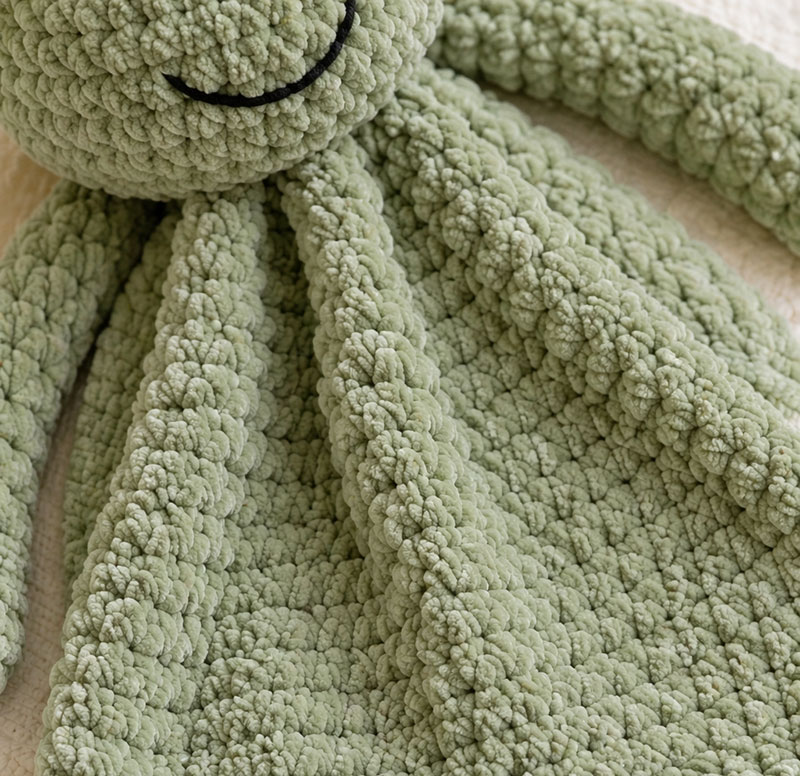
Chenille yarn softens slightly after handling, so a slightly firm start usually settles into the right shape.
Chenille yarn can hide missed stitches, especially in darker shades. If your stitch count is off by even one or two, the shape can slowly twist instead of staying centered.
Frog Head Step by Step
Use a stitch marker and work in continuous rounds. Do not join unless told.
Round 1: Magic ring, 6 sc. You should have 6 stitches.
Round 2: inc in each stitch around. 12 stitches total.
Round 3: sc in next st, inc in next. Repeat around. 18 stitches total.
Round 4: sc in next 2 st, inc in next. Repeat around. 24 stitches total.
Round 5: sc in next 3 st, inc in next. Repeat around. 30 stitches total.
Rounds 6 to 10: sc in each st around. 30 stitches each round.
Place eyes between rounds 7 and 8, about 7 stitches apart. If using yarn, stitch small oval eyes later.
Round 11: sc in next 3 st, dec in next. Repeat around. 24 stitches.
Round 12: sc in next 2 st, dec in next. Repeat around. 18 stitches.
Stuff the head now. Fill until round but still soft when pressed.
Round 13: sc in next st, dec in next. Repeat around. 12 stitches.
Round 14: dec around. 6 stitches.
Cut yarn, pull closed, and leave a long tail for sewing.
Body Step by Step (Lightly Stuffed)
This body is slightly stuffed so the frog feels soft but still flexible. It should not be firm like a toy.
Round 1: Magic ring, 6 sc (6)
Round 2: inc around (12)
Round 3: sc, inc (18)
Round 4: 2 sc, inc (24)
Rounds 5–8: sc around (24)
Stuff lightly.
Round 9: 2 sc, dec (18)
Round 10: sc, dec (12)
Finish and leave tail for sewing.
Legs and Arms Step by Step
The longer legs are what make this lovey work. They hang instead of sticking out.
Each leg should be about half the total body length. If they look too short, add a few more rounds before finishing.
Make 2 legs.
Round 1: Magic ring, 6 sc. 6 stitches.
Rounds 2 to 18: sc in each stitch around. 6 stitches each round.
Do not stuff. Flatten the top and stitch closed.
Optional toes: attach yarn at the bottom, ch 4, sl st back down the chain, repeat 3 times.
When attached correctly, the legs should fall straight down when the frog is held upright.
Make 2 arms the same way but stop at round 13.
Assembly Without Guesswork
Lay the body flat in front of you.
Place the head at the top center edge. Sew around the base of the head using small stitches.
Attach arms on each side just below the head. Each arm should sit about 3 to 4 stitches away from the center seam.
Attach legs at the lower edge of the body, spaced evenly apart. A simple guide is to leave about 6 to 8 stitches between them.
Before tying off, hold the frog up by the head. The legs should hang straight down. If they angle outward, move them slightly inward and recheck.
Weave in all ends securely. Chenille yarn can loosen, so pass the yarn through several stitches before trimming.
Finishing Details
Add a small curved mouth using black yarn. Keep it centered and short so the face stays simple.
Shape the head gently with your hands. Smooth the body flat. Let the legs hang naturally.
The finished frog should feel flexible, not stiff.
Beginner Questions Answered
What if my frog looks too stiff?
Remove some stuffing from the head or loosen your tension slightly.
What if my stitches look uneven?
Chenille yarn can hide stitches. Focus on counting instead of appearance.
Can I make the legs shorter?
Yes, but longer legs are what make this lovey easier to hold.
Is this safe for a baby?
Use embroidered eyes and avoid loose parts. Do not place in a crib during sleep.
When you click on links to various merchants on this site and make a purchase, this may result in this site earning a commission. This does not affect the price you pay.
UBGI Gold Standard 2026
Verified for performance, SEO,
and accessibility compliance.
Photos, decorating ideas, party setups, and reader submissions are shared for inspiration only and are not intended as step-by-step decorating, construction, or DIY instructions.
About Jan | Contact | Baby Room Ideas (Blog) | Site Map | Privacy Policy | Disclaimer | Affiliate Disclosure | Earnings Disclosure
I am a participant in the Amazon Services LLC Associates Program, an affiliate advertising program designed to provide a means for us to earn fees by linking to Amazon.
Copyright © 2006-2026. All Rights Reserved.