Crib Mattress Height Adjustment: Mattress Height Levels Explained
Crib mattress height adjustment is a manufacturer-defined system of documented attachment positions that determine where a mattress support platform sits within a crib frame. In product manuals, engineering drawings, and parts catalogs, these positions are identified as fixed height levels or settings, each corresponding to a specific set of mounting holes, brackets, or attachment points designed into the crib structure at the factory.
This crib mattress height adjustment reference connects into the broader crib usage stages, standards, and selection context, which is organized on the baby cribs overview.
Crib Mattress Height Adjustment Guide
Manufacturers treat mattress height adjustment as a structural specification rather than a behavioral feature. Within manufacturer documentation, crib mattress height adjustment is defined by frame geometry, bracket placement, and attachment-point spacing. The height levels exist as part of the crib’s original design geometry and are established during production through drilling patterns, bracket placement, and hardware selection. Each level represents a discrete, predefined position intended to maintain structural integrity, load distribution, and alignment within the crib frame.
Crib Mattress Height Adjustment in Manufacturer Manuals
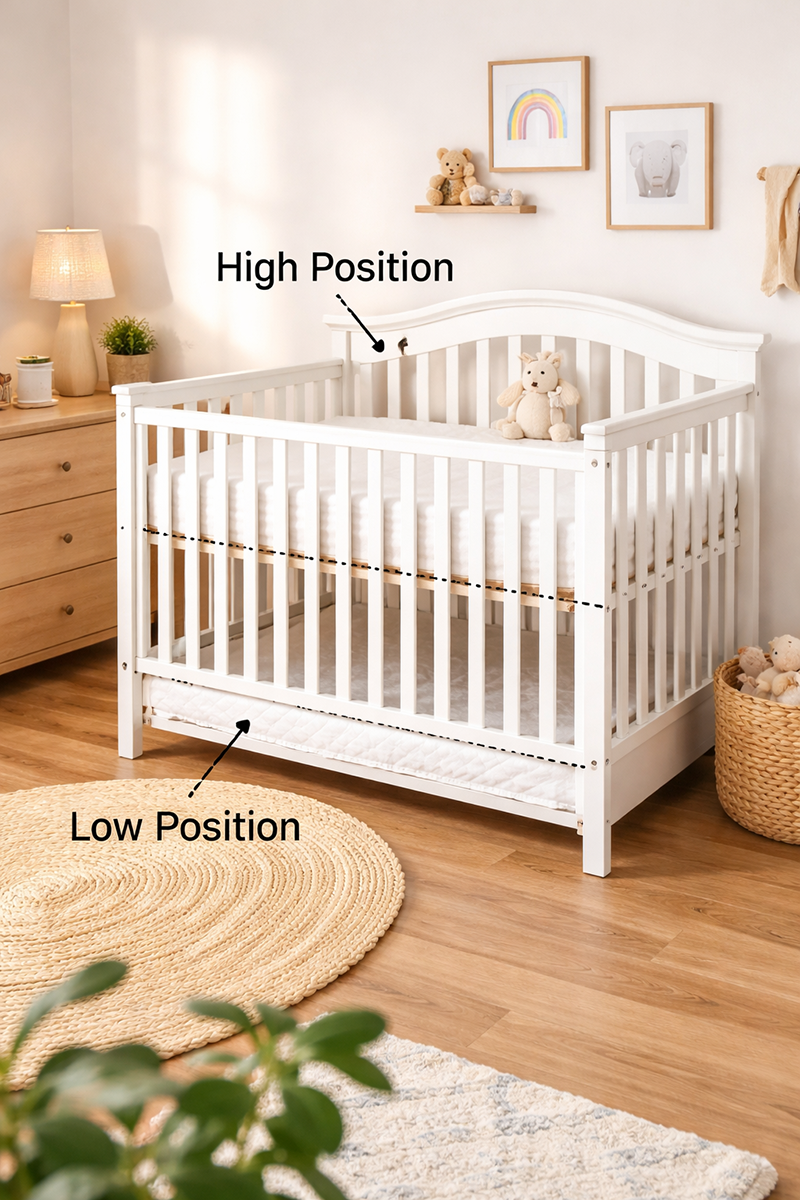
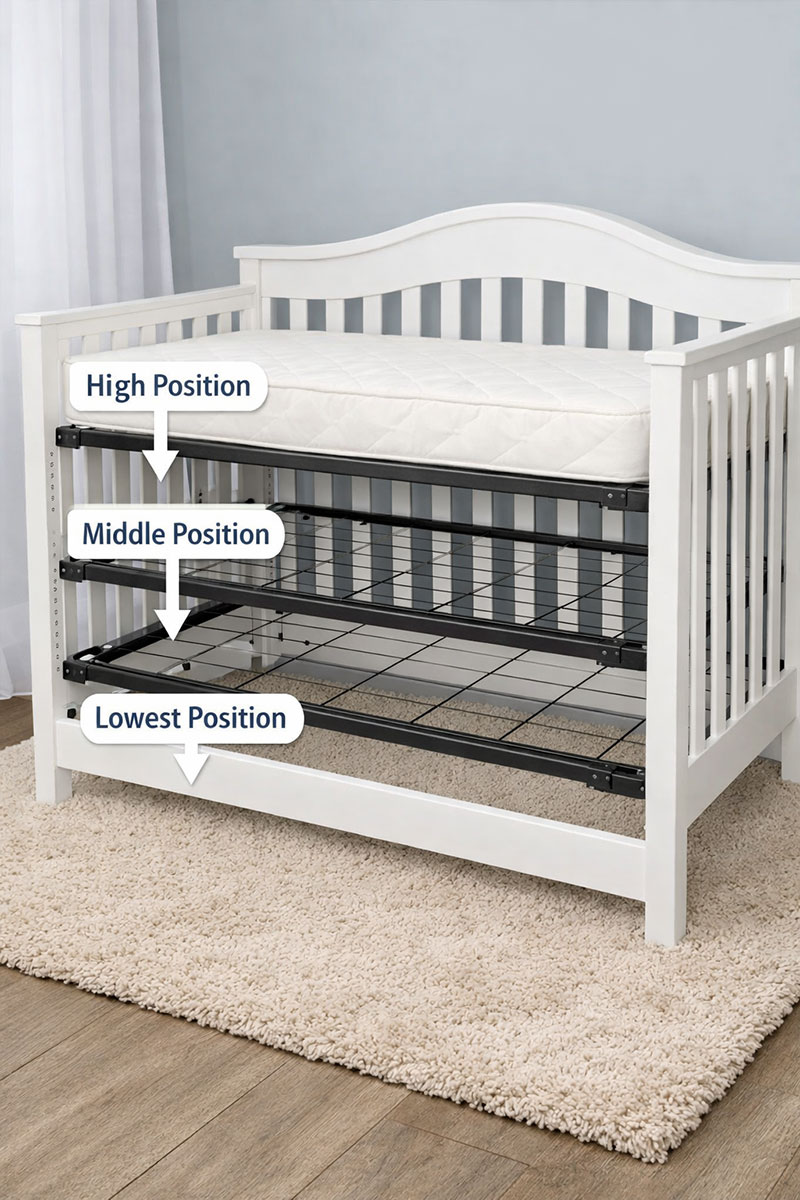
Crib manuals typically present mattress height information using diagrams rather than narrative explanation. These diagrams show the mattress support platform aligned with specific rows of holes or bracket positions along the interior faces of the crib sides. Each row corresponds to a distinct height level and may be labeled with terms such as “Position A,” “Position B,” “Level 1 / Level 2,” or similar conventions used by that brand.
In many manuals, the mattress support assembly appears in exploded diagrams alongside fasteners, brackets, and frame components. The documentation emphasizes component identification and diagram reference rather than describing real-world usage. Height levels are shown as fixed engineering options within the crib’s design envelope, not as standardized features shared across manufacturers.
Some manufacturers include dimensional references in diagrams that indicate vertical spacing between the support platform and crib rails at each level. These measurements function as descriptive specifications for the model’s geometry and are not interchangeable between crib designs.
Common terminology used for “height levels”
Mattress height terminology varies across manufacturers and production periods. Documentation may describe the same concept using terms such as “levels,” “settings,” “mounting points,” “hole sets,” or “bracket locations.” Parts catalogs often reference the physical components involved, such as brackets or inserts, rather than labeling mattress height as a separate feature.
Within documentation, a “height level” refers to the relationship between pre-established attachment points in the crib frame and the corner hardware of the mattress support platform. The level exists because multiple attachment locations were engineered into the frame during manufacturing, not because the support platform contains an independent adjustment mechanism.
Mattress support platform designs
The most common mattress support platform documented in crib manufacturing is the metal spring frame. This assembly consists of a welded perimeter with a spring or grid network and attachment points at each corner. These attachment points align with internal mounting locations to establish the documented height level.
Other documented platform designs include rigid metal grid decks, composite platforms, and reinforced board-style supports. Across designs, the platform is treated as a structural component whose position is defined by the crib frame’s attachment system.
In parts tables, the mattress support platform is often listed under a single part number, while the fasteners and brackets appear as separate line items. In this format, height positioning is reflected through diagram callouts rather than descriptive text.
Attachment points and fastener documentation
Height levels are established through attachment points placed at symmetrical interior locations within the crib frame. Documentation may reference these points using terms such as threaded inserts, welded nuts, corner brackets, hook-and-hanger assemblies, or bolt-and-barrel systems, depending on construction.
Fasteners are identified by type, dimensions, and threading. Wood-frame cribs commonly use bolts that interface with metal inserts embedded in the frame. Metal-frame cribs may use welded nuts or integrated brackets. These specifications appear in parts tables alongside diagram references that indicate placement at each documented level.
Some documentation differentiates left/right or front/back brackets when hardware orientation is not mirrored. These distinctions appear in exploded views and parts listings to reflect alignment within the frame.
Crib mattress support frame reference
Numbering and labeling conventions
No universal standard exists for labeling mattress height levels. Manuals may use numbers, letters, or unlabeled visual references. Labeling conventions reflect internal documentation practices rather than external standards.
In convertible crib systems, a single support platform may appear across multiple models. Documentation in these cases may rely on shared diagram sets and part numbers rather than model-specific naming, which can give older PDFs a generalized appearance despite being tied to specific frame configurations.
Relationship between height levels and mattress specifications
Manufacturer documentation typically separates mattress height positioning from mattress construction details. Crib manuals list allowable mattress dimensions, while mattress manufacturers provide thickness and firmness specifications independently. Mattress construction characteristics that influence this final surface elevation are outlined in the crib mattress thickness and firmness reference.
For the complete hub that ties crib mattress fit, sizing, firmness, and materials together, see the crib mattress safety guide.
Parents comparing support systems and mattress setup details across crib models can also use my best crib mattress guide to review fit, firmness, and material differences in one place.
Crib mattress thickness and firmness
Variations across crib categories
Full-size cribs, mini cribs, and compact cribs document mattress height levels using similar diagram-based approaches. The number of available levels and spacing between them varies by frame height, design, and intended category.
Mini cribs and specialty cribs often include fewer documented levels due to reduced frame dimensions. Manuals for these models present height positions as model-specific features without equivalence to full-size crib configurations.
Mini crib mattress sizing reference
Use of height levels in product imagery
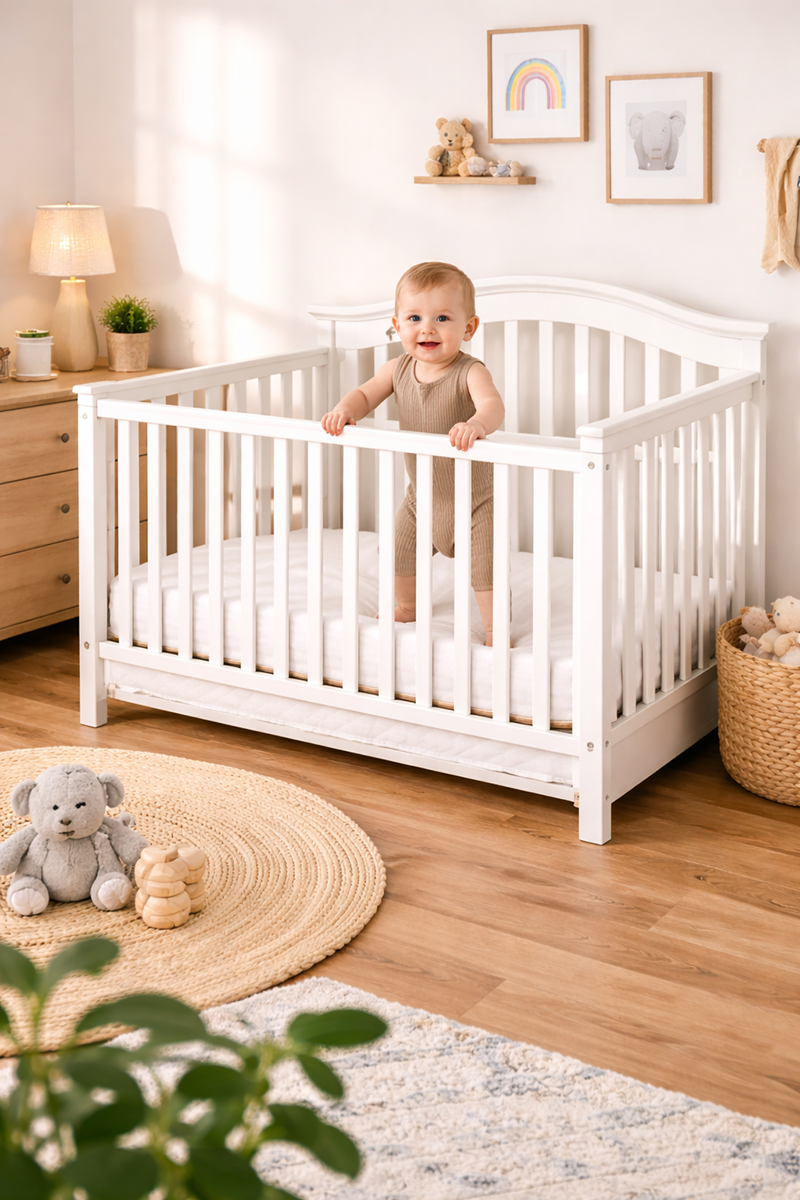
Product photography frequently depicts cribs with the mattress platform positioned at one documented level. These images function as visual representations of the design rather than technical documentation. When similar images appear in manuals, they supplement diagram sets rather than replace them.
Placement of height adjustment within parts catalogs
In manufacturer parts catalogs, mattress height adjustment is embedded within listings for support platforms, brackets, and fasteners rather than appearing as a standalone feature. Component listings reference diagram callouts that correspond to attachment locations within the frame.
This organization reflects how manufacturers manage replacement components. Catalogs are structured to identify compatible parts for specific models rather than to describe functional differences between height positions.
Where official safety guidance fits
Crib documentation addresses model-specific geometry and component identification. Public safety guidance is published separately by government agencies. In the United States, the Consumer Product Safety Commission serves as a primary source for general crib safety information.
U.S. CPSC crib safety guidance
Relationship to broader crib component documentation
Crib mattress height adjustment documentation intersects with other crib components such as rails, posts, and support brackets. Technical documentation treats these elements as a connected system, with height positions representing one aspect of their spatial relationship.
When organized by brand and model, mattress support platforms and attachment hardware are among the most model-specific crib components. This specificity places mattress height documentation within brand- and model-based parts references rather than universal feature descriptions.
When you click on links to various merchants on this site and make a purchase, this may result in this site earning a commission. This does not affect the price you pay.
UBGI Gold Standard 2026
Verified for performance, SEO,
and accessibility compliance.
Photos, decorating ideas, party setups, and reader submissions are shared for inspiration only and are not intended as step-by-step decorating, construction, or DIY instructions.
About Jan | Contact | Baby Room Ideas (Blog) | Site Map | Privacy Policy | Disclaimer | Affiliate Disclosure | Earnings Disclosure | Facebook | Pinterest
I am a participant in the Amazon Services LLC Associates Program, an affiliate advertising program designed to provide a means for us to earn fees by linking to Amazon.
Copyright © 2006-2026. All Rights Reserved.