Baby Crib Sheets: Fit, Fabric, and Sizing Explained
Baby crib sheets are among the most frequently used items in a nursery. They are placed directly on the mattress, laundered often, and exposed to repeated stretching during daily use. Fit, fabric composition, and construction quality influence how crib sheets behave over time, particularly after repeated washing and drying cycles. Visual appearance, color, and pattern are often secondary considerations compared with dimensional accuracy, elastic performance, and material durability.
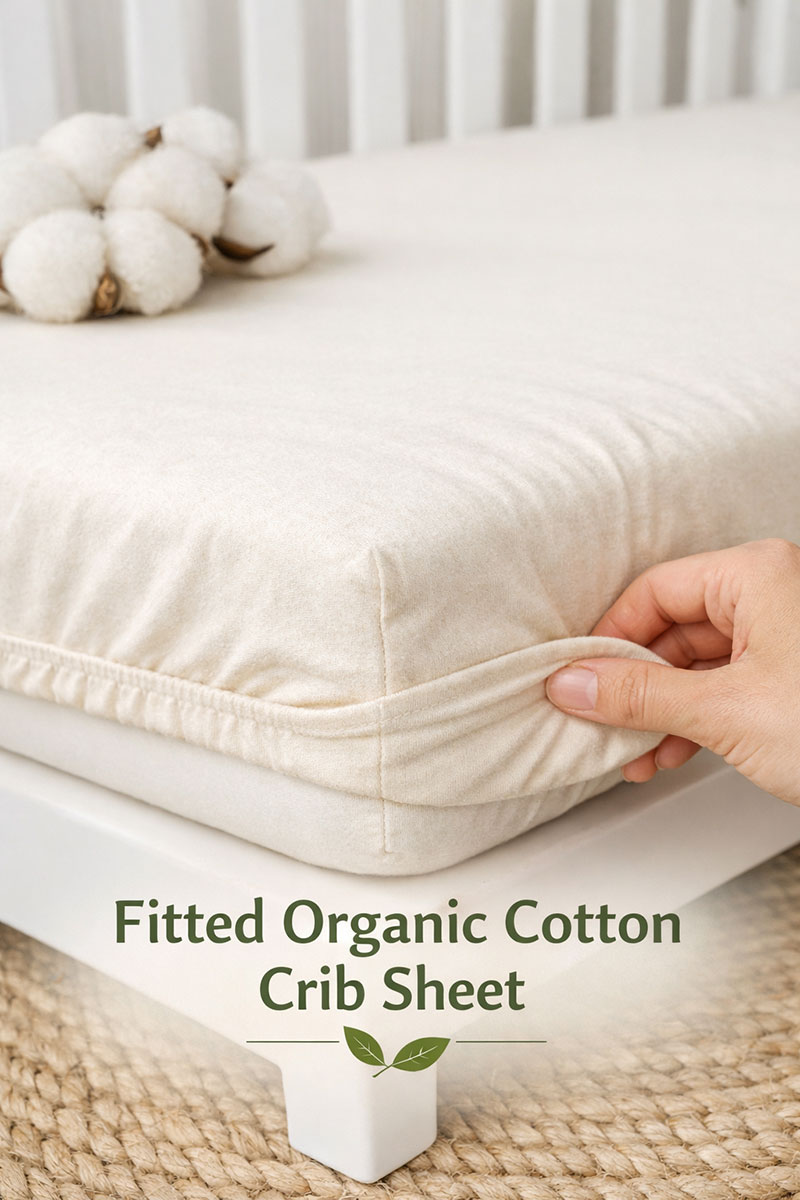
See my organic cotton crib sheet picks here
Baby crib sheets: fit, fabric, and quantity considerations
Crib sheet selection is often shaped by three recurring factors: mattress compatibility, material characteristics, and the number of sheets kept in rotation. Fitted crib sheets interact directly with mattress dimensions and surface firmness, which affects how the sheet sits once installed. Fabric selection influences texture, breathability, and long-term appearance after laundering. Quantity considerations are typically linked to laundry frequency and household routines rather than aesthetic preference.
Crib mattresses are produced in several formats, including standard crib, mini crib, and specialty shapes such as oval or round designs. Each mattress type corresponds to a specific sheet size. Variations in mattress thickness also affect how fitted sheets behave once in place, particularly when elastic depth is limited.
Fit characteristics
Sheet fit is determined by mattress length, width, and depth. A fitted crib sheet is designed to sit flat across the mattress surface while remaining secured underneath by elastic edging. Sheets that exceed mattress dimensions may appear loose across the center, while undersized sheets may strain at the corners. Elastic placement and tension play a significant role in how consistently the sheet maintains its shape during use.
Mattress depth is a common variable that influences fit outcomes. Thicker mattresses or those paired with breathable layers may interact differently with shallow-pocket sheets. Reference information on crib mattress thickness and firmness provides dimensional context relevant to fitted sheet performance.
Mattress type distinctions
Standard crib mattresses follow regulated dimensional ranges, while mini crib and portable crib mattresses are smaller and vary more widely by manufacturer. Specialty crib designs, including oval or round frames, require shape-specific sheets. Sheets labeled as “universal” may not align precisely with non-standard mattress profiles, which can affect surface appearance and elastic engagement.
Mini crib configurations are particularly sensitive to sizing differences. Reference material on mini crib mattress sizing, fit, and thickness outlines the dimensional distinctions that influence sheet compatibility.
Crib style identification can also influence bedding compatibility. An overview of crib formats is available in the baby crib styles and types overview.
For broader bedding coordination beyond fitted sheets, baby bedding reference material provides consolidated context on mattress-related textiles.
For a structured nursery textile that complements well-fitted crib sheets without adding bulk, my modern rainbow crib quilt pattern illustrates how color-blocked quilts integrate with mattress-scale bedding.
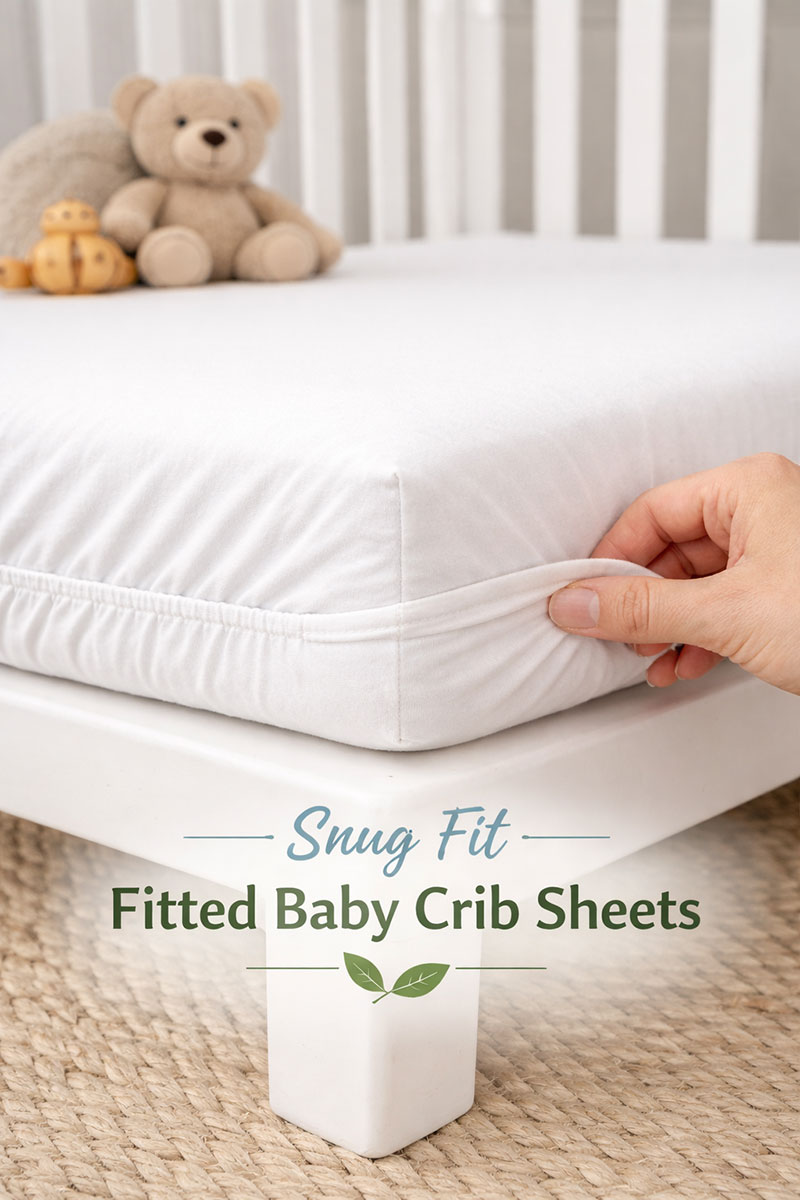
Snug fit characteristics in fitted crib sheets
A fitted crib sheet with a snug profile rests smoothly across the mattress surface and remains positioned beneath the mattress edges. Elastic that extends around the full perimeter generally distributes tension more evenly than corner-only elastic. This construction characteristic affects how the sheet responds to compression and repeated handling.
Sheet descriptions may reference elastic placement, pocket depth, or mattress thickness ranges. These attributes describe how the sheet is designed to interface with the mattress rather than aesthetic or decorative qualities.
General sleep environment reference information is published by the American Academy of Pediatrics at HealthyChildren.org.
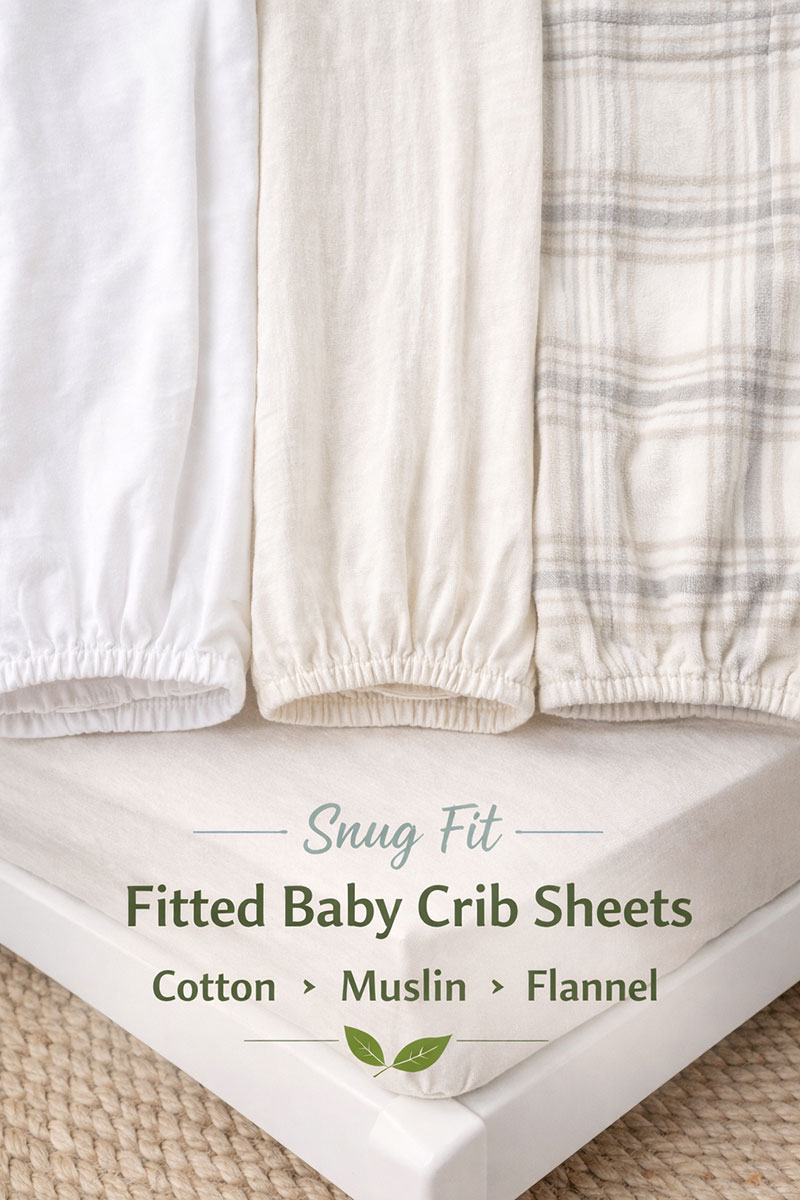
Fabric combinations commonly observed
Many households maintain more than one sheet fabric type within a single bedding rotation. Lightweight woven cottons are frequently used for year-round conditions, while brushed or flannel fabrics appear more often during cooler seasons. Fabric selection patterns often reflect household climate and laundering habits.
Common crib sheet fabrics
Crib sheets are produced using a range of textile constructions, each with distinct texture, weight, and laundering characteristics. Fabric behavior over time varies by weave, fiber type, and finishing processes.
Cotton percale
Cotton percale is a plain-weave fabric known for a crisp surface and breathable structure. It typically maintains shape well through repeated washing and is commonly used for fitted crib sheets intended for frequent rotation.
Jersey knit
Jersey knit crib sheets are constructed using a stretch knit structure that produces a soft, flexible surface. Elasticity in the fabric itself contributes to ease of installation, though long-term dimensional stability may vary depending on fiber quality and knit density.
Muslin
Muslin crib sheets use a loose, breathable weave that produces a lightweight feel. The fabric surface may present slight texture initially and often softens with laundering. Muslin is frequently associated with warm-weather environments.
Flannel
Flannel crib sheets are produced from brushed cotton fibers that create a thicker, warmer surface. Fabric quality influences resistance to pilling and long-term appearance. Laundering temperature and drying methods affect texture retention.
Organic cotton
Organic cotton crib sheets are manufactured using cotton grown under specific agricultural standards. Material designation does not inherently define construction quality, elastic strength, or pocket depth, which remain independent manufacturing variables.
Fitted crib sheet sets with full elastic examples
Crib sheet quantity considerations
The number of crib sheets maintained in rotation varies by household laundry routines, access to washing facilities, and frequency of sheet changes. Some households maintain a minimal rotation, while others prefer additional sets to accommodate extended intervals between laundry cycles.
Common household ranges include two to six fitted sheets per crib mattress. Quantity preferences often reflect convenience considerations rather than functional performance differences among sheets.
Rotation patterns
Typical rotation patterns include one sheet in use, one in laundering, and one clean replacement. Expanded rotations may include additional sets stored for convenience during higher-use periods.
Fit inconsistencies and sheet behavior
Sheet behavior over time is influenced by elastic quality, fabric shrinkage, and dimensional alignment with the mattress. Certain fit patterns are frequently observed when sheet dimensions and mattress profiles differ.
Corner displacement
Corner displacement may occur when pocket depth is insufficient or elastic tension is unevenly distributed. This behavior is associated with dimensional mismatch rather than surface fabric alone.
Surface looseness
Loose fabric across the mattress surface is often linked to oversized sheet dimensions or universal sizing applied to non-standard mattresses. Visual looseness does not indicate fabric defect but reflects sizing variance.
Laundering effects
Fabric shrinkage and texture changes may occur after repeated washing and drying cycles. Temperature, detergent composition, and drying methods influence long-term fabric behavior.
Crib sheets and sleep surface simplicity
Crib sheets function as the primary textile layer placed directly on the mattress. Surface appearance and tension are shaped by mattress firmness and sheet construction. Reference information related to nursery safety equipment is available at https://www.unique-baby-gear-ideas.com/baby-safety-gear.html.
Because sheets sit directly on the sleep surface, questions about routine cleanup and mattress care often come up, which are addressed on the crib mattress cleaning information page.
Care characteristics
Over time, crib sheets may exhibit fading, softening, or minor dimensional changes. Fabric type, weave density, and laundering practices contribute to visual longevity. Certain fabrics respond differently to high-heat drying and detergent additives.
Common crib sheet selection scenarios
General-use configurations
Many households maintain neutral-colored cotton baby crib sheets intended for frequent laundering and visual consistency. Pattern selection often follows after dimensional and fabric considerations.
Seasonal environments
In cooler environments, thicker fabrics such as flannel may appear more frequently in baby crib sheet rotations. Seasonal variation influences fabric choice rather than mattress compatibility.
Specialty mattress shapes
Mini crib and specialty-shape mattresses require sheets manufactured to corresponding dimensions. Sheet performance in these configurations is closely tied to measurement accuracy.
Summary
Baby crib sheets interact directly with mattress dimensions, fabric behavior, and household laundering routines. Fit accuracy, elastic construction, and material characteristics influence long-term performance more than decorative elements. Sheet quantity preferences vary by household logistics, while fabric choice reflects climate and texture considerations.
CRIB SHEETS REQUESTS
Do you need a fitted crib sheet in a size that you can't find? Would you like to recommend a particular brand that impressed? Post your questions and comments here!


When you click on links to various merchants on this site and make a purchase, this can result in this site earning a commission. Affiliate programs and affiliations include, but are not limited to, Amazon and the eBay Partner Network such as the ones to your left on this page. Please see our Affiliate Disclosure page for more information.
More UBGI: RSS Feed | Facebook
About Jan | Contact | Baby Room Ideas (Blog) | Site Map | Privacy Policy | Disclaimer | Affiliate Disclosure | Earnings Disclosure
I am a participant in the Amazon Services LLC Associates Program, an affiliate advertising program designed to provide a means for us to earn fees by linking to Amazon.
Copyright © 2006-2026. All Rights Reserved.