Graco Crib Assembly Instructions
Graco crib assembly instructions are often searched when parents need to confirm the presence of manufacturer documentation associated with a specific crib model or when original paperwork is no longer available. This page provides reference-based context describing how Graco organizes its crib manuals, what identifying information is typically used within documentation, and how parts and components are described across official manufacturer materials.
Purpose of This Graco Crib Assembly Instructions Reference
Graco has produced a wide range of crib models over many years, often with similar visual designs but each has distinct manuals, hardware sets, and labeling conventions. This page exists to describe how Graco crib assembly instructions are typically structured and how model-specific documentation is identified, so visitors can compare available materials against official manufacturer records.
Rather than duplicating or replacing manufacturer-issued manuals, this page provides orientation-level reference context. It describes how Graco crib assembly instructions are commonly organized, how crib components are labeled within documentation, and how manuals correspond to individual crib models as issued by the manufacturer.
How Graco Crib Assembly Instructions Are Organized
Most Graco crib assembly instructions follow a standardized documentation format. This commonly includes a cover page identifying the crib model, interior pages containing labeled diagrams, a hardware inventory section, and model-specific notes related to configuration or compatibility. While many manuals appear similar at a glance, documented differences in measurements, fasteners, and frame connections exist across production periods.
Because of these variations, visual similarity alone does not establish that one manual corresponds to another crib. Graco crib assembly instructions are associated with the exact model name or number shown on the crib’s original identification label.
Model Identification Within Graco Crib Assembly Instructions
Graco crib assembly instructions typically reference the crib model using a name, number, or combination of both. This identifier is used by the manufacturer to associate instructions, replacement parts, and safety notices with a specific product. When manuals are archived online, they are generally indexed using this same model information.
Understanding how model identifiers appear within Graco crib assembly instructions allows for comparison between documentation listings and crib identification labels when reviewing manufacturer-issued materials.
Common Components Referenced in Graco Crib Assembly Instructions
Across Graco crib assembly instructions, structural components are described using consistent terminology rather than decorative or marketing names. These references commonly include side rails, end panels, mattress support frames, and model-specific hardware sets. Manuals typically pair these terms with numbered diagrams to illustrate component relationships within the crib frame.
This documentation approach reflects how the manufacturer presents design structure across different crib models. Component categories remain consistent even as visual styles change, allowing manuals to reference parts using standardized descriptions.
Mattress Support References in Graco Crib Assembly Instructions
Many Graco crib assembly instructions include a dedicated section describing the mattress support system as it relates to the crib frame. These sections generally rely on diagrams that show relative placement, orientation, and available height positions as defined in the documentation.
Because mattress support designs vary by model, these references appear only within the context of the corresponding Graco crib assembly instructions. Diagrams illustrate how the support frame is positioned within the documented crib structure for that specific model.
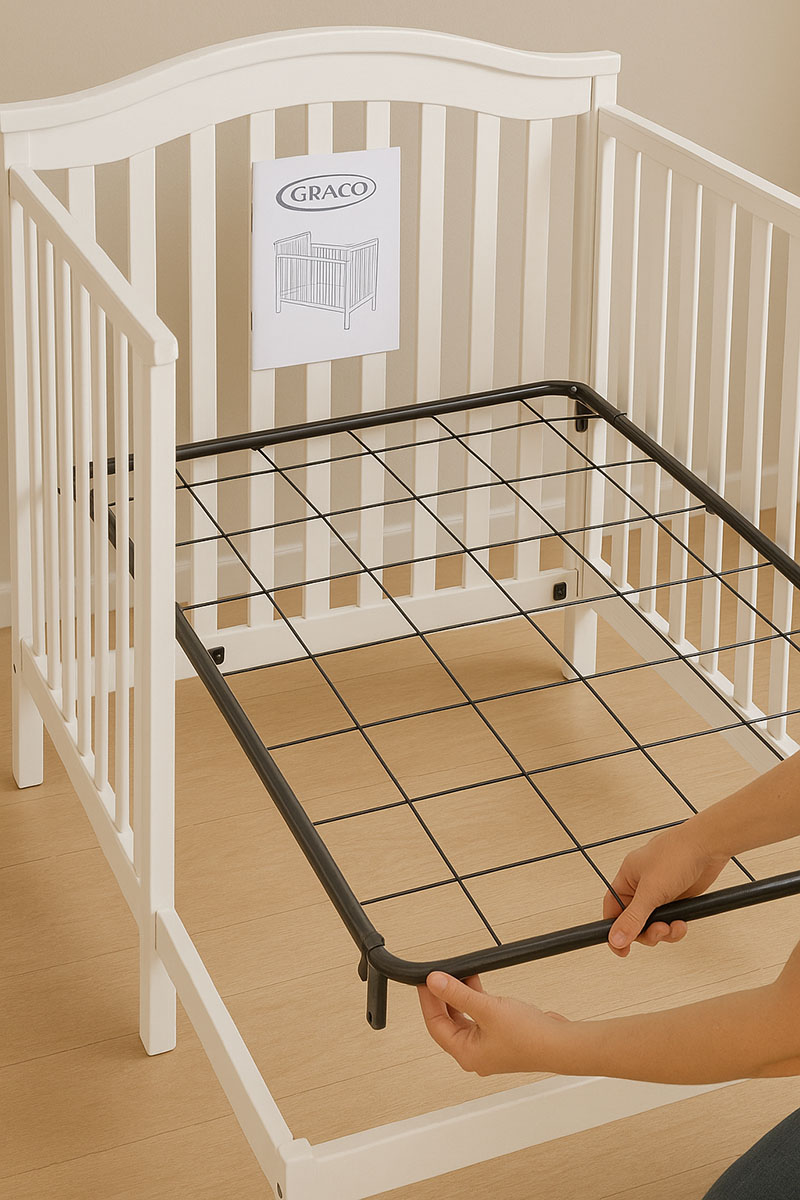
Image shown for visual reference only to illustrate common documentation layouts.
When Graco Crib Assembly Instructions Are Missing
A frequent reason Graco crib assembly instructions are searched is the absence of the original manual. Manuals may be misplaced over time, separated from secondhand furniture, or unavailable when cribs are transferred between households.
In many instances, missing Graco crib assembly instructions are located by confirming crib model information and matching it to manufacturer archives or official support listings. Manufacturer documentation is typically indexed according to the model identifiers printed on crib labels.
For general background on how crib products are documented and regulated in the United States, the U.S. Consumer Product Safety Commission maintains public reference material related to crib standards and manufacturer-issued documentation: Crib product standards information from the U.S. Consumer Product Safety Commission .
For additional background related to crib model identification and documentation references, the Crib Parts Hub and the Graco Crib Parts reference pages present related material describing how model-specific information is commonly organized.
Manufacturer Support for Graco Crib Assembly Instructions
Graco is the issuing source for crib manuals, compatibility documentation, and product-specific updates. Manufacturer-issued Graco crib assembly instructions represent the official documentation associated with individual crib models.
For general editorial coverage related to nursery products and consumer topics, established parenting publications such as Parents.com publish background articles on crib standards and industry practices. These materials are informational in nature and separate from manufacturer-issued documentation.
Accuracy and Model-Specific Documentation
Graco crib assembly instructions reflect the configuration of a specific product at the time of manufacture. Variations in hardware, dimensions, or frame design are documented within model-specific manuals.
Documentation lookup involves matching available materials to the correct crib model rather than substituting documentation across similar-looking products. Graco crib assembly instructions are structured to correspond to individual model identifiers.
Related Reference Pages
The section below contains visitor-submitted questions, comments, and images. These submissions reflect individual experiences and observations and are published for reference and discussion purposes only. They are not reviewed for accuracy, are not manufacturer guidance, and do not replace official instructions, safety standards, or professional advice.
Have a Graco Crib Model ID or Missing Hardware Question?
Visitor Questions & Shared Reference Resources
This area is reserved for sharing questions, observations, or reference materials related to Graco crib models, missing parts, or publicly available manufacturer documentation.
Editorial Safety Note
Some older cribs were manufactured with sliding or drop-side rails that no longer meet current U.S. safety standards.
Cribs that include any movable or sliding side are not considered safe for use.
This page exists solely to support crib model identification and to collect references to official, manufacturer-issued information.
It does not exist to enable the assembly, modification, repair, or continued use of recalled or unsafe crib designs.
Submission Guidelines
Submissions may reference:
- Missing crib parts or hardware by description
- Crib model identification details or label information
- Links to official manufacturer manuals or archived documentation
Submissions must not include procedural instructions, repair guidance, or content intended to replace manufacturer-issued manuals.
Comments / Replies / Resources
Comments and visitor submissions reflect individual experiences or shared reference materials.
They are not professional advice, manufacturer guidance, or safety certification, and do not necessarily reflect the views of Unique Baby Gear Ideas.
When you click on links to various merchants on this site and make a purchase, this may result in this site earning a commission. This does not affect the price you pay.
UBGI Gold Standard 2026
Verified for performance, SEO,
and accessibility compliance.
Photos, decorating ideas, party setups, and reader submissions are shared for inspiration only and are not intended as step-by-step decorating, construction, or DIY instructions.
About Jan | Contact | Baby Room Ideas (Blog) | Site Map | Privacy Policy | Disclosure Policy | Disclaimer | Affiliate Disclosure | Earnings Disclosure | Facebook | Pinterest
I am a participant in the Amazon Services LLC Associates Program, an affiliate advertising program designed to provide a means for us to earn fees by linking to Amazon.
Copyright © 2006-2026. All Rights Reserved.