Jingle Bells Christmas Crochet Baby Booties
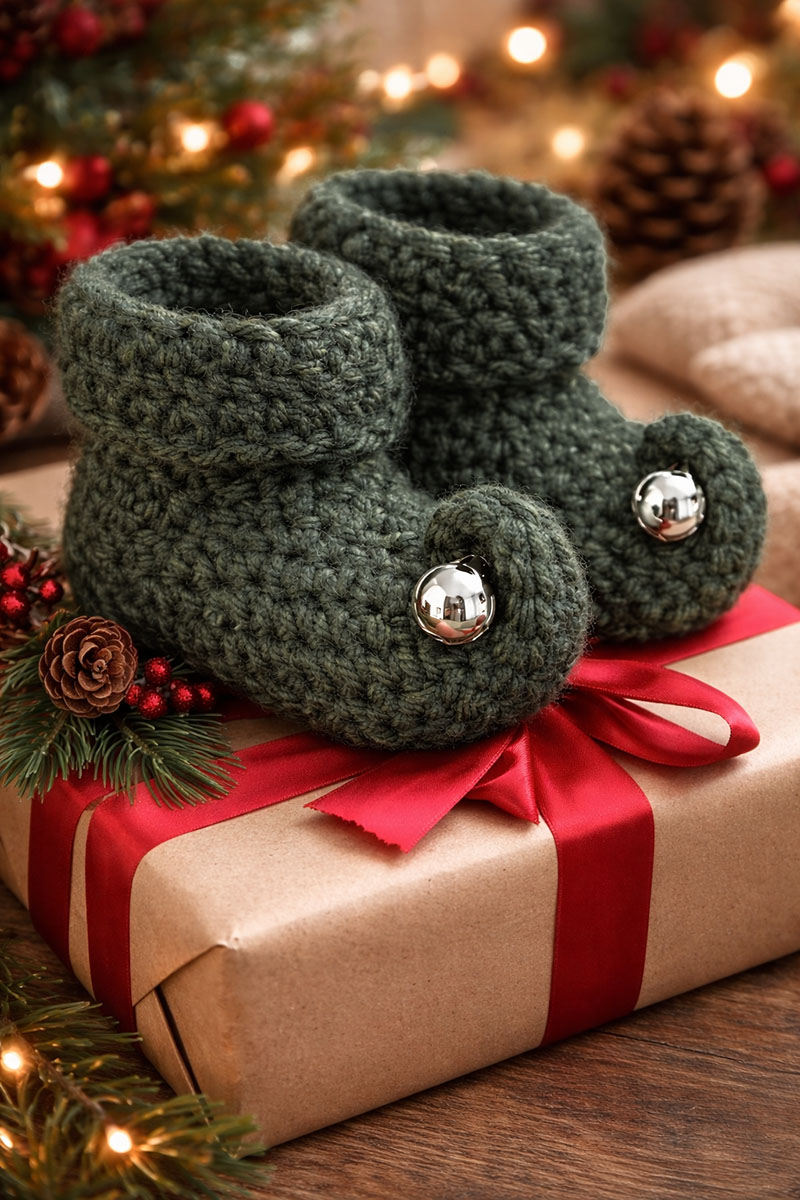
Jingle Bells Christmas Crochet Baby Booties are one of those handmade projects that instantly feel special, whether you’re creating a thoughtful holiday gift, styling a Christmas baby photo shoot, or adding a cozy handcrafted touch to a newborn’s first holiday season. These chunky little elf-style booties work up quickly, photograph beautifully, and are designed with both charm and practicality in mind, making them ideal for seasonal keepsakes and short-term photo props when used thoughtfully.
 Go here to see what's available and necessary supplies
If you’re making these for a holiday gift or a Christmas newborn photo setup, you’re going to love how quickly they come together. I designed this version to have a cozy, “chunky” stitch look (the kind that shows up beautifully in photos) while still keeping the booties simple enough to finish in an evening.
Jingle Bells Christmas Crochet Baby Booties Pattern Overview
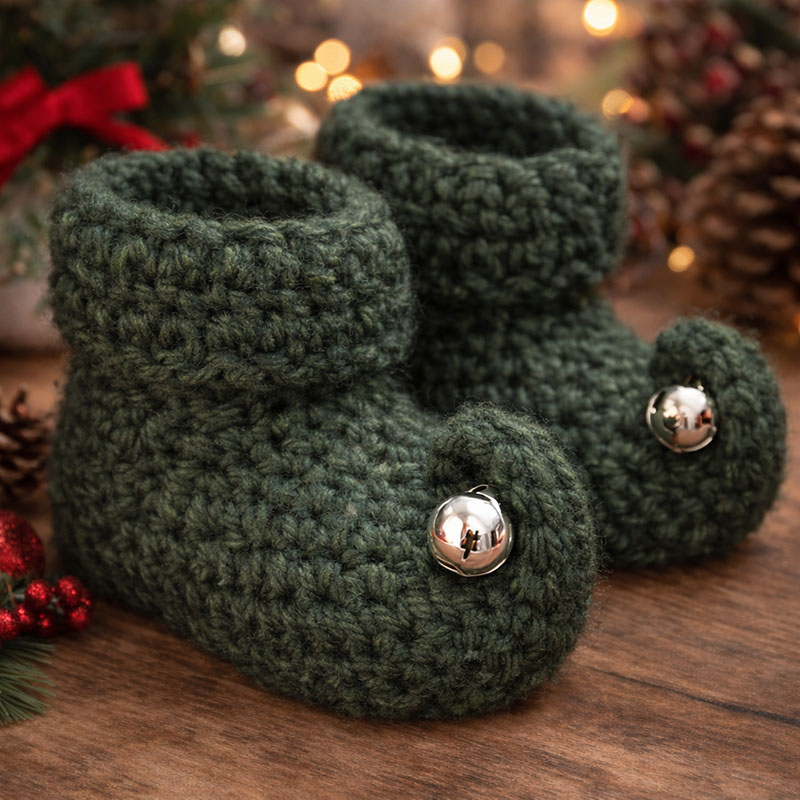
These little elf-style booties are designed for babies roughly 0–6 months, depending on foot size and how tightly you crochet. The toe has a gentle curl for that “North Pole helper” look, and you can keep them plain (softer for baby) or add a photo-prop bell that’s stitched on firmly and removed immediately after pictures.
Finished size and gauge
Finished measurements (approx.):
• 4 1/2 inches heel to toe
• 2 1/4 inches across the widest part of the sole
Gauge target:
• 7 single crochet = 2 inches
• 7 rows = 2 inches
If you crochet tightly (I do!), you may want to go up a hook size to keep the ankle opening comfortable.
Go here to see recommended yarns
Chunky stitches photograph beautifully—especially for Christmas baby props and handmade gift photos.
Supplies for These Christmas Baby Booties
Hook: G/4.0 mm (or size needed to meet gauge)
Yarn: Bulky yarn (or two strands of worsted held together) in a deep evergreen / “holly green” shade
Other: Yarn needle, scissors, stitch marker
Optional for photo styling only: a pair of traditional jingle bells stitched on with strong thread (and removed right after photos).
Important Note About Jingle Bells
Because small items can pose a choking hazard, I don’t recommend jingle bells as something a baby would wear for everyday use. If you choose to use bells at all, many parents reserve them strictly for a quick photo prop moment and then remove them immediately afterward.
For general guidance on choking hazards, you can also review the U.S. Consumer Product Safety Commission resources here: CPSC small parts safety information
 Go here to see supplies and more
Jingle Bells Christmas Crochet Baby Booties Pattern Instructions
This is an original, beginner-friendly pattern written in standard U.S. crochet terms. If you already know how to single crochet and work in rounds, you’re in great shape.
Abbreviations (U.S. terms)
ch = chain
sl st = slip stitch
sc = single crochet
hdc = half double crochet
inc = increase (2 stitches in same stitch)
dec = decrease (sc2tog)
Sole (worked in rounds)
Round 1: Ch 10. Sc in 2nd ch from hook and in next 7 ch. 3 sc in last ch. Working down the other side of the chain, sc in next 7 ch. 2 sc in last ch. Join with sl st. (20)
Round 2: Ch 1. Sc in same st. Inc in next 2 sts. Sc in next 6. Inc in next 3. Sc in next 6. Inc in next 1. Join. (28)
Round 3: Ch 1. Sc in same st. (Sc, inc) 2 times. Sc in next 7. (Sc, inc) 3 times. Sc in next 7. (Sc, inc) 1 time. Join. (34)
If your sole looks too narrow or too wide, this is the best place to adjust: one extra round makes a noticeable size difference.
Boot sides (building the walls)
Round 4: Ch 1. Working in the back loops only, sc in each st around. Join. (34)
Round 5: Ch 1. Sc in each st around. Join. (34)
Round 6: Ch 1. Sc in each st around. Join. (34)
Toe shaping (gentle elf curl starts here)
Round 7: Ch 1. Sc in next 10. (Dec) 3 times. Sc in next 15. Join. (31)
Round 8: Ch 1. Sc in next 9. (Dec) 3 times. Sc in next 13. Join. (28)
Round 9: Ch 1. Sc in next 8. (Dec) 3 times. Sc in next 11. Join. (25)
At this point, the front should begin to “pull in” just enough to help the toe curl look natural without becoming tight.
Elf toe curl (simple, photo-friendly)
Round 10: Ch 1. Sc in each st around. Join. (25)
Round 11: Ch 1. Sc in each st around. Join. (25)
To encourage the curl, lightly shape the toe forward with your fingers. If you want a stronger curl, add one more plain round and then gently roll the toe edge forward.
Ankle cuff (cozy and stretchy)
Round 12: Ch 1. Hdc in each st around. Join. (25)
Round 13: Ch 1. Hdc in each st around. Join. (25)
Round 14: Ch 1. Sc in each st around. Join. (25)
Fasten off and weave in ends securely.
If you prefer a taller boot, repeat Round 13 once more before the final sc round.
How to Add Jingle Bells (Photo Prop Option Only)
If your plan is to use the jingle bells Christmas crochet baby booties as props for a baby photo shoot, some parents attach one bell to each toe using strong thread or embroidery floss. Others prefer to stitch the bell onto a small felt circle first, then stitch the felt circle onto the bootie toe—this spreads the tension and helps the bell sit neatly for photos.
Go here to see strong embroidery thread options
My favorite “pretty styling” trick
For a softer, more polished photo look, try tying a narrow ribbon around the ankle (loose enough to slide a finger under easily), then photographing the booties next to a knit blanket, a small pine sprig, or a simple white onesie. That combination reads festive without looking cluttered.
More Baby Booties and DIY Ideas on UBGI
If you’re in a booties mood (it happens!), you can browse more patterns and inspiration here: free baby patterns.
And if you want more cozy handmade projects that fit beautifully into a baby room theme, my DIY hubs are here:
DIY Nursery Decor Ideas
DIY Baby Nursery Ideas
Quick gift note
These are especially sweet tucked into a small gift bag with a handwritten note like “first Christmas keepsake.” If you’re gifting them, including the yarn type and wash instructions on a little tag is a thoughtful touch that families appreciate later.
If you’d like, I can also create a short FAQ section for this page (washing, sizing up, and how to adjust for 6–12 months) to strengthen Google “help intent” even more—without changing the warm tone.
When you click on links to various merchants on this site and make a purchase, this may result in this site earning a commission. This does not affect the price you pay.
UBGI Gold Standard 2026
Verified for performance, SEO,
and accessibility compliance.
Photos, decorating ideas, party setups, and reader submissions are shared for inspiration only and are not intended as step-by-step decorating, construction, or DIY instructions.
About Jan | Contact | Baby Room Ideas (Blog) | Site Map | Privacy Policy | Disclaimer | Affiliate Disclosure | Earnings Disclosure | Facebook | Pinterest
I am a participant in the Amazon Services LLC Associates Program, an affiliate advertising program designed to provide a means for us to earn fees by linking to Amazon.
Copyright © 2006-2026. All Rights Reserved.