DIY Macrame Toy Hammock Pattern- How to Make Your Own Toy Organizer
This DIY macrame toy hammock pattern shows you exactly how to make a simple wall-mounted toy organizer using basic knots, minimal supplies, and a layout that holds stuffed animals without taking up floor space.

A handmade macramé toy hammock keeps plush toys tidy while adding soft boho texture to a baby’s nursery.
Start here:
Get the exact supplies for this toy hammock →
Jump to the step-by-step pattern →
If you enjoy easy handmade nursery projects like this one, you can explore more ideas in my free baby patterns collection.
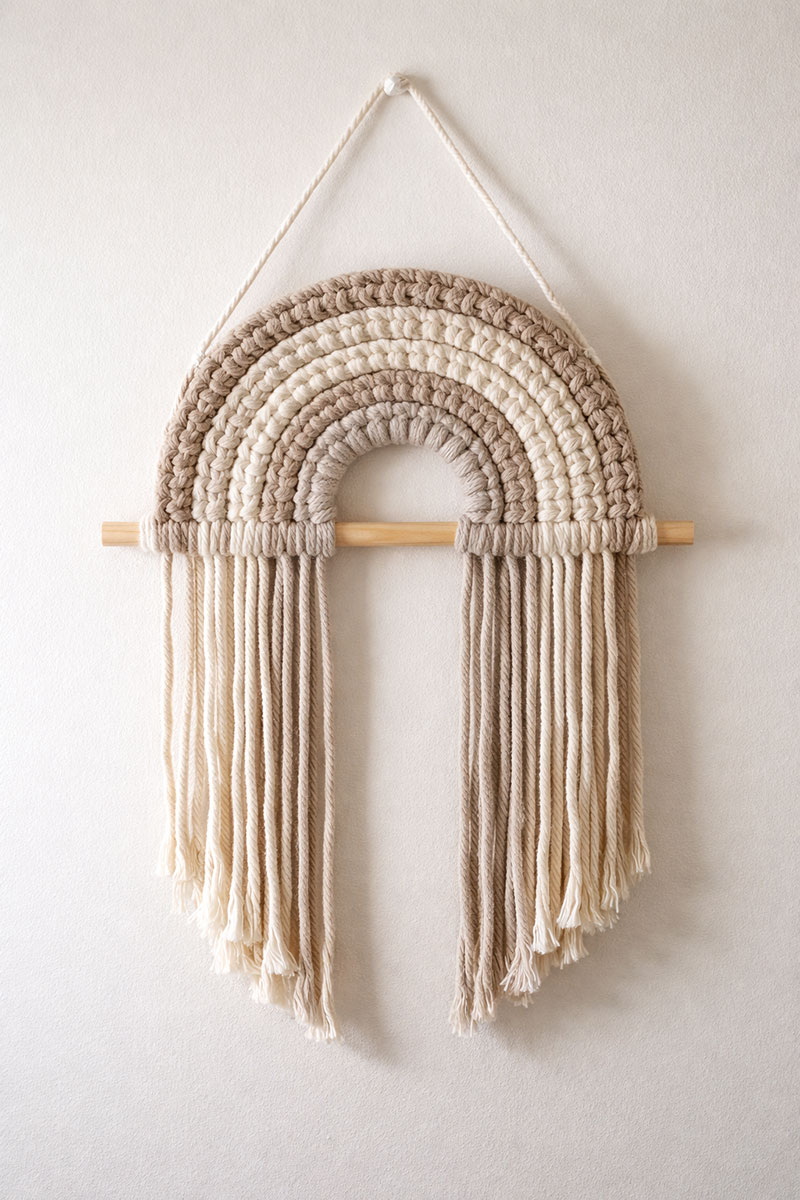
Try another easy nursery DIY:

This DIY macrame toy hammock pattern is designed to be simple, repeatable, and beginner-friendly, using basic knots to create a sturdy wall hammock that holds lightweight toys without sagging.
This is one of several simple projects in my DIY nursery decor ideas collection.
This pattern uses soft cotton cord, wooden rings, and basic knots to create a structured hammock that supports toys while staying evenly shaped.
Supplies You’ll Need for this DIY Macrame Toy Hammock Pattern
For general cord strength and craft safety guidelines, you can refer to this macrame knot guide from The Spruce Crafts which explains the basic knots used in beginner projects.
Before you begin, gather everything you’ll need to make your toy hammock. Having your materials ready makes the process relaxing and fun. You can find macramé cord, wooden rings, and decorative beads online or at most craft stores. I’ll share the exact links I used below to make shopping easier and ensure your hammock turns out sturdy and beautiful.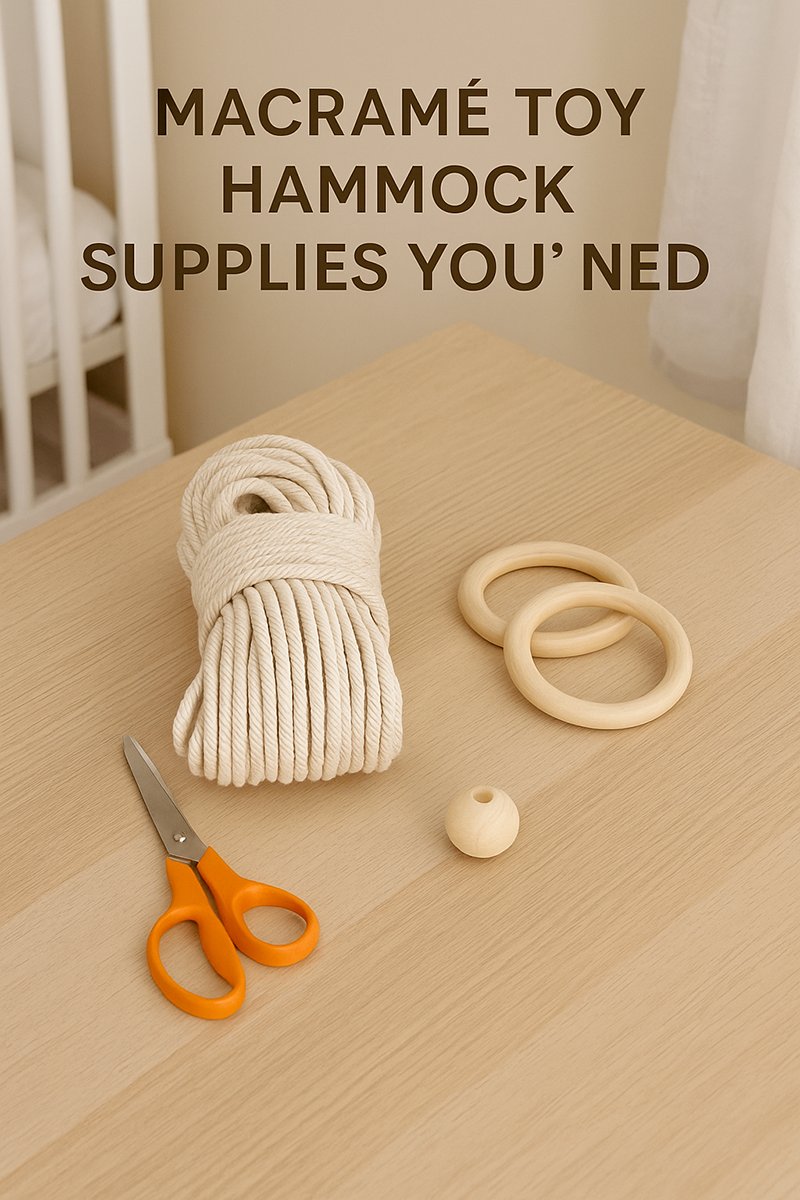
Gathering the right materials — soft cotton cord, wooden rings, and beads — makes this DIY macramé toy hammock project simple and enjoyable.
Step-by-Step Macrame Toy Hammock Pattern
A DIY macrame toy hammock is made by attaching folded cords to a ring, tying rows of square knots in a diamond pattern, and gathering the ends into a second ring to create a flexible net that holds lightweight toys.
This DIY macrame toy hammock pattern is wonderfully simple and a great beginner project if you’re just learning macramé. The basic process uses square knots and gathering knots — no complicated techniques, just rhythm and repetition that feels calming once you get started.
Step 1: Measure and Cut Your Cords
Decide how wide and deep you want your hammock to be. Cut twelve lengths of macramé cord, each about four times the desired width. If you’re using 3mm cotton cord, this usually means cutting pieces around 12 to 14 feet long. Fold each piece in half and attach them to one of your wooden rings using a lark’s head knot.
Step 2: Create the Base Rows
Using square knots, begin your first row just below the ring, spacing each knot evenly. The next row should be offset — start your first square knot using two strands from one pair and two from the next. Continue for six to eight rows, depending on the depth you want. This pattern naturally forms a beautiful diamond design as you go.
Step 3: Add the Second Ring
Once you’ve reached your desired depth, bring all strands together through the second ring, leaving about 2 to 3 inches between your final knots and the ring. Secure them using a large gathering knot, then trim the ends evenly to create a soft fringe. Give the hammock a gentle shake to let the fringe settle naturally.
Step 4: Hang and Arrange the Toys Inside the Hammock
Attach sturdy hooks in the nursery corner at a height that’s safe and easy to reach. Clip or loop the rings over the hooks and gently spread out the hammock. Once it’s in place, add your child’s favorite plush toys or lightweight dolls. The result is a beautiful, boho-inspired accent that also keeps the nursery neat and organized.
For nursery use, always hang the hammock well out of a baby’s reach and only use it for lightweight plush toys. This is decorative storage and not designed to hold weight or be used near a sleeping area.
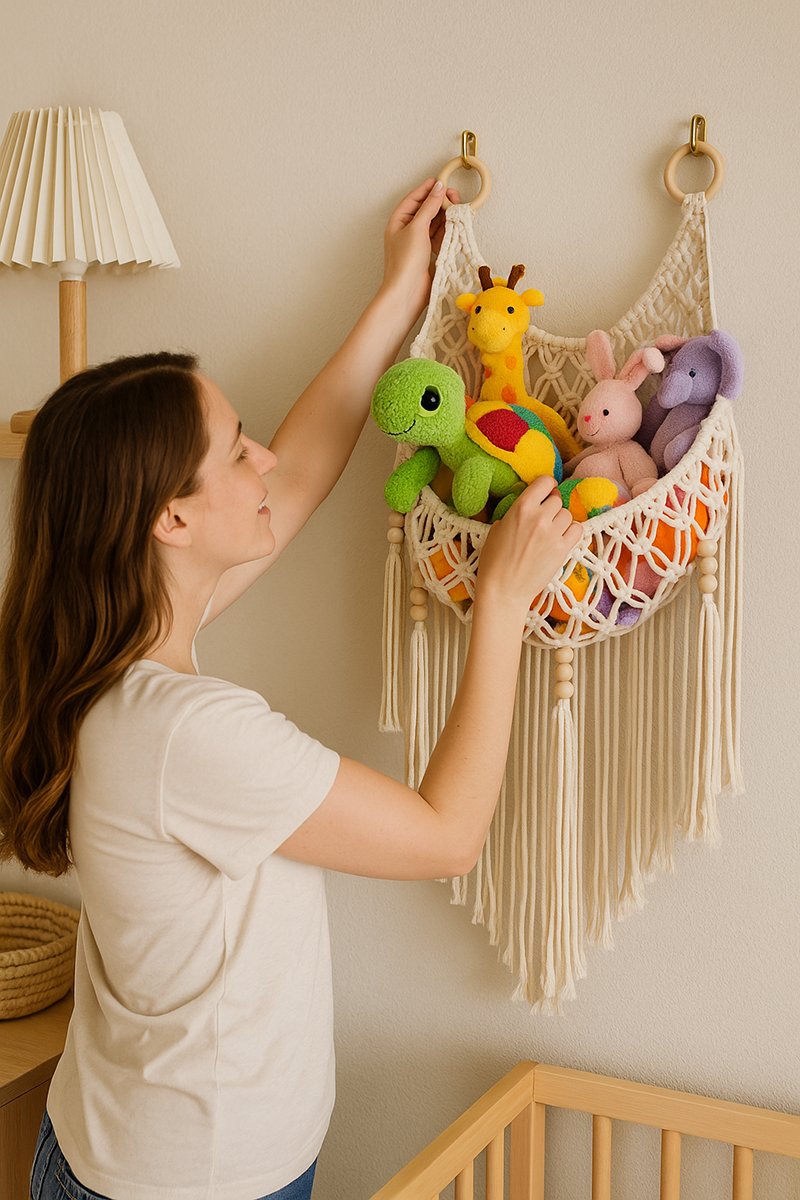
A proud mom adds the final touch to her nursery by hanging her handmade macramé toy hammock, complete with beaded fringe and a rainbow of soft toys.
Tips for Customizing Your Toy Hammock
One of my favorite things about this DIY macrame toy hammock pattern is how easy it is to make it your own. You can customize the size, color, and fringe style to match your nursery’s theme or color palette. For a soft, boho look, I love using natural cotton cord with unfinished wooden beads. If your nursery has playful accents, try pastel cords or even rainbow macramé cord to make the hammock pop against a neutral wall.
Adding wooden beads or tassels to the fringe gives the hammock a whimsical touch while keeping it cohesive with other nursery décor elements. Get creative with the fringe. Make it as long or short as you like and dress them up with as many wooden beads as you like so long as the hammock is hung out of the baby's reach. Experiment! Play around with shorter or longer fringes — just be sure to leave enough cord to tie a neat gathering knot at the end. A longer fringe looks especially pretty above a crib or reading nook where it can catch the light and create gentle texture.
And don’t forget to add a personal touch. A small name tag, a painted wooden ring, or even a delicate ribbon tied to the side will make your hammock unique. These tiny details help transform a simple DIY project into a keepsake that adds warmth and handmade beauty to your baby’s space.
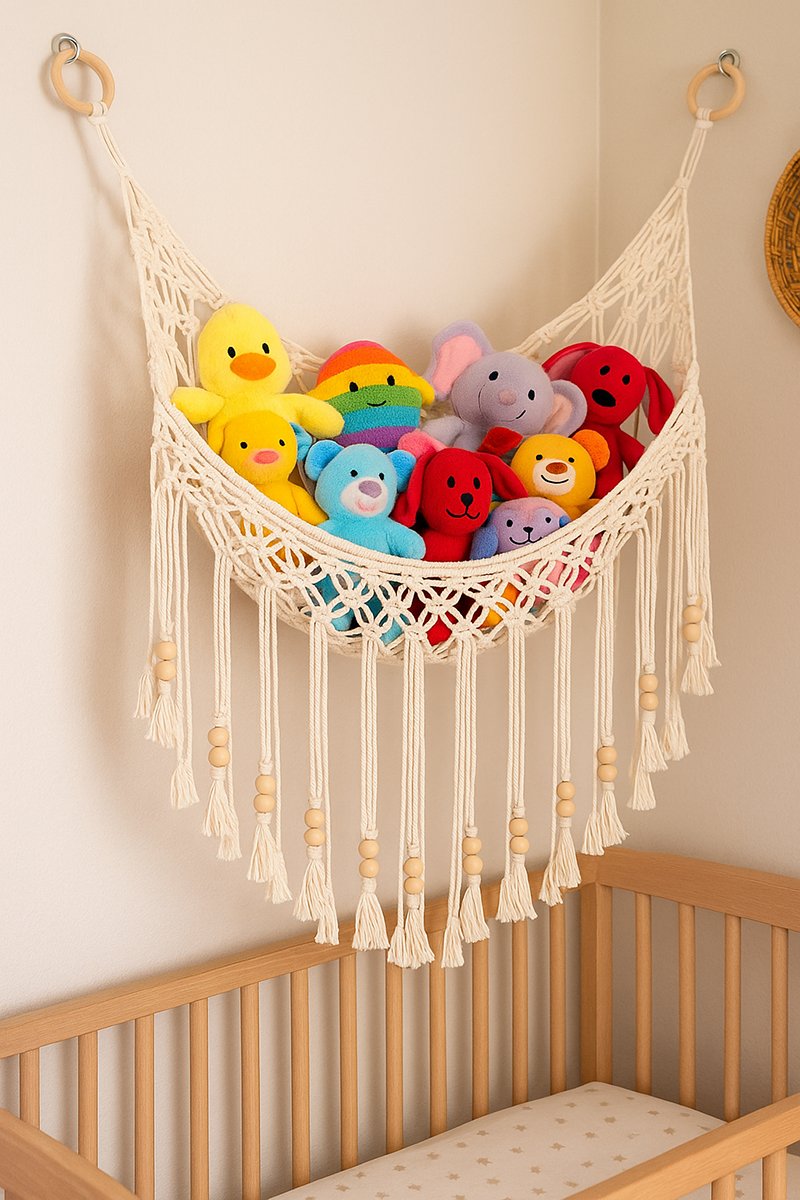
A close-up view of a handcrafted macramé toy hammock with beaded fringe adds charm and cheerful color to the nursery’s cozy corner.
Finishing Touches and Nursery Inspiration
When you step back and look at your finished DIY macrame toy hammock pattern, it’s amazing how such a simple project can transform a room. The gentle sway of the cords, the soft colors, and the handmade texture all work together to create a cozy, organized space that feels personal and peaceful. I love how this project adds a natural, boho touch that fits beautifully with nearly any nursery theme from woodland to minimalist modern.
If you enjoyed this project, you’ll find more ideas like this in my collection of baby room organization tips and DIY storage solutions. If you're planning your full setup, this what to buy before baby arrives checklist helps you prioritize what you actually need.
Every time I walk past our nursery and see that little hammock filled with soft toys, I am reminded that even small handmade touches can make a big difference. DIY projects like this one are more than decoration, they’re love made visible in every knot and bead.
Try another easy nursery DIY:
When you click on links to various merchants on this site and make a purchase, this may result in this site earning a commission. This does not affect the price you pay.
UBGI Gold Standard 2026
Verified for performance, SEO,
and accessibility compliance.
Photos, decorating ideas, party setups, and reader submissions are shared for inspiration only and are not intended as step-by-step decorating, construction, or DIY instructions.
About Jan | Contact | Baby Room Ideas (Blog) | Site Map | Privacy Policy | Disclosure Policy | Disclaimer | Affiliate Disclosure | Earnings Disclosure | Facebook | Pinterest
I am a participant in the Amazon Services LLC Associates Program, an affiliate advertising program designed to provide a means for us to earn fees by linking to Amazon.
Copyright © 2006-2026. All Rights Reserved.